Learn how to create a Liveblog below.
Read Before You Begin
Read the following sections in blue before you create and manage a Liveblog.
A Liveblog is a timeline of updates based on what happens before, during and after an event. Liveblogs are used to posts information on sport matches, games, films, television shows and any other event you want to cover. An event has a date or time played, title, description and content.
- Add entries manually.
- Use a connection to a third-party data source provider such as Sportradar for automatic updates down to the minute for any supported event.
- Use a combination of manual entries and third-party data sources.
Note: Instructions or links to instructions for the following are provided in this document.
- To use Liveblogs on your website you'll need to install and configure the WordPress or Typo3 plugins.
- You'll need to configure Categories, Attributes and Tags.
- Optional: Configure third-party data source such as Sportradar.
- Real-time scores and updates of any event
- yawave Tools such as Share, Form, Payment using a Publication
- Embed images, links, videos and posts from Instagram, Facebook, and Twitter
Note: These are optional ideas.
- You can publish event updates to your Liveblog prior to an event starting (start hours or days before). This helps you get your audience ready for an upcoming event.
- Welcome your audience to the event, introduce them to the event by including details on where it's at (for example, a stadium where a match or game is being played).
- Stylize your data to match your brand.
- Enrich your data with more information using code to match third-party data IDs to information in your database.
- Show post game events such as a final score, updates, or entice your audience with additional information.
Create a Liveblog
These are the steps to create a Liveblog. Once you have created a Liveblog, you'll need to learn how to manage a Liveblog (instructions on how to Manage a Liveblog are in the next section).
- Before you begin, please read all the sections in blue above. Once complete, continue to Step 2 below. Optional: If you plan on using a third-party source such as Sportradar and you are familiar with how to configure Sportradar, create a connection to Sportradar now (alternatively, you can create a connection while configuring a Liveblog in Step 13 below) as you'll need this connection when configuring a new Liveblog. You can always come back and add the data source connection anytime or create manual entries until you have created and added a connection.
You'll need to create a new Liveblog for every event (game, match, film, television, etc.)
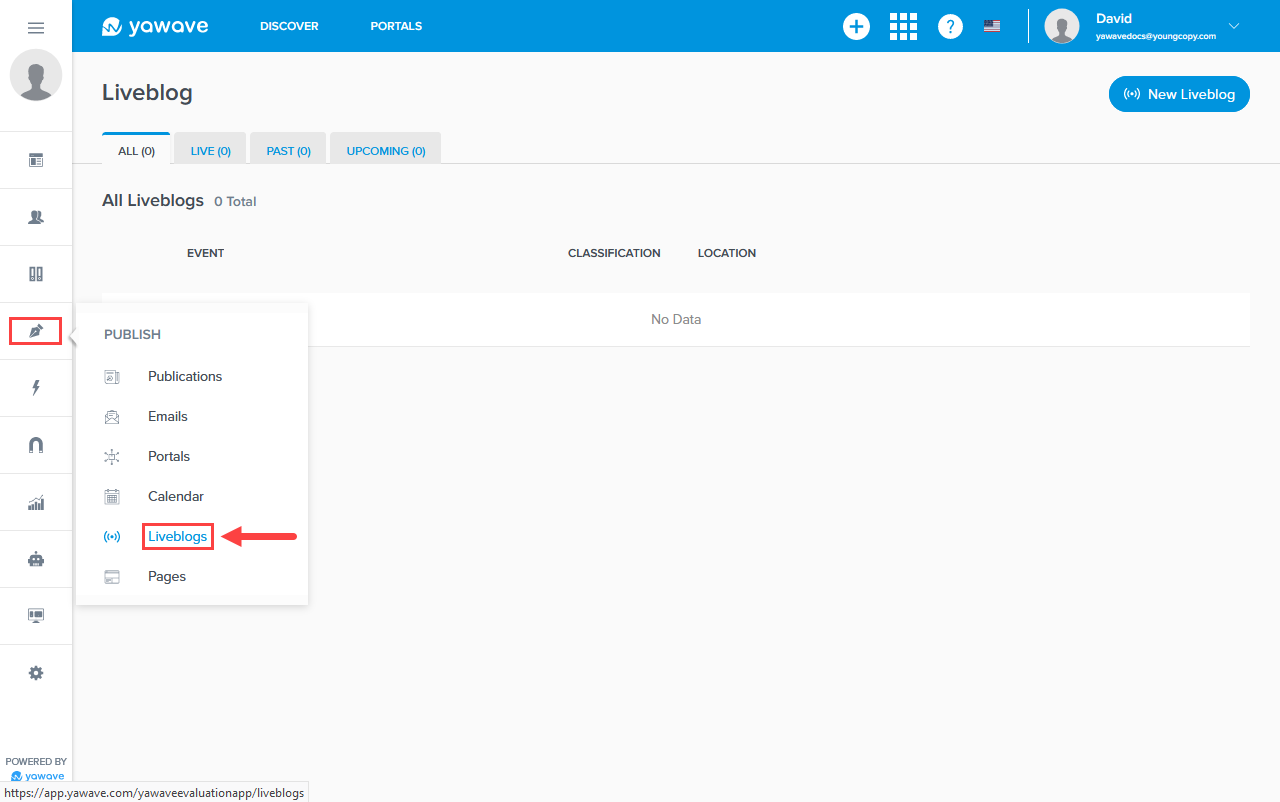
- Click Publish/Liveblogs.
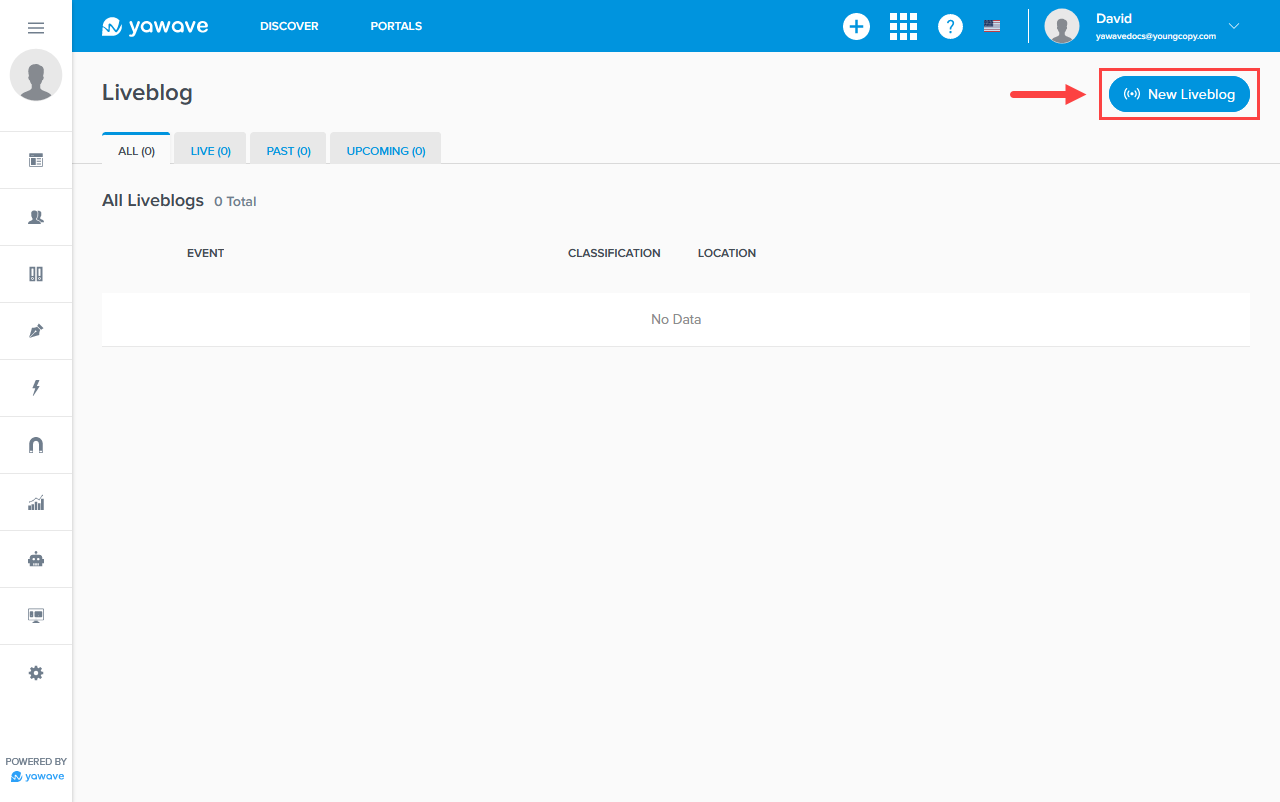
- Click New Liveblog. Helpful Tip: You can also duplicate an existing Liveblog. When duplicating or copying an existing Liveblog, it only copies the configuration settings and not the event updates. To duplicate a Liveblog you should have already created at least one Liveblog (see Step 2 in Manage a Liveblog below).
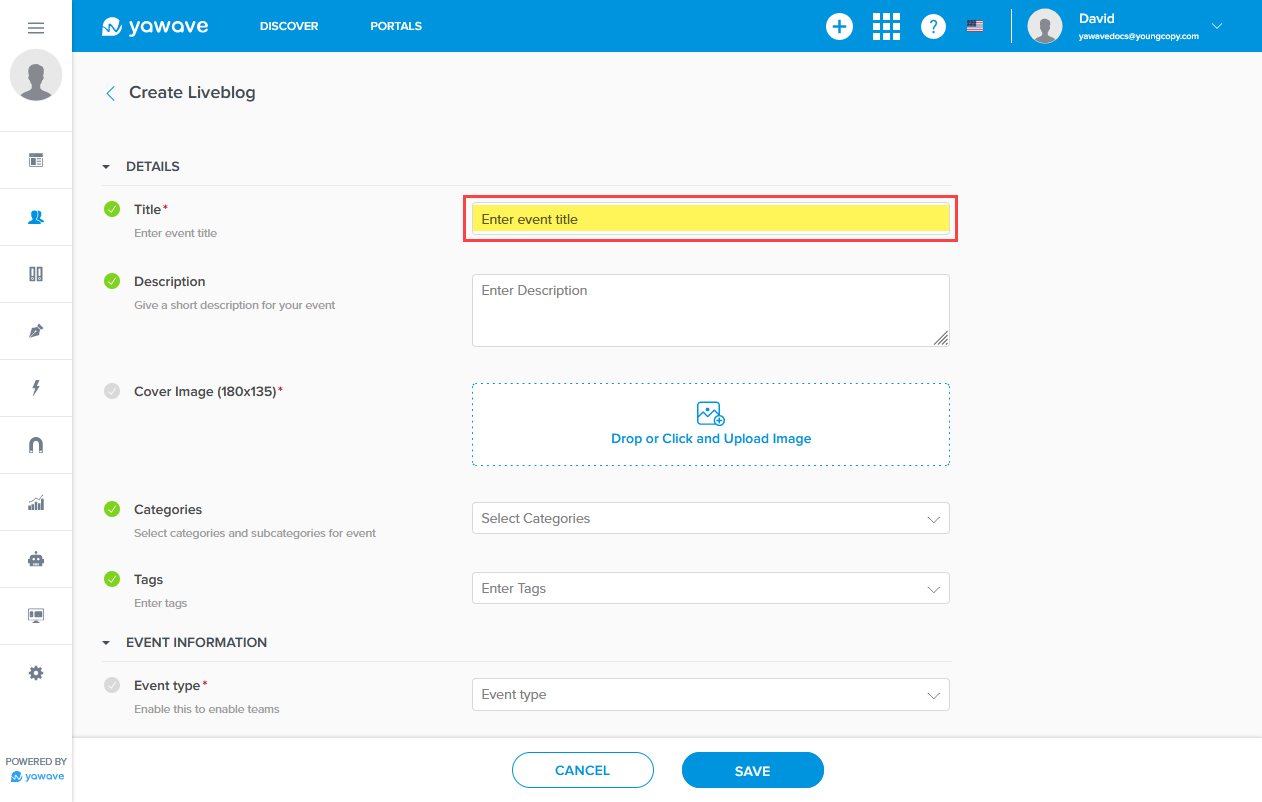
- Enter the Liveblog name in the Liveblog field. Helpful Tip: When creating a Liveblog for a match or game, use the teams' names in the Liveblog field. Example: FC Zurich - Grasshopper Club Zurich
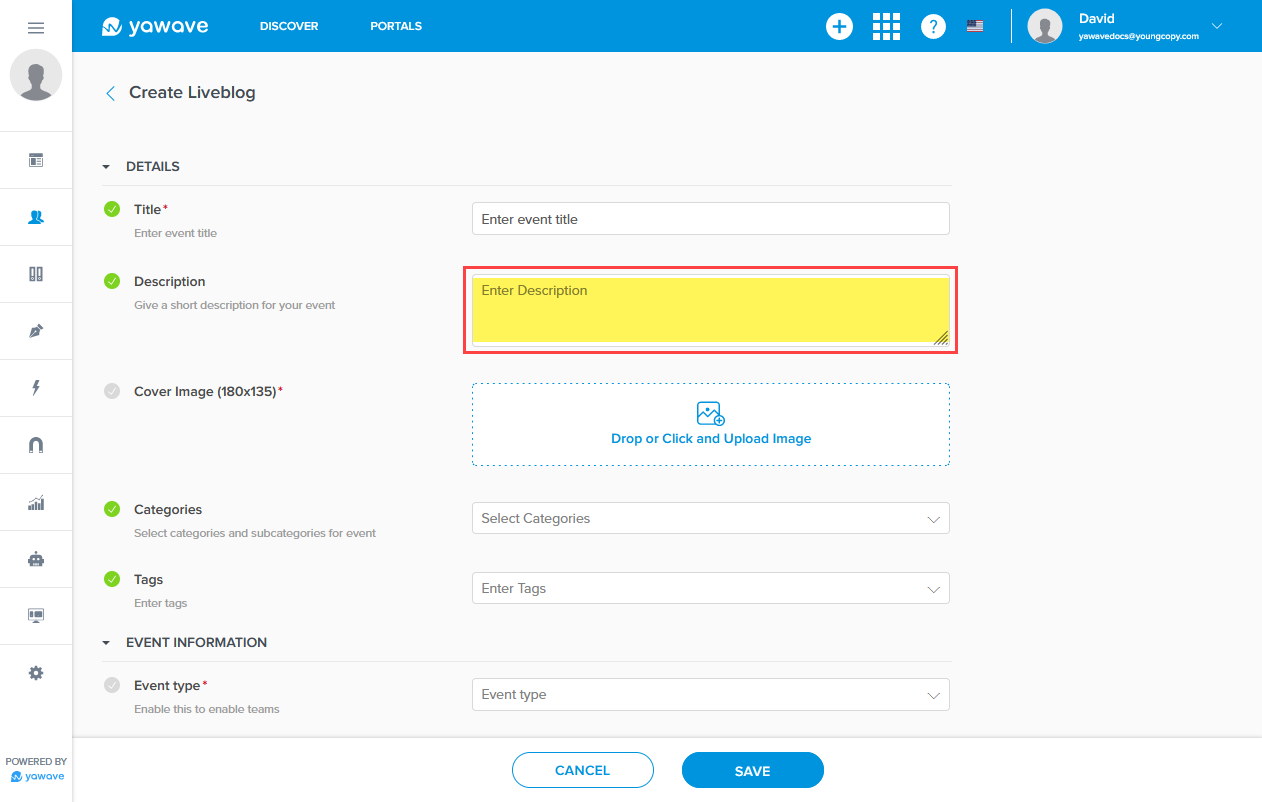
- Enter a description for the Liveblog in the Description field. Helpful Tip: Copy and paste the Liveblog name for the Description. Example: FC Zurich - Grasshopper Club Zurich
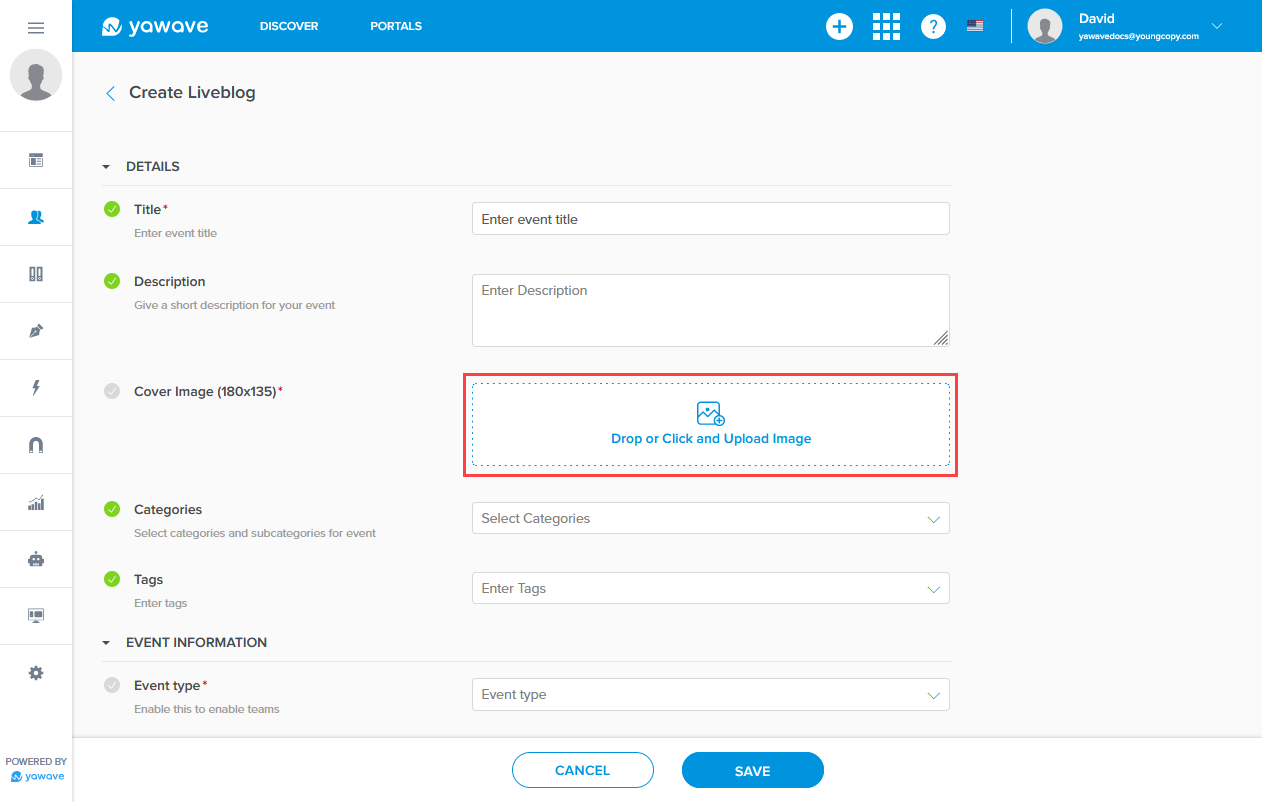
- Upload a cover image by clicking the Cover Image image box. The Cover Image should represent the Liveblog. Note: You can also drag and drop an image over the Cover Image image box.
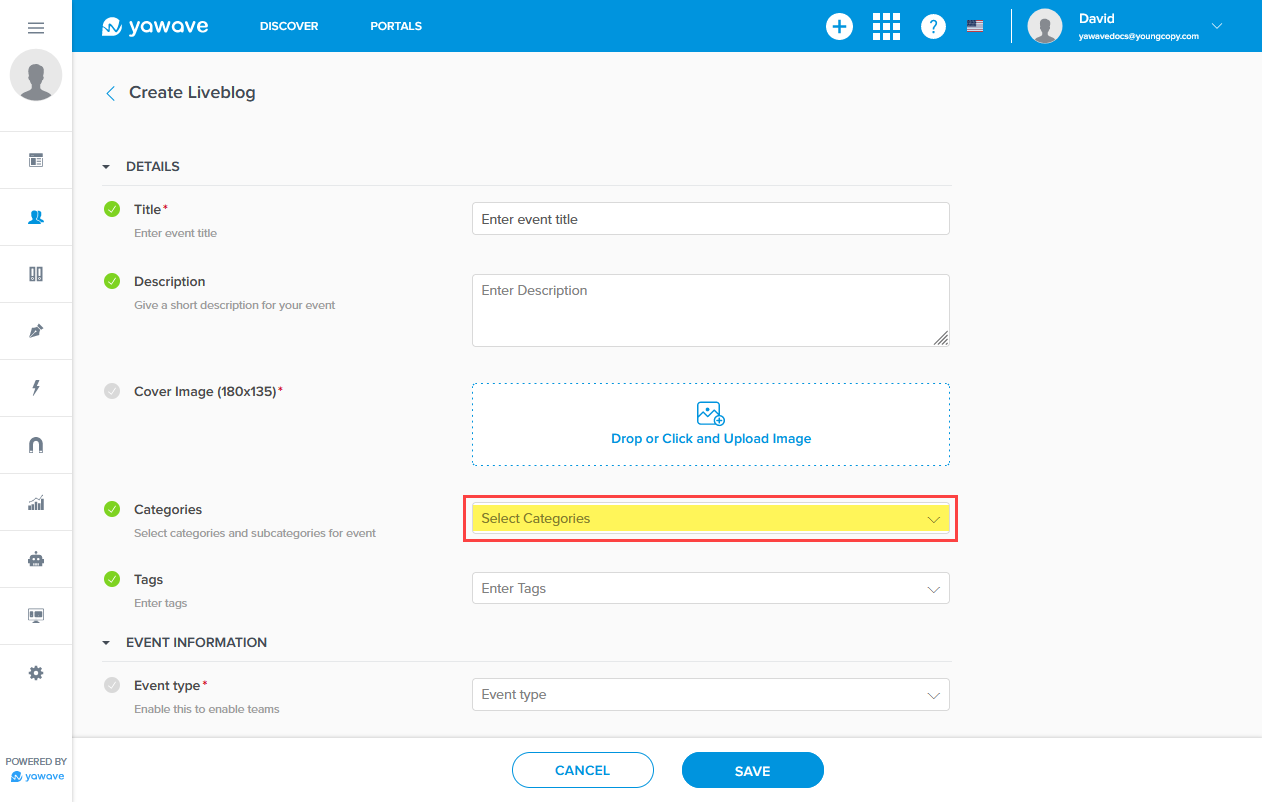
- Select the category you want to use for this Liveblog from the Categories drop-down menu. For example, a category can be for a round or a match per season. The category is also used to determine if the Liveblog is shown on your website (configured in the plugin you use - WordPress or Typo3). Helpful Tip: If you know the name of the category you want to select, start typing the name in the Categories field. The drop-down will autopopulate with the categories that match, if available. If no categories are showing, learn how to Create a Category.
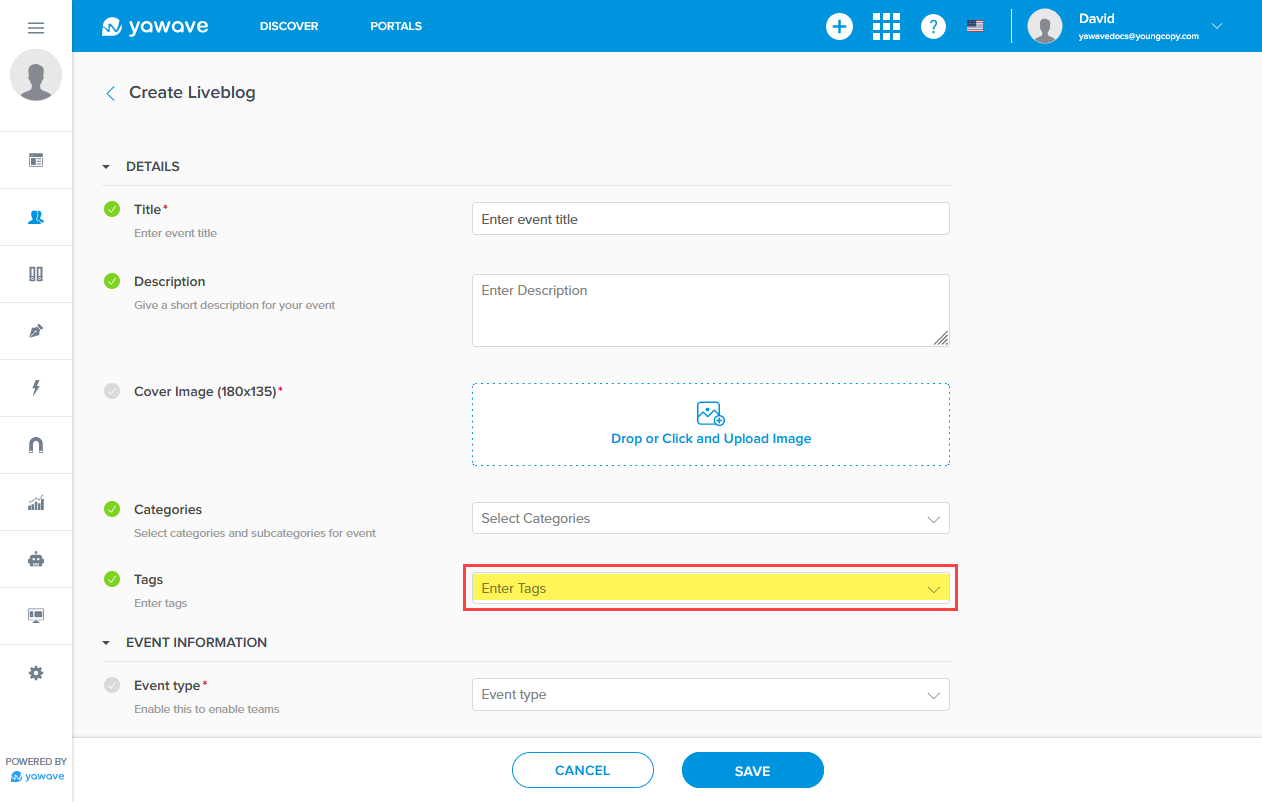
- Select the tags you want to use for this Liveblog from the Tags drop-down menu. Helpful Tip: If you know the name of the tag you want to select, start typing the name in the Tags field. The drop-down will autopopulate with the tags that match, if available. If no tags are showing, learn how to Create a Tag.
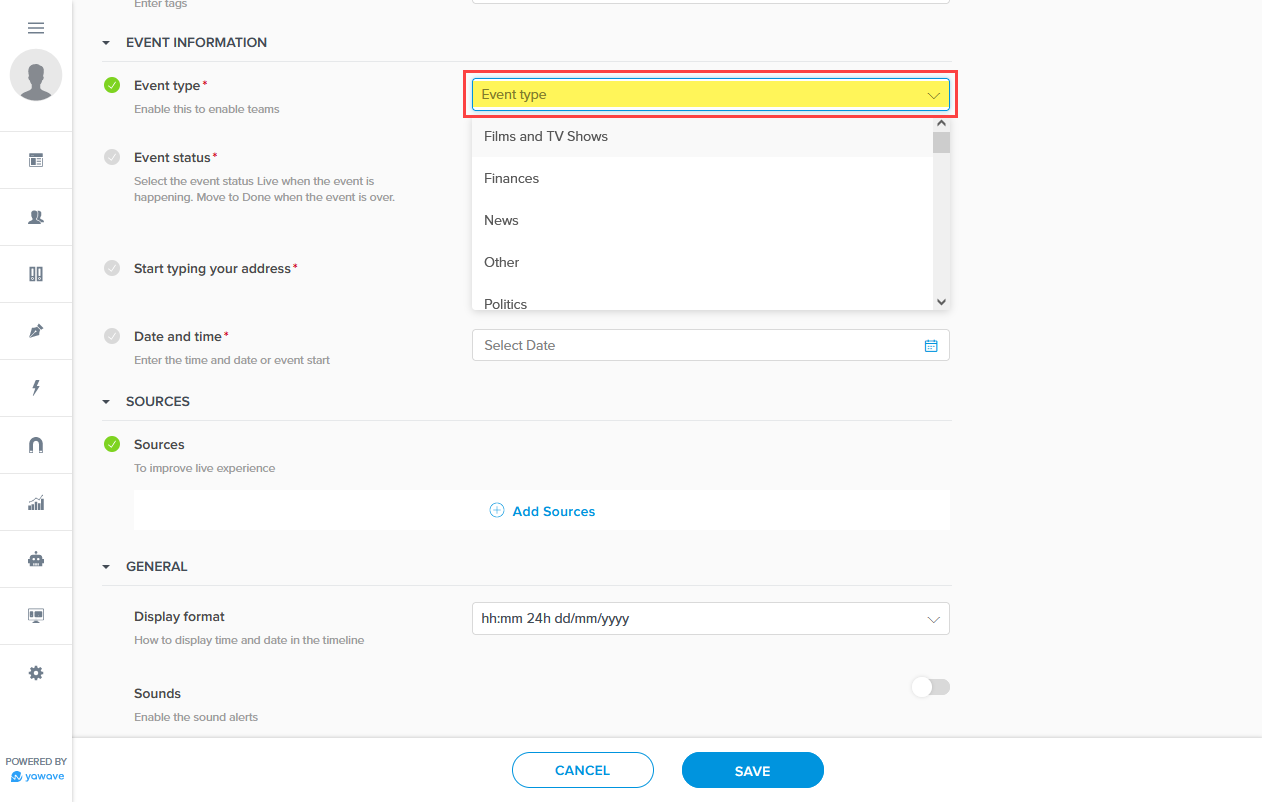
- Select the event type from the Event type drop-down menu. Note: Additional configuration options appear based on the event type you select. For example, when you select Soccer as the event type, you can add an image for each team in an event in addition to Actions and Persons.
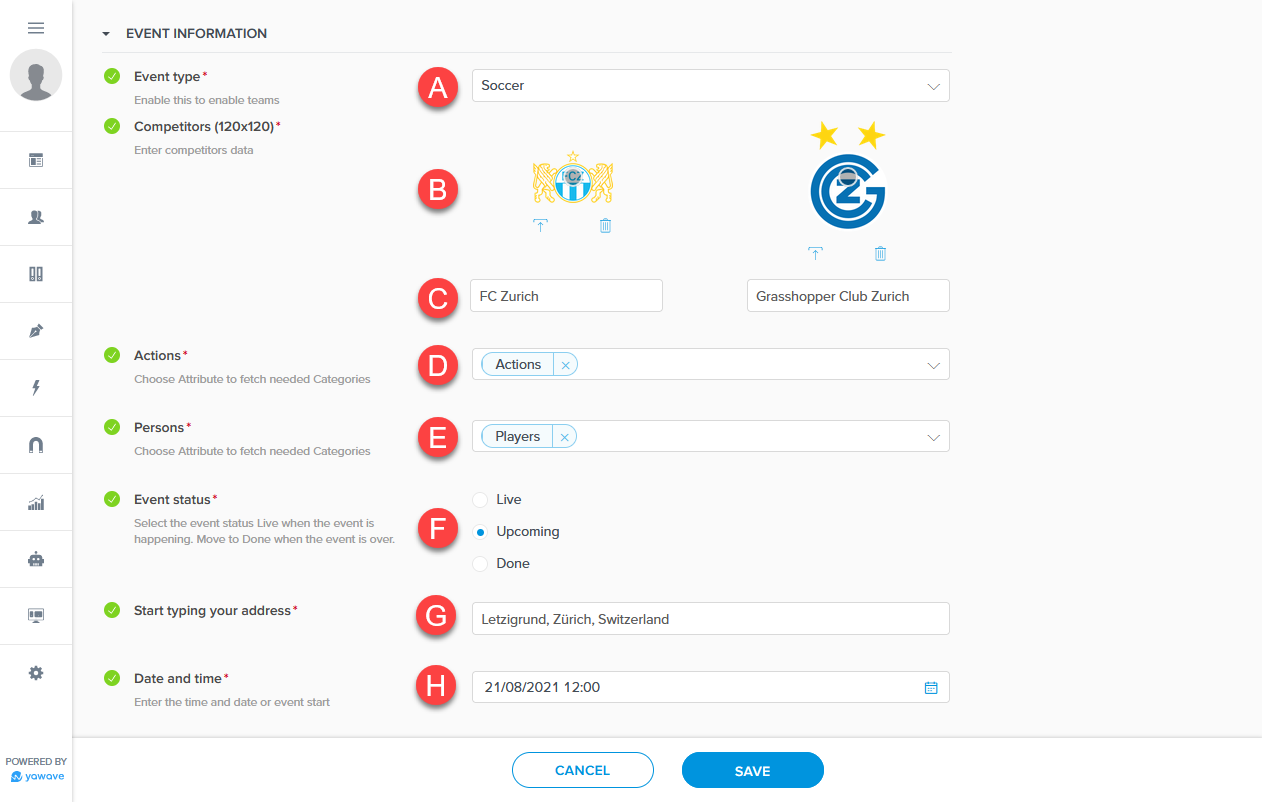
In the following example we configured Event Information for an upcoming soccer match between FC Zurich and Grasshopper Club Zurich:
- (A) Soccer as the Event Type
- (B) FC Zurich and Grasshopper Club Zurich team logos
- (C) FC Zurich and Grasshopper Club Zurich team names
- (D) 1-1 mapping using Category Actions for Actions (continue reading for more details)
- (E) 1-1 mapping using Category Players for Persons (continue reading for more details)
- (F) Upcoming as Event status
- (G) Letzigrund, Zurich, Switzerland as location (Start typing your address)
- (H) 21/08/2021 12:00 for Date and time
For D and E above (1-1 mapping using Categories and Attributes), you'll need to create Categories and Attributes for Actions and Persons. Note: 1-1 mapping is based on the Event type you select. Other event types may not require additional information. 1-1 mapping is used during an event.
To configure 1-1 mapping for the example above, you'll need to do the following:
Create Categories and Attributes for Actions
- Go to Administrate/Classify/Categories, click Create Category, name it Actions, then click Create.
- Go to Administrate/Classify/Attributes, name it Actions, then click Create Attribute.
- Go back to Administrate/Classify/Categories and click Manage next to the Actions Category.
- Click Create Subcategory and name it Goal, then scroll down and select Actions as the Attribute, then click Create.
- When the page loads, click Create Subcategory again and name it Penalty, then scroll down and select Actions as the Attribute, then click Create.
Create Categories and Attributes for Players
- Go to Administrate/Classify/Categories, click Create Category, name it Players, then click Create.
- Go to Administrate/Classify/Attributes, name it Players, then click Create Attribute.
- Go back to Administrate/Classify/Categories and click Manage next to the Players Category.
- Click Create Subcategory and name it Cristiano Ronaldo, then scroll down and select Players as the Attribute, then click Create.
- When the page loads, click Create Subcategory again and name it Lionel Messi, then scroll down and select Players as the Attribute, then click Create.
Note: You can use any actions or players specific to your Liveblog.
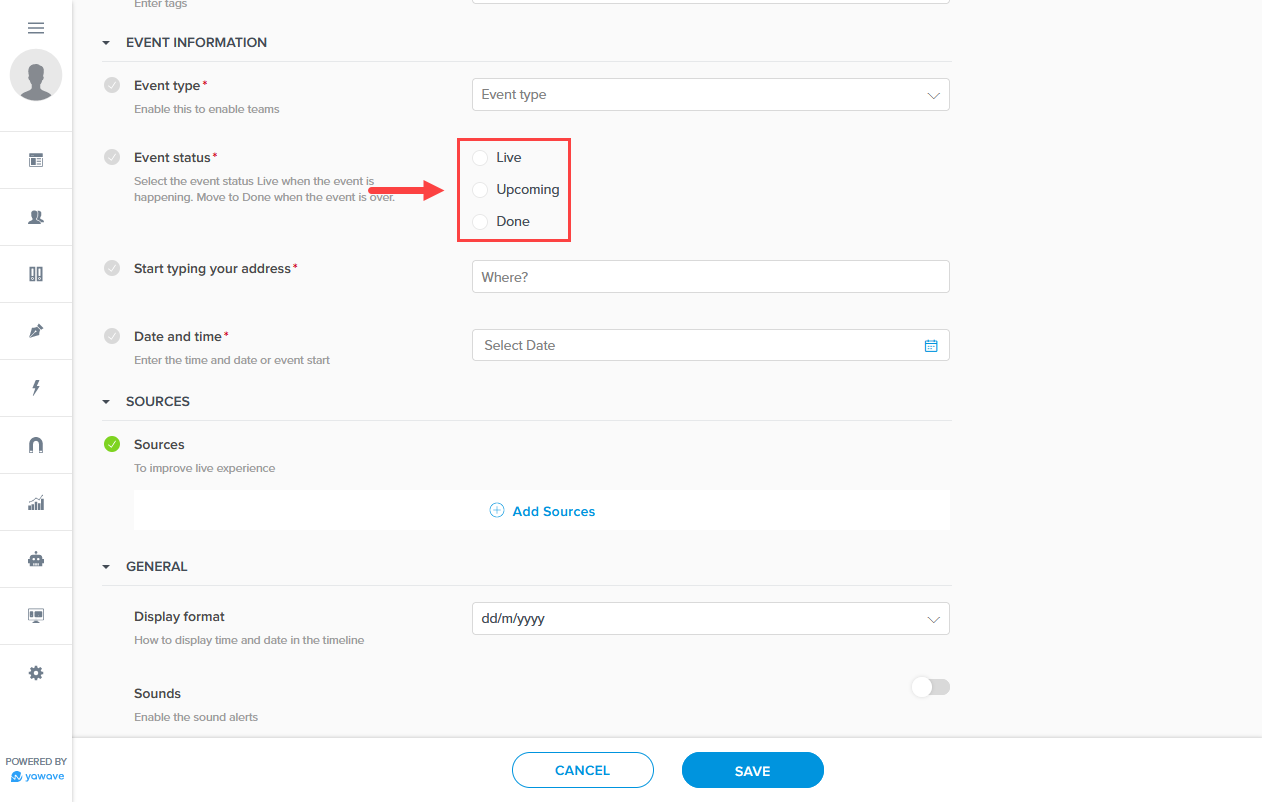
- Click the Event status for this Liveblog. Your choices include:
- Live - the event is happening now
- Upcoming - the event is happening in the future
- Done - the event is over
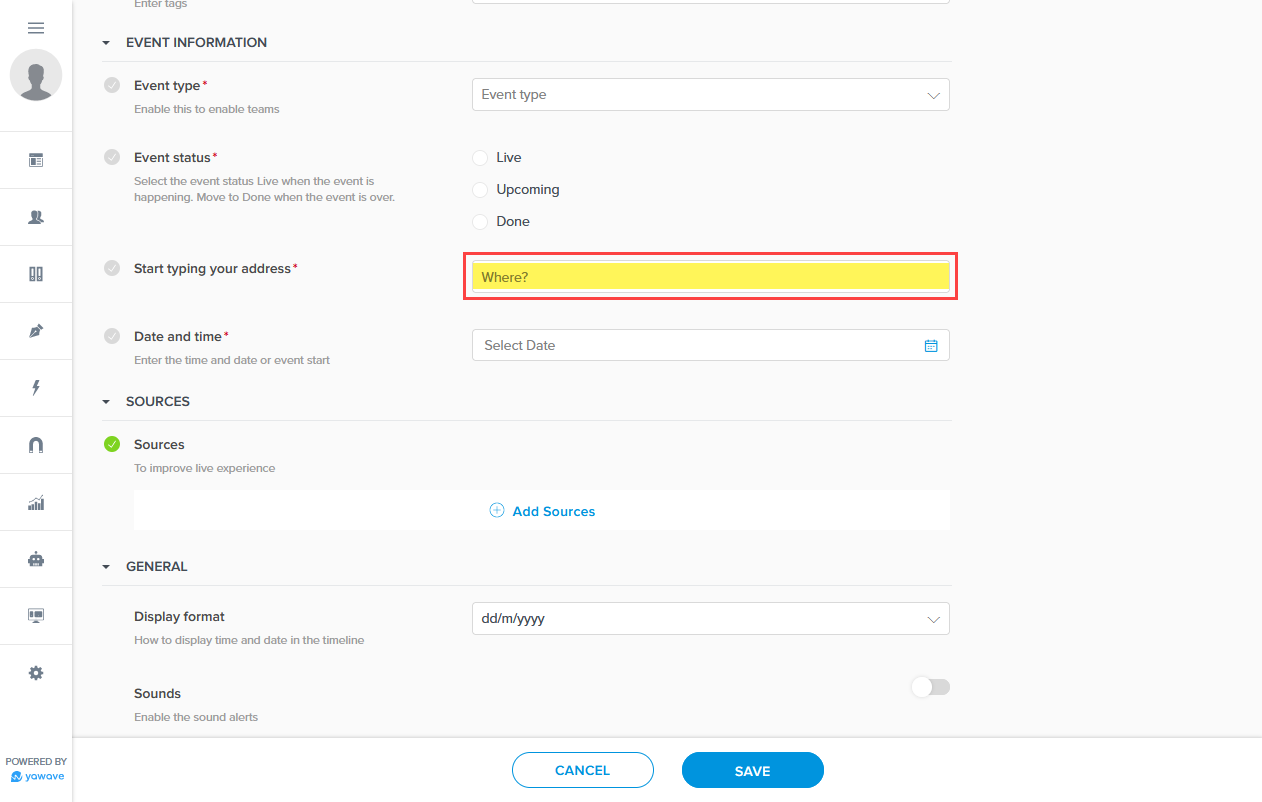
- Next, start typing the location of the event in the Start typing your address field. Helpful Tip: You can also type the name of the stadium or place where the event is held and select the name once it populates in the drop-down menu.
- Select the date from the calendar by clicking the Date and time field. Once the date is selected, click Select time and select the time, then click OK. Alternatively, you can click Now if the event is happening now.

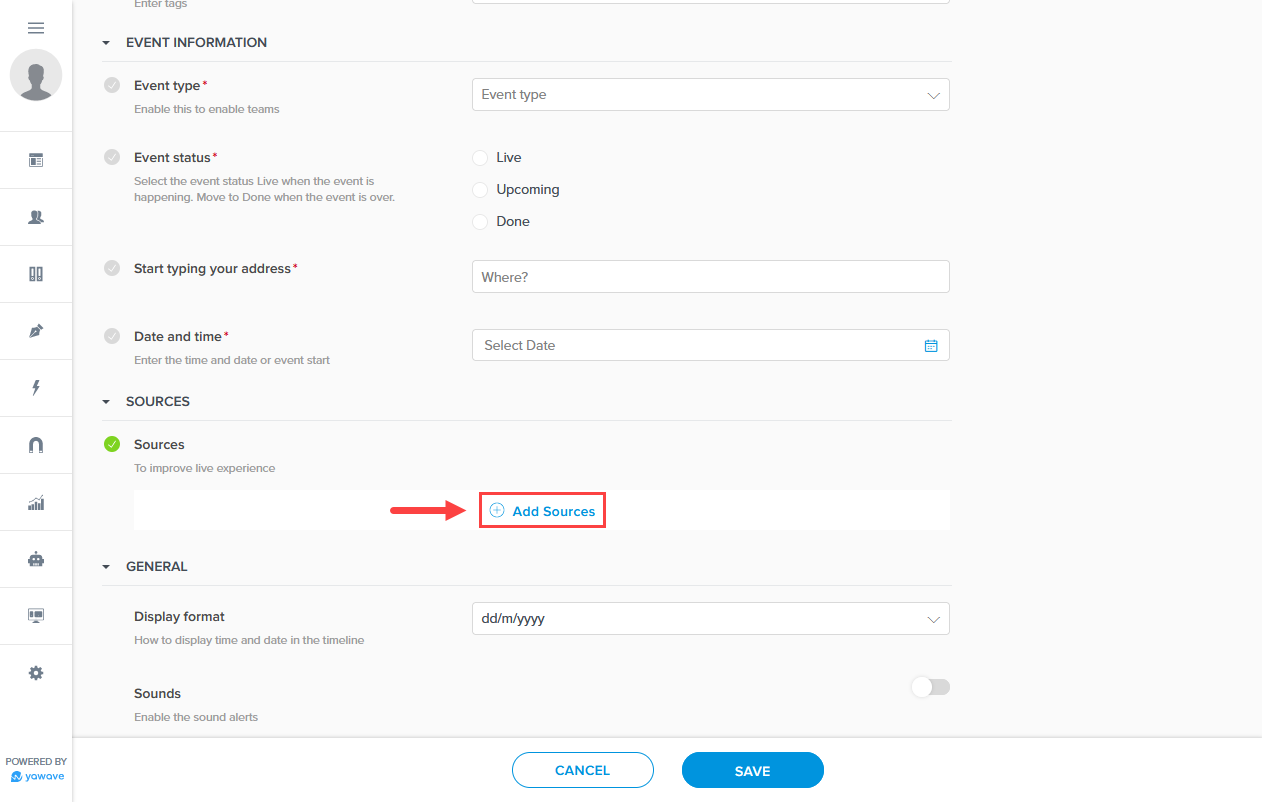
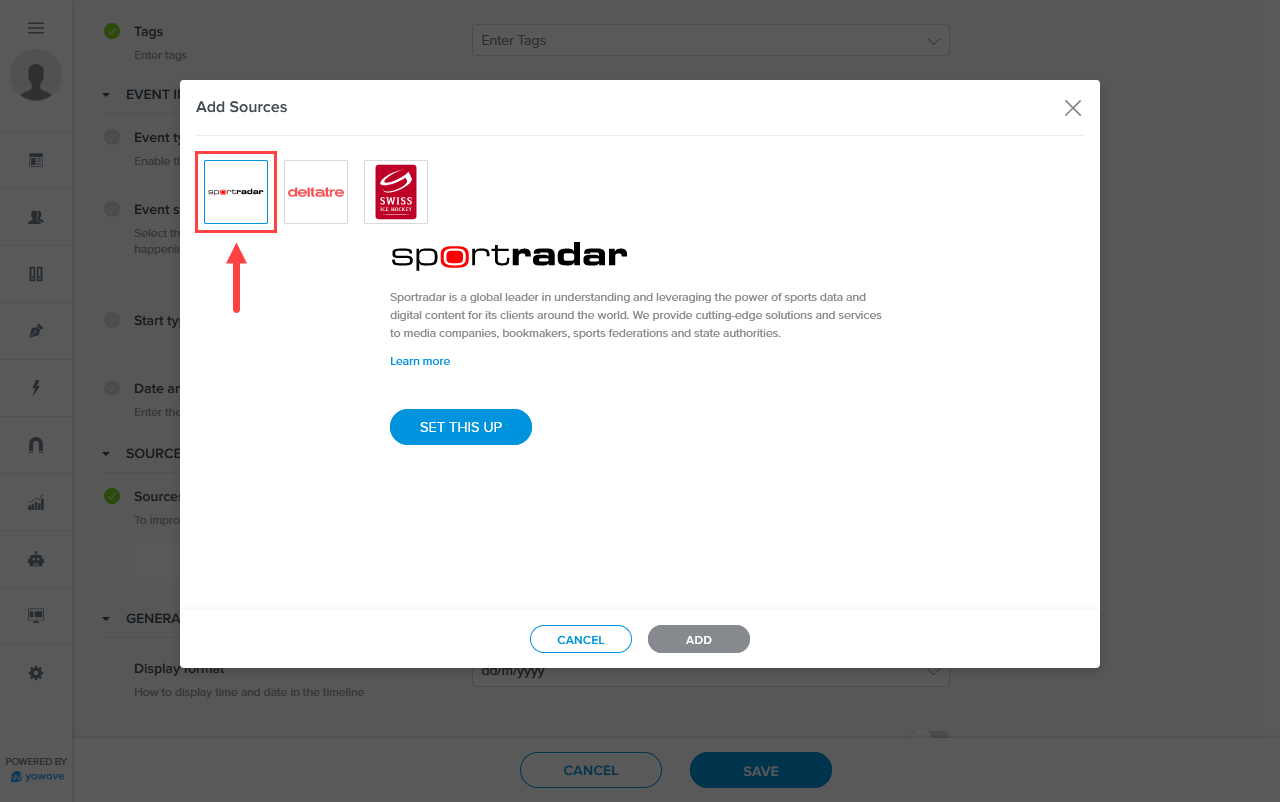
- Optional: If you are using a third-party data source such as Sportradar to auto-populate event updates in your Liveblog, click Add Sources. Here you can select the data source you want to use to populate your Liveblog. If you have not created a connection for your data source such as Sportradar, continue reading below. You'll need an account at Sportradar to create the connection. Helpful Tip: Sportradar offers trial API keys for you to test.
To create a Sportradar connection, click the Sportradar icon.
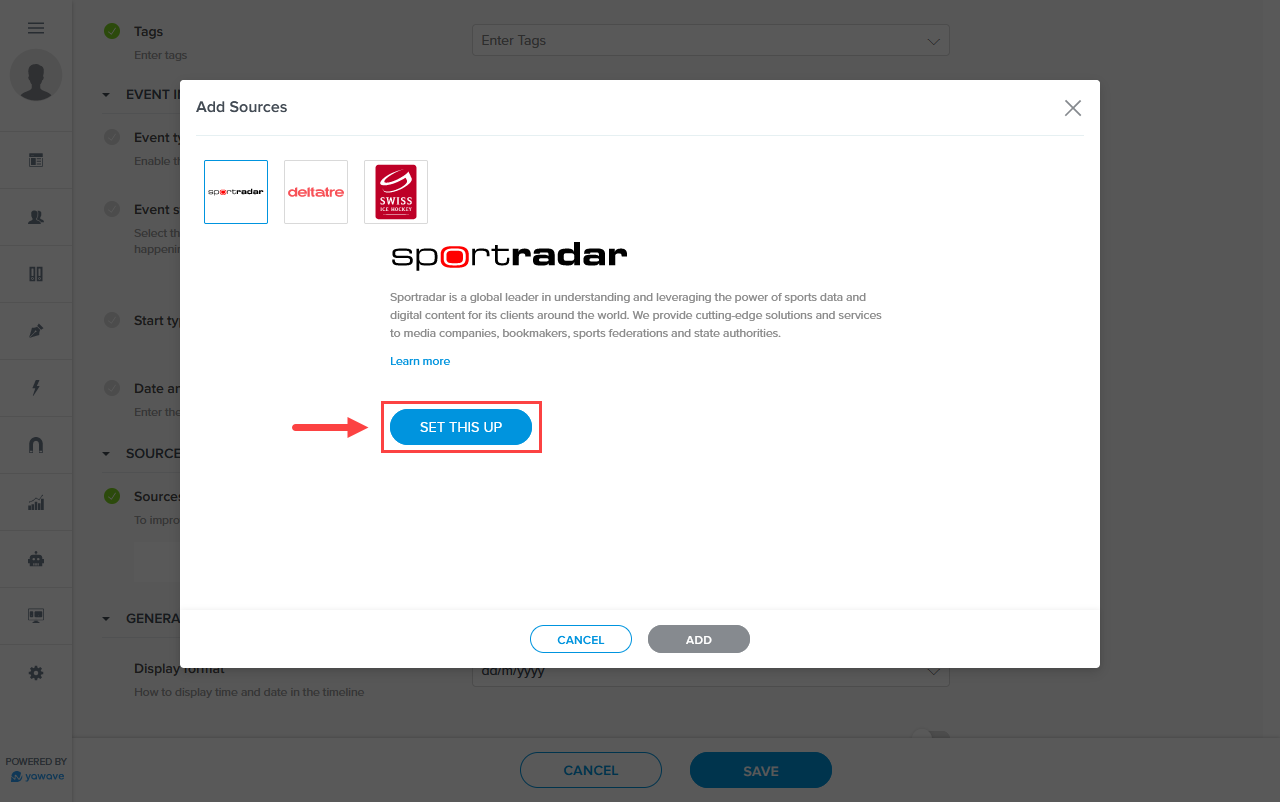
Click Set This Up.
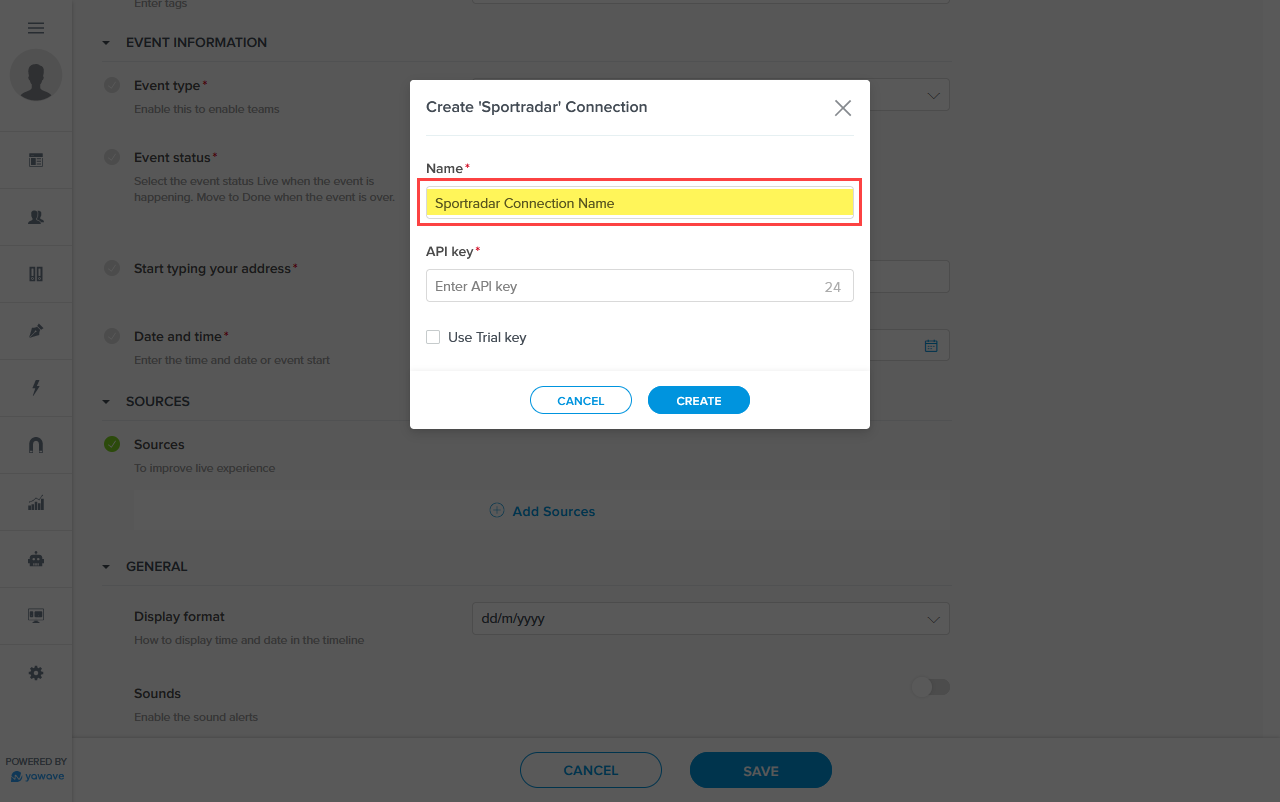
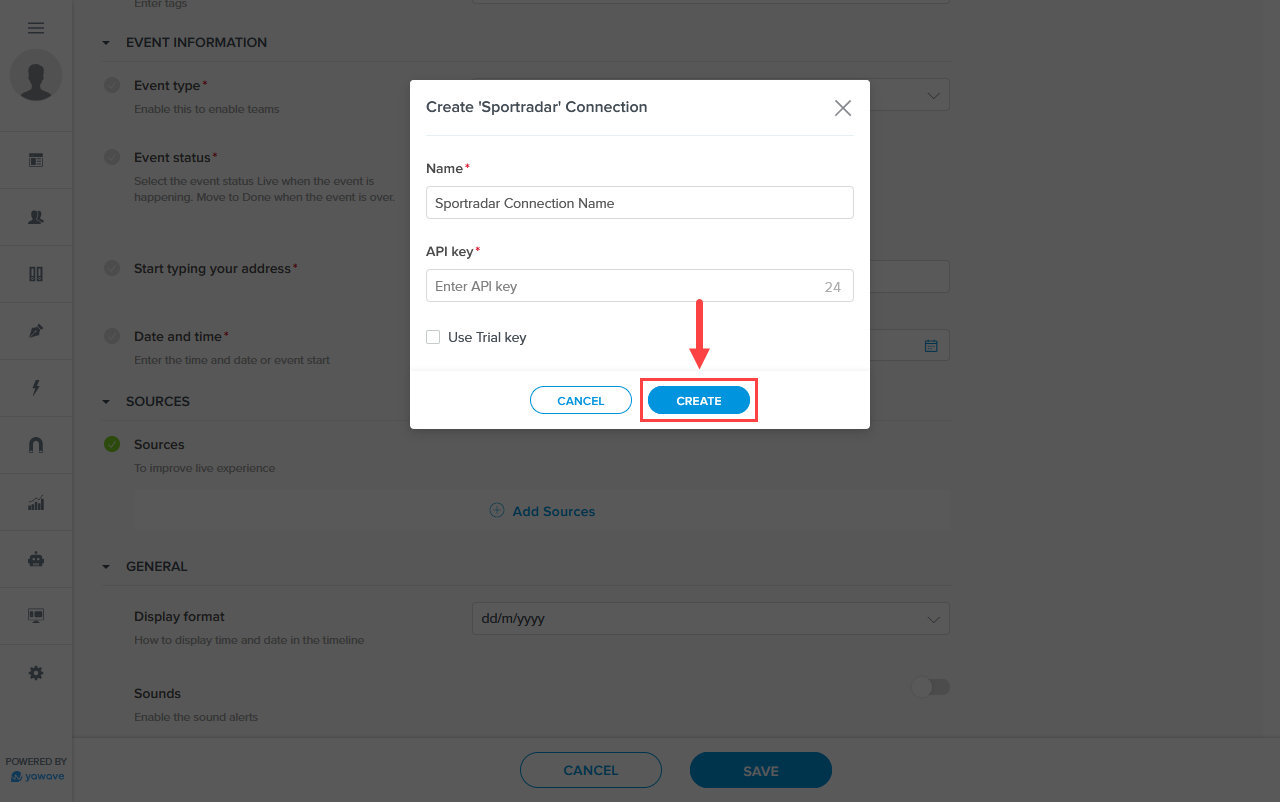
Enter the name you want to use for this connection in the Name field.
Enter the Sportradar API Key in the API Key field. Note: You'll need to create an additional connection only when you plan to use a different API Key from Sportradar.
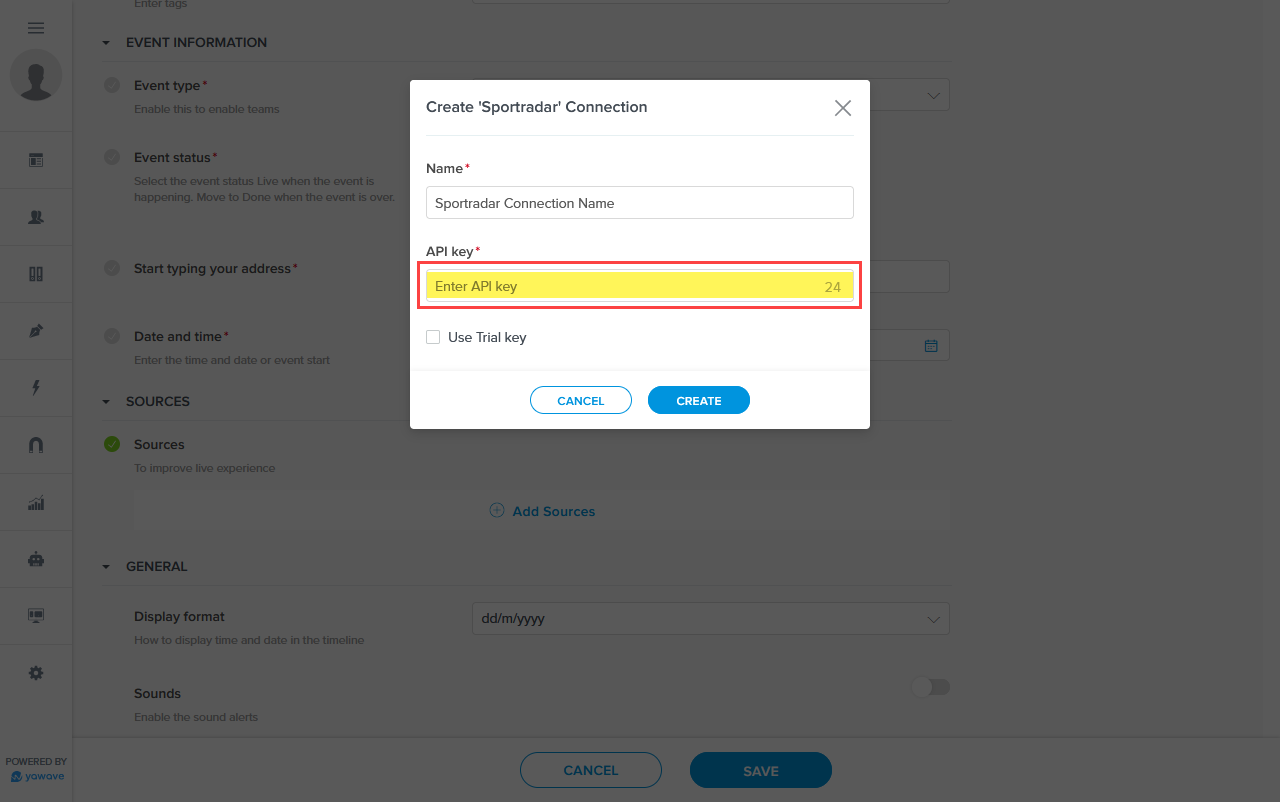
If you are using the Sportradar trial API, click the box next to Use Trial key.

Click Create.
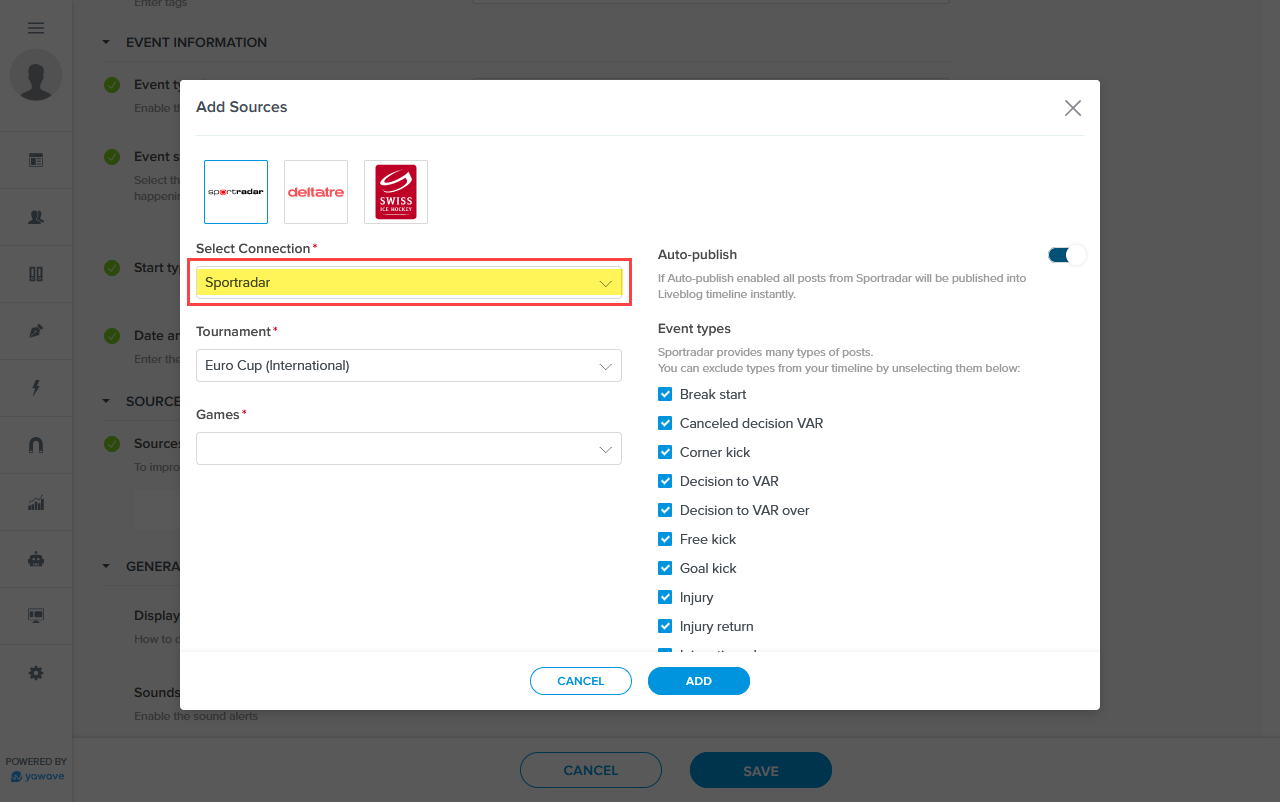
You should now see the Sportradar connection already selected in the Select Connection drop-down menu. Note: If you have other connections you can change it here before moving forward.
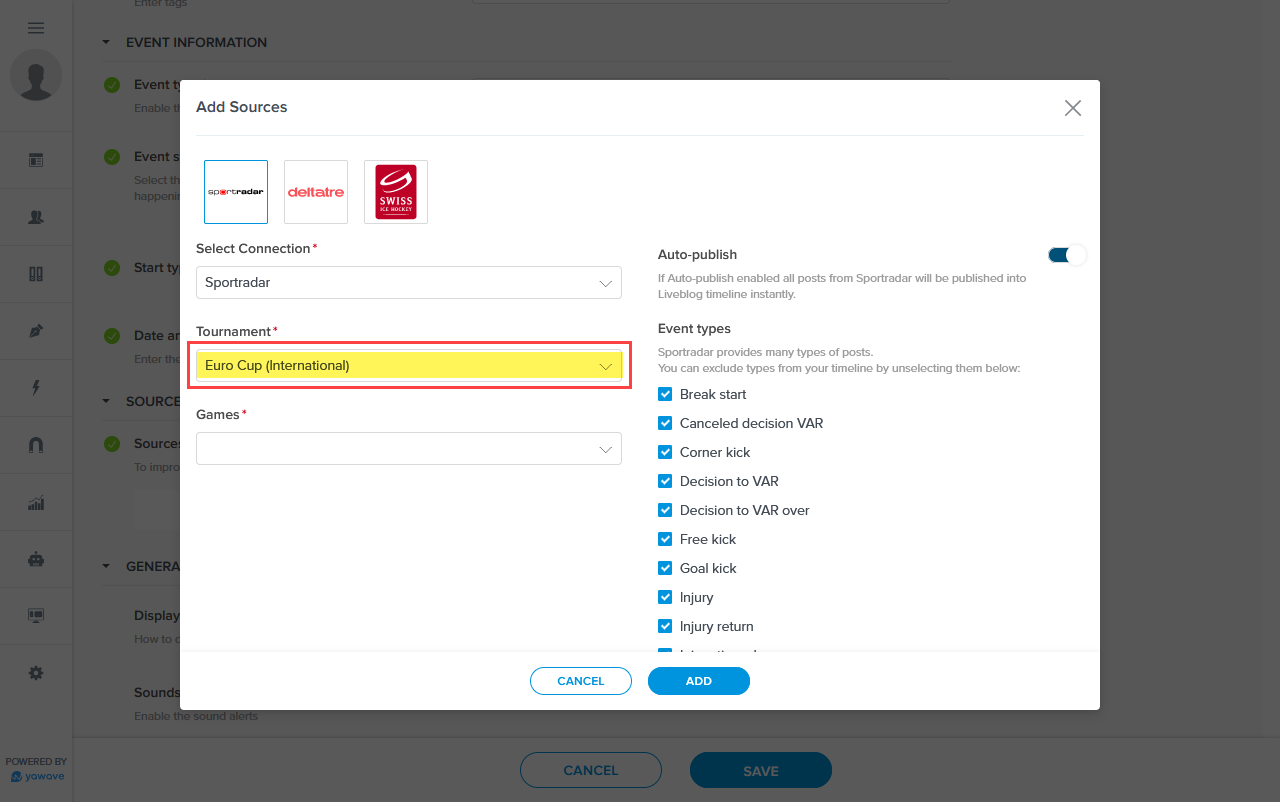
Next, select the tournament you want to use in this Liveblog from the Tournament drop-down menu. Note: The available tournaments are based on the API Key you used when creating the connection you selected above.
Based on the tournament you selected above, the available games will show in the Games drop-down menu. Select the game you want to use in this Liveblog. Note: Available games can be upcoming games and games that have already been completed.
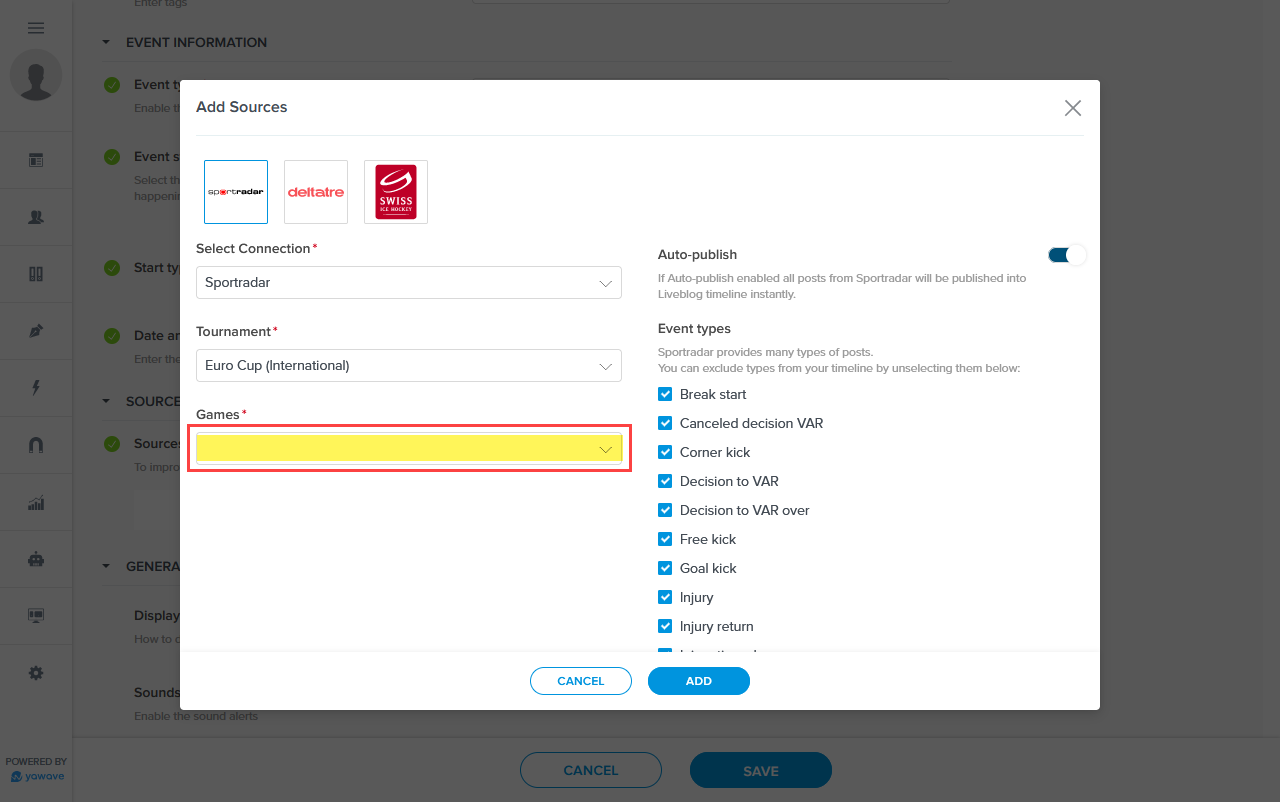
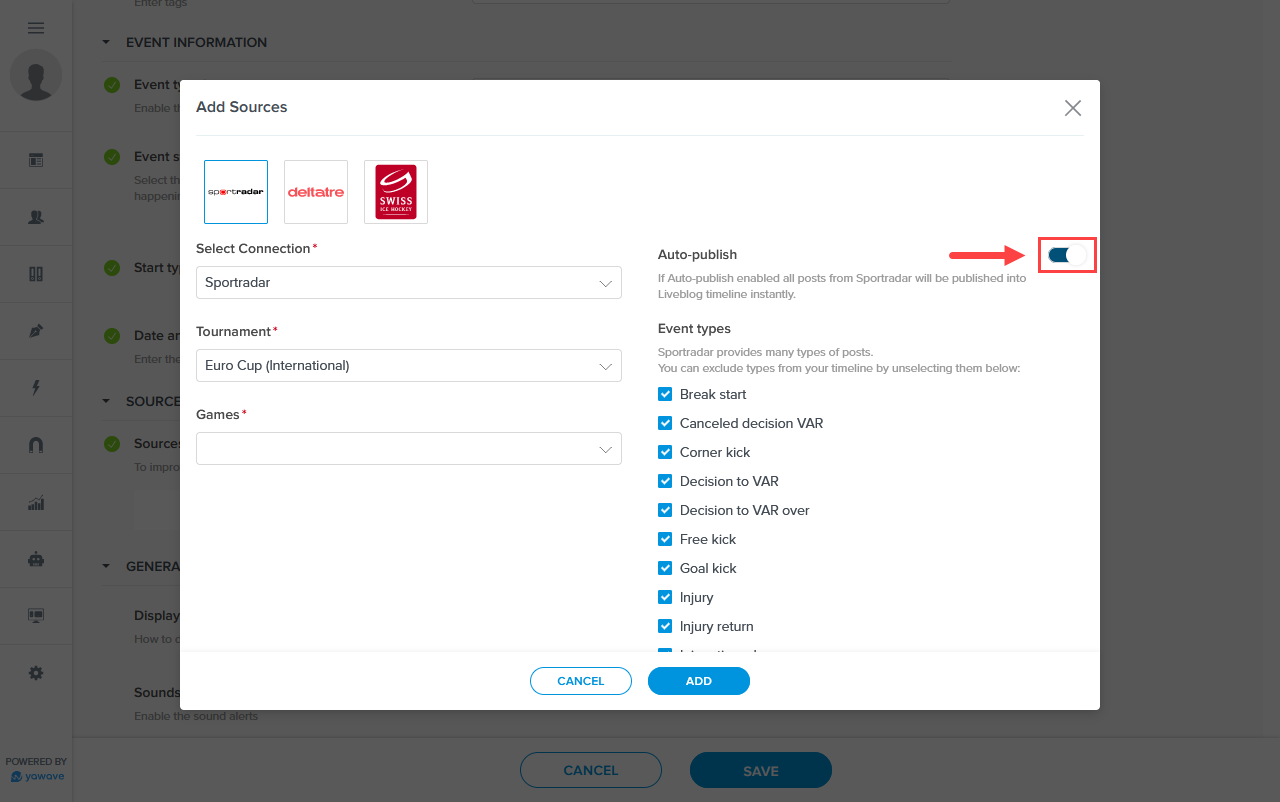
By default Auto-publish is turned On. This means all data from the data source (Sportradar in this example) will be automatically populated. If you do not want updates to be automatically published, click the Auto-publish toggle once to turn this feature Off. Note: If you selected a game that has already been completed, the Liveblog will show all the entries for the selected game. Entries for upcoming games will not be shown until the game starts. In some cases there may be entries prior to a game starting.
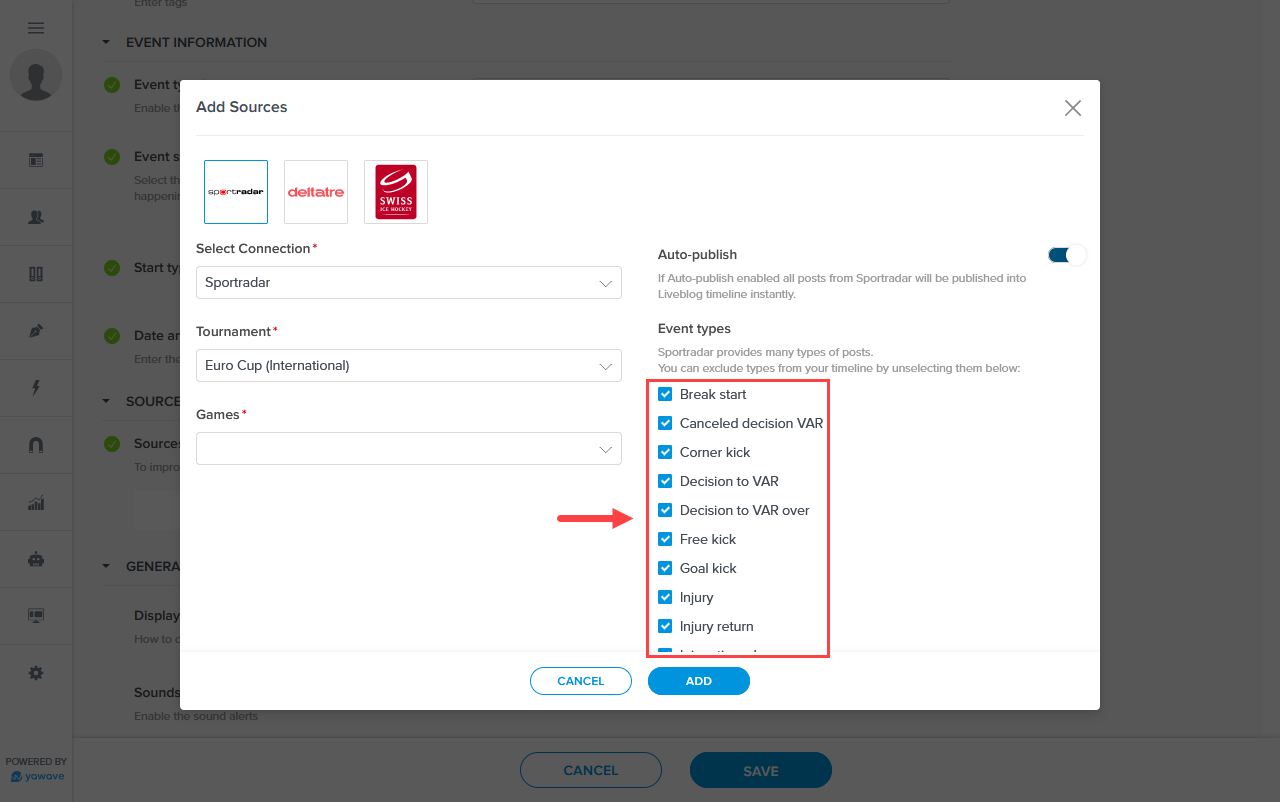
Select the event types you want to use for this Liveblog shown under Event types*. By default all event types are selected. Click the box next to the event type to remove it from the list. Note: Event types are shown based on the event you chose when creating the connection for this Liveblog.
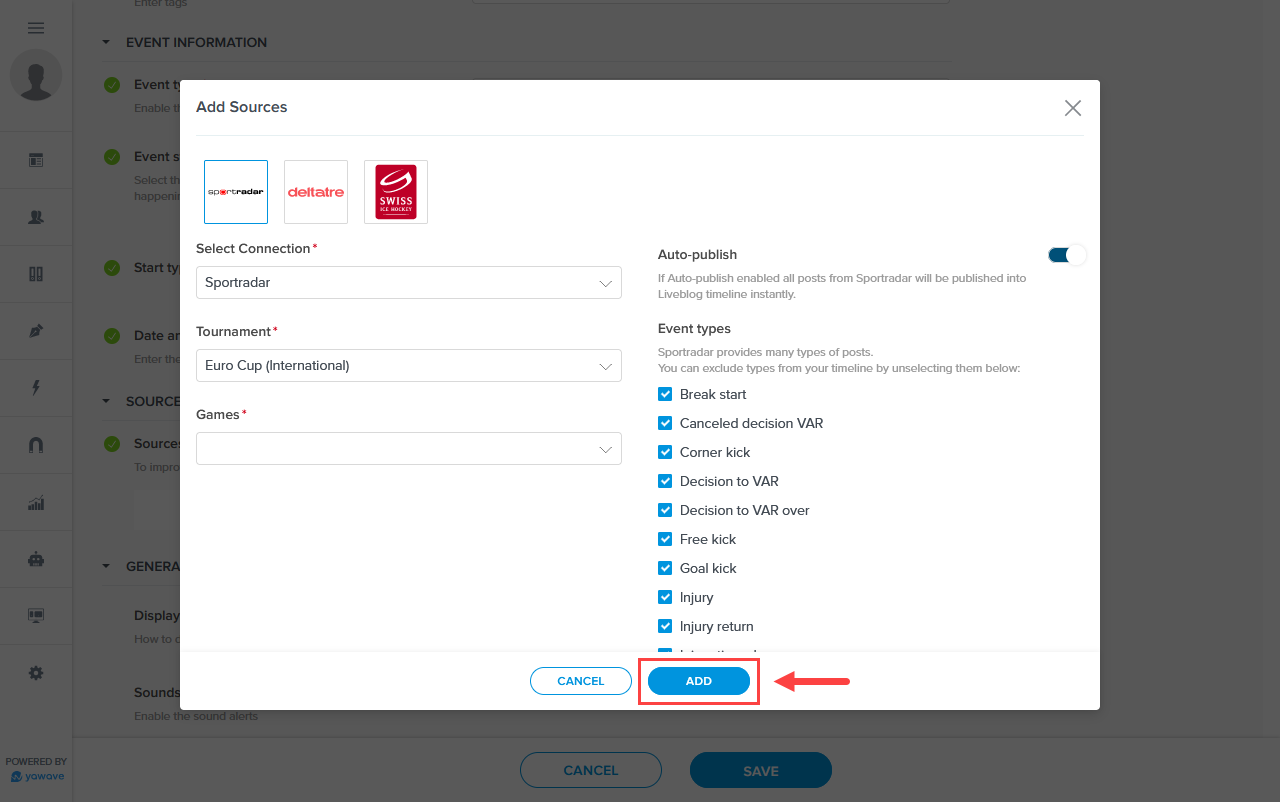
Click Add.
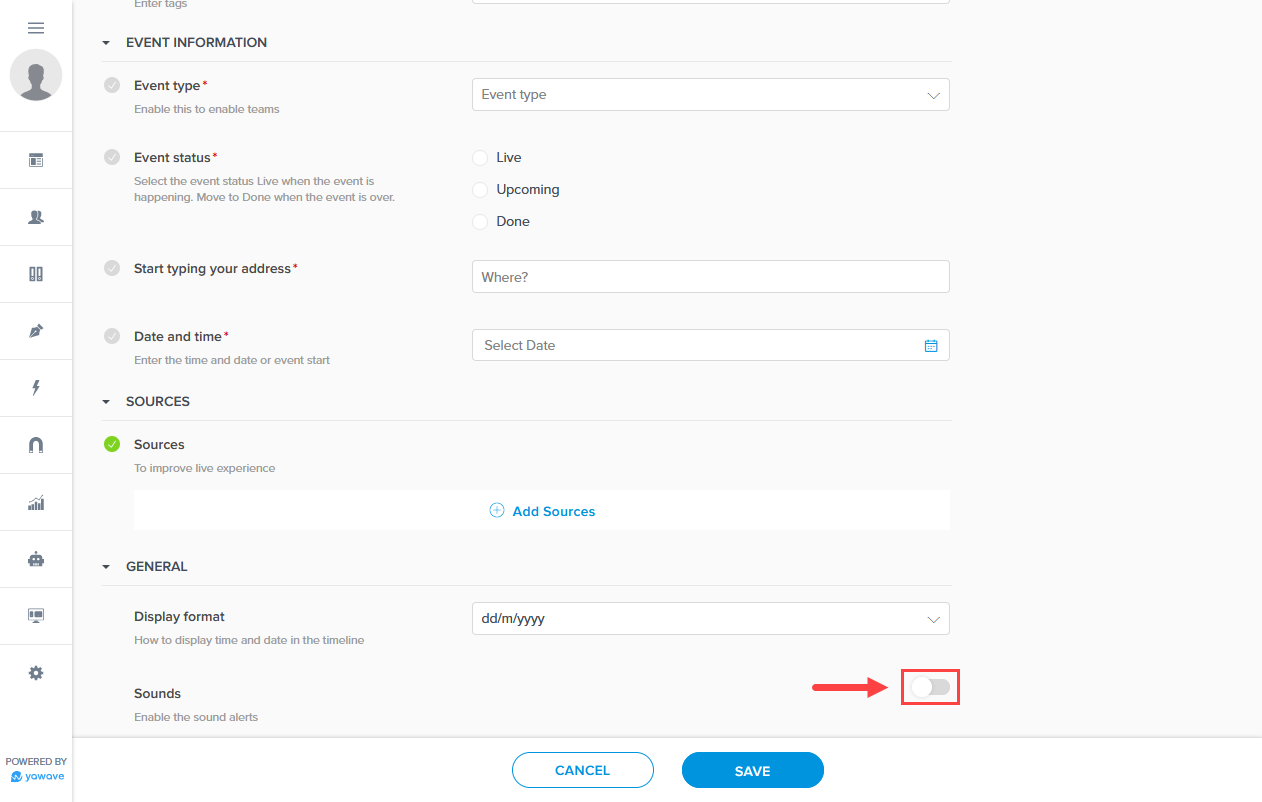
- Select the date and time format from the Display format drop-down menu.
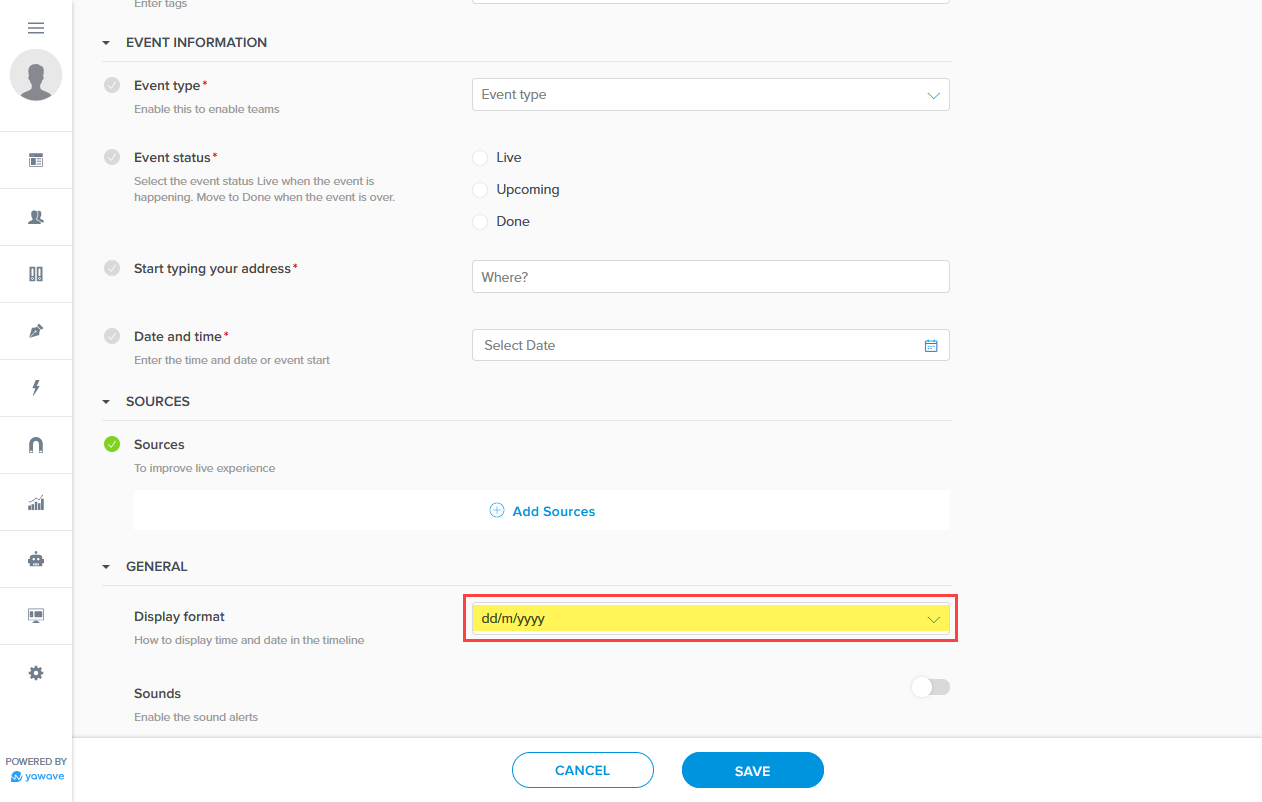
- Currently Sounds is not used. More information on how to configure this setting will be provided once it becomes available.
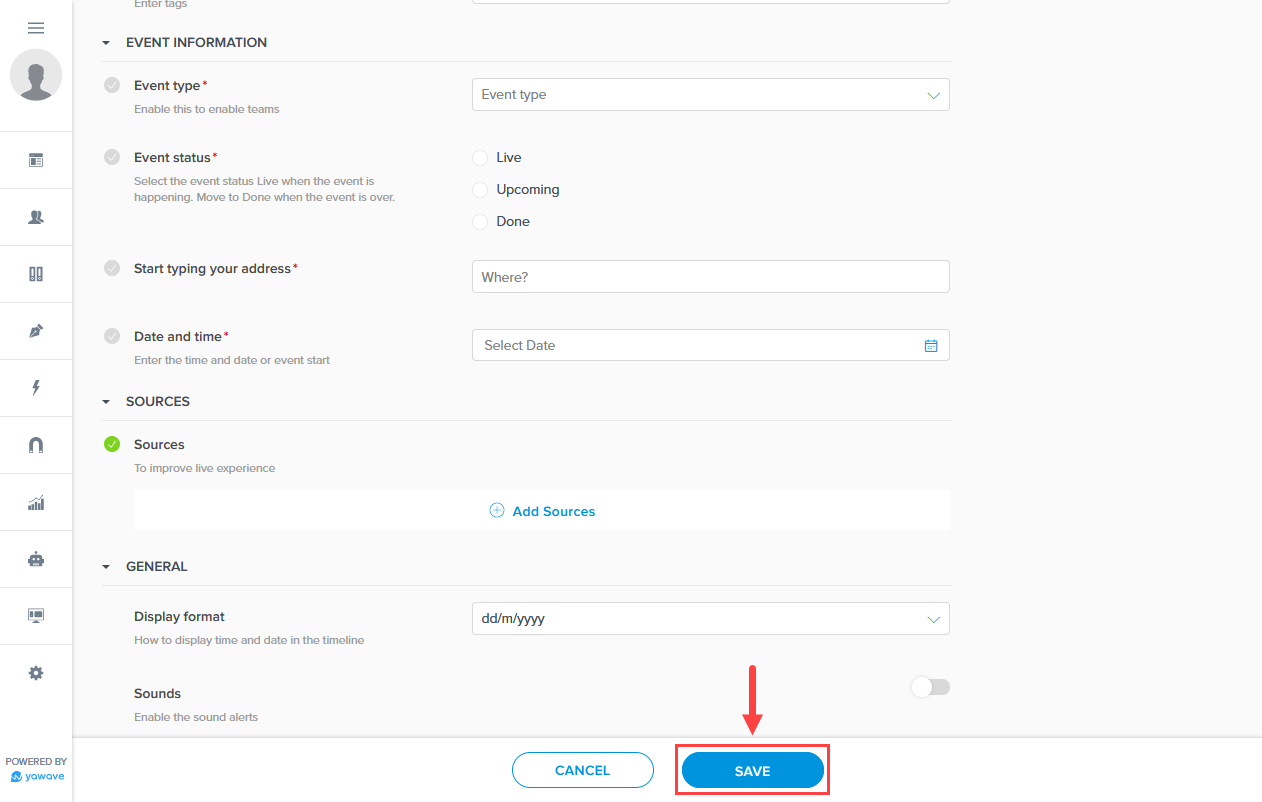
- Click Save.
Manage a Liveblog
Now that you've created a Liveblog it's time to manage your Liveblog prior to or during a live event. This is where you'll publish posts or use the data source feed from a third-party such as Sportradar. The following uses the Event Information for an upcoming soccer match between FC Zurich and Grasshopper Club Zurich.
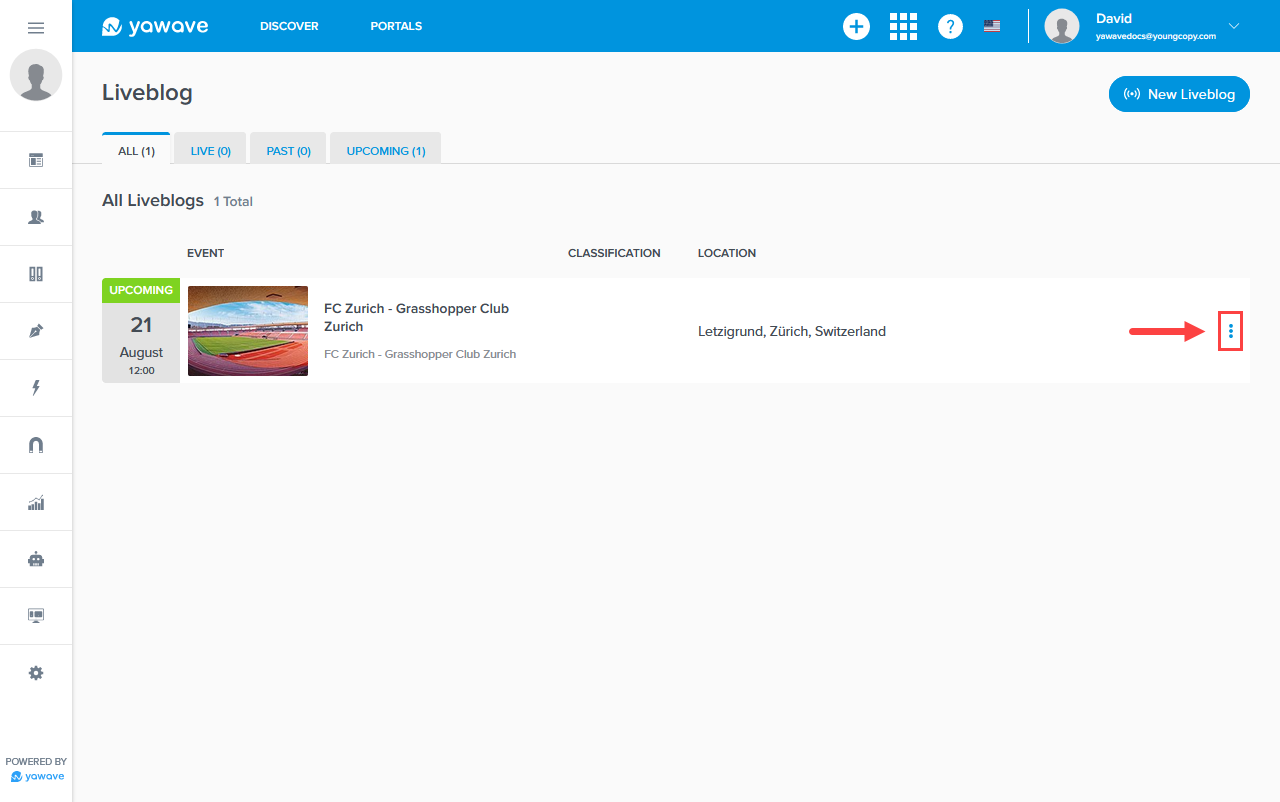
- Click Publish/Liveblogs.
- Click the three dot menu and select View. Helpful Tip: You can also select Edit (to edit the Liveblog's configuration settings), Duplicate (to create a copy of the Liveblog - this only copies the configuration settings) or Delete (to remove the Liveblog).
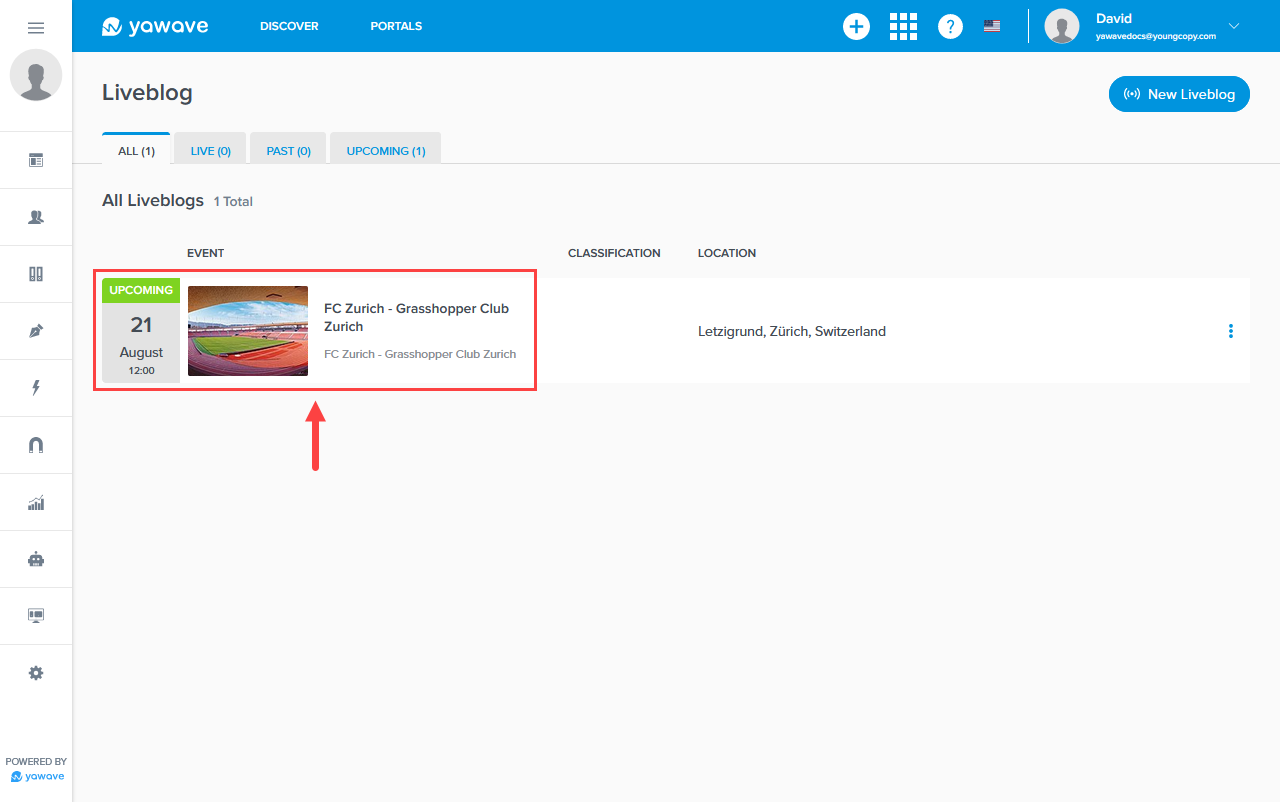
Alternatively, click the Liveblog date, image or title of the Liveblog you want to manage.
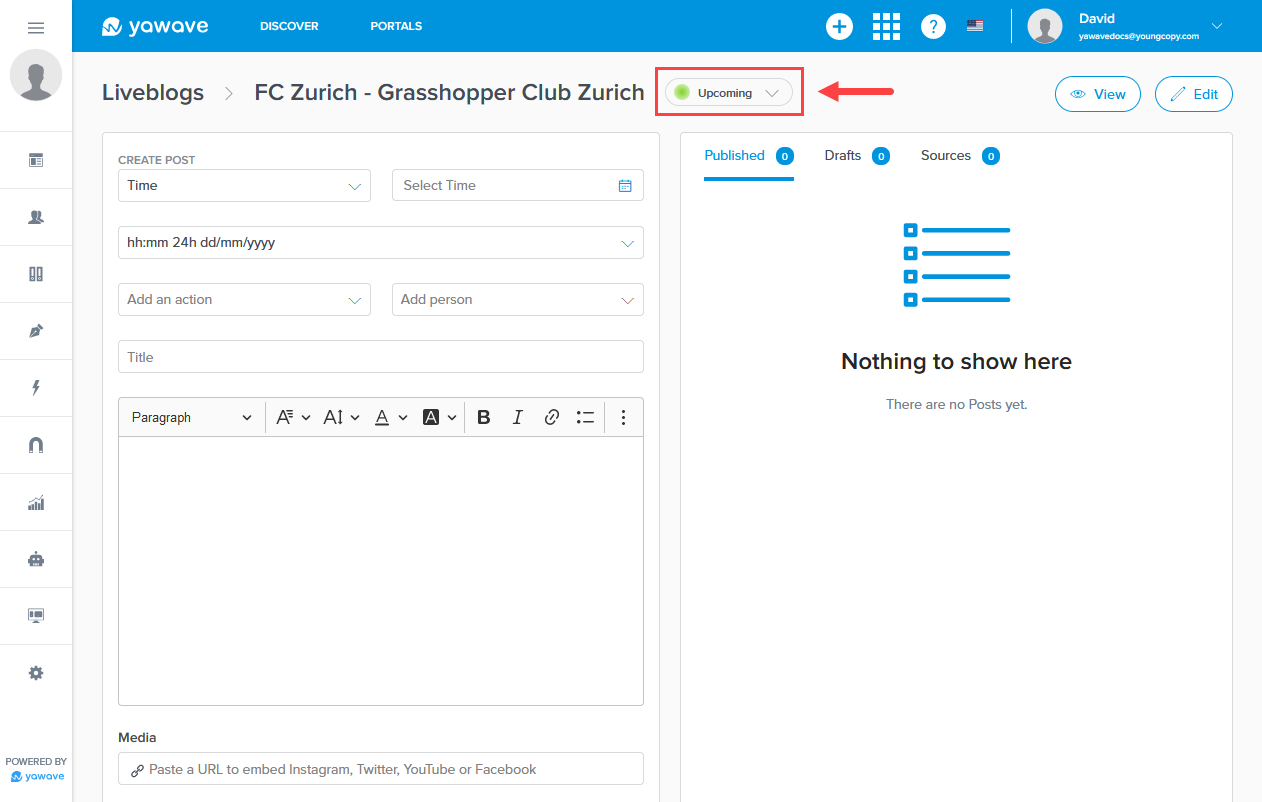
- At anytime you can change the status of the Liveblog by selecting Upcoming, Live, or Past from the drop-down menu.
- Click View to see the Liveblog without any management features.
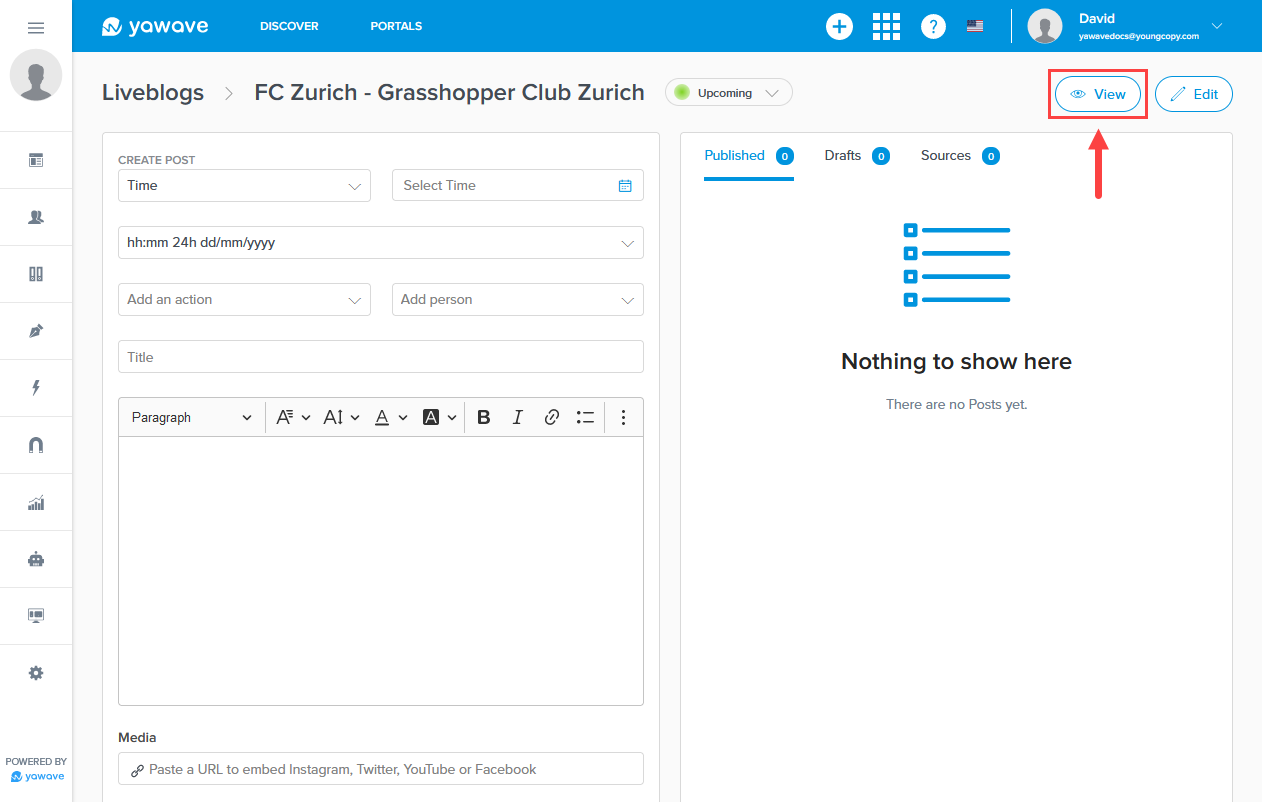
- Click Edit to view the Liveblog's configuration settings.

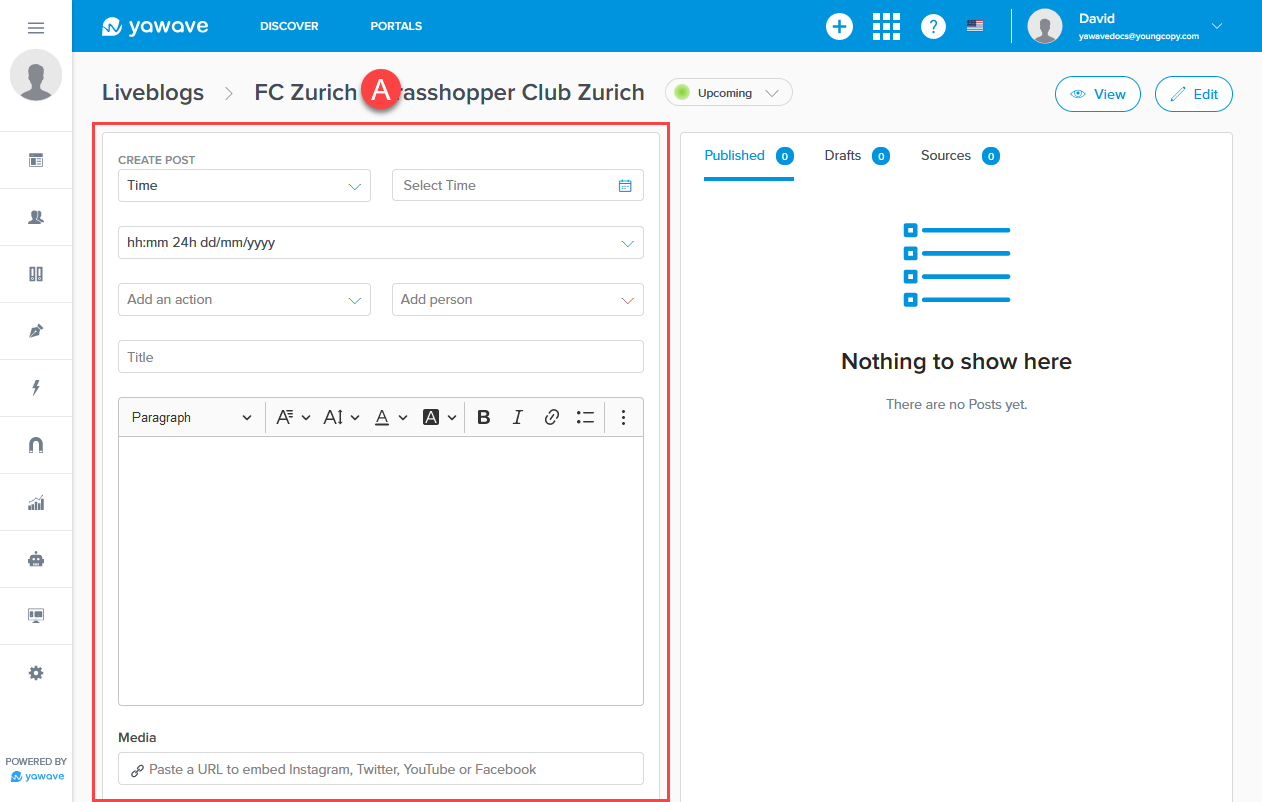
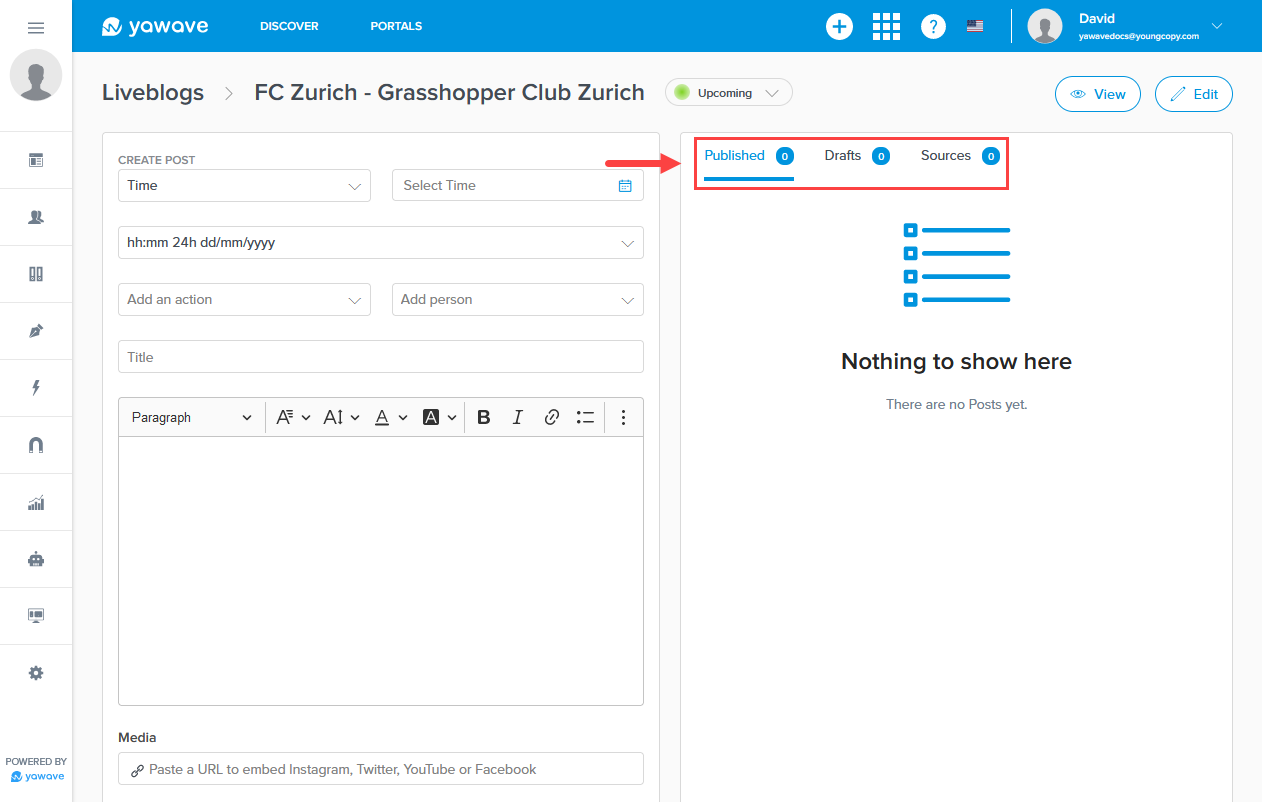
- Below you'll see two images. (A) shows where you create posts and (B) shows the stream of posts you created in addition to event updates from a third-party source such as Sportradar.
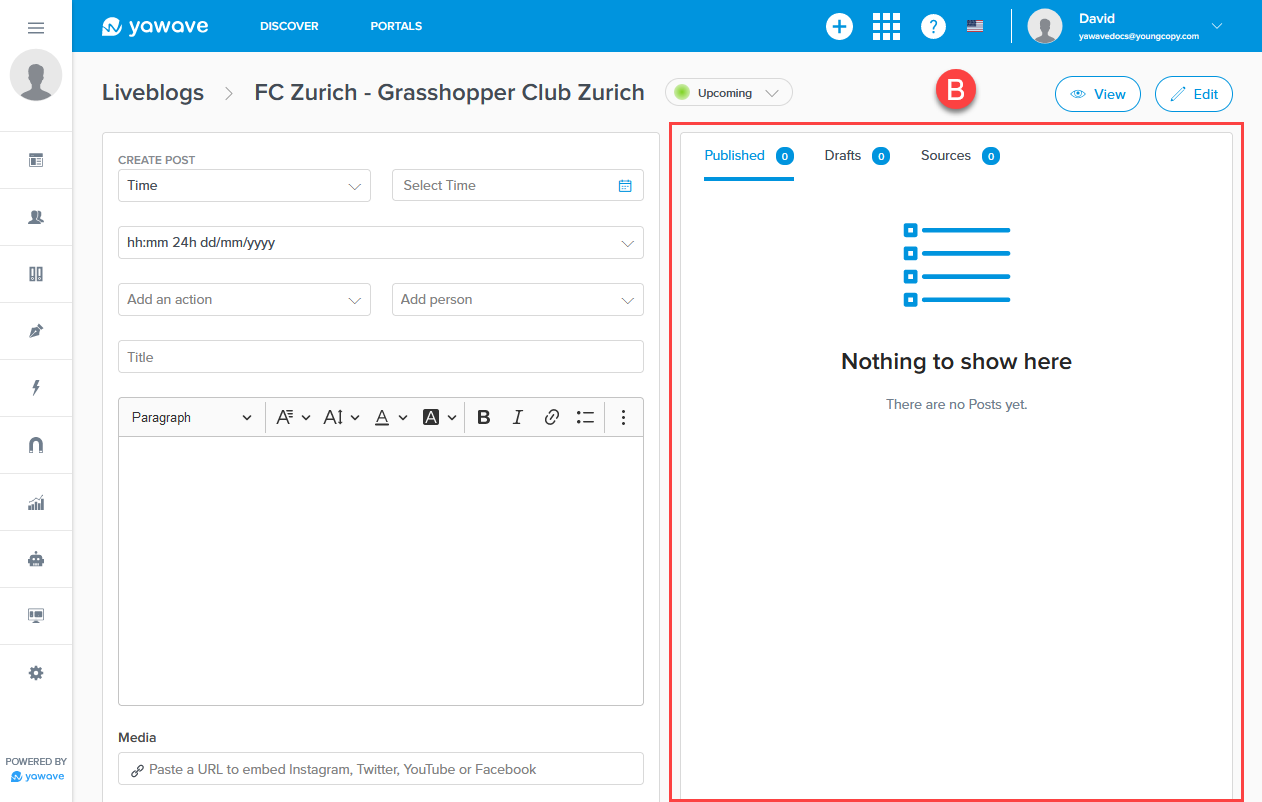
Click Publish (shows all posts published), Drafts (shows all posts in draft mode, ready to be published) or Sources (shows all posts from third-party data sources such as Sportradar) to toggle between the feeds based on their status.
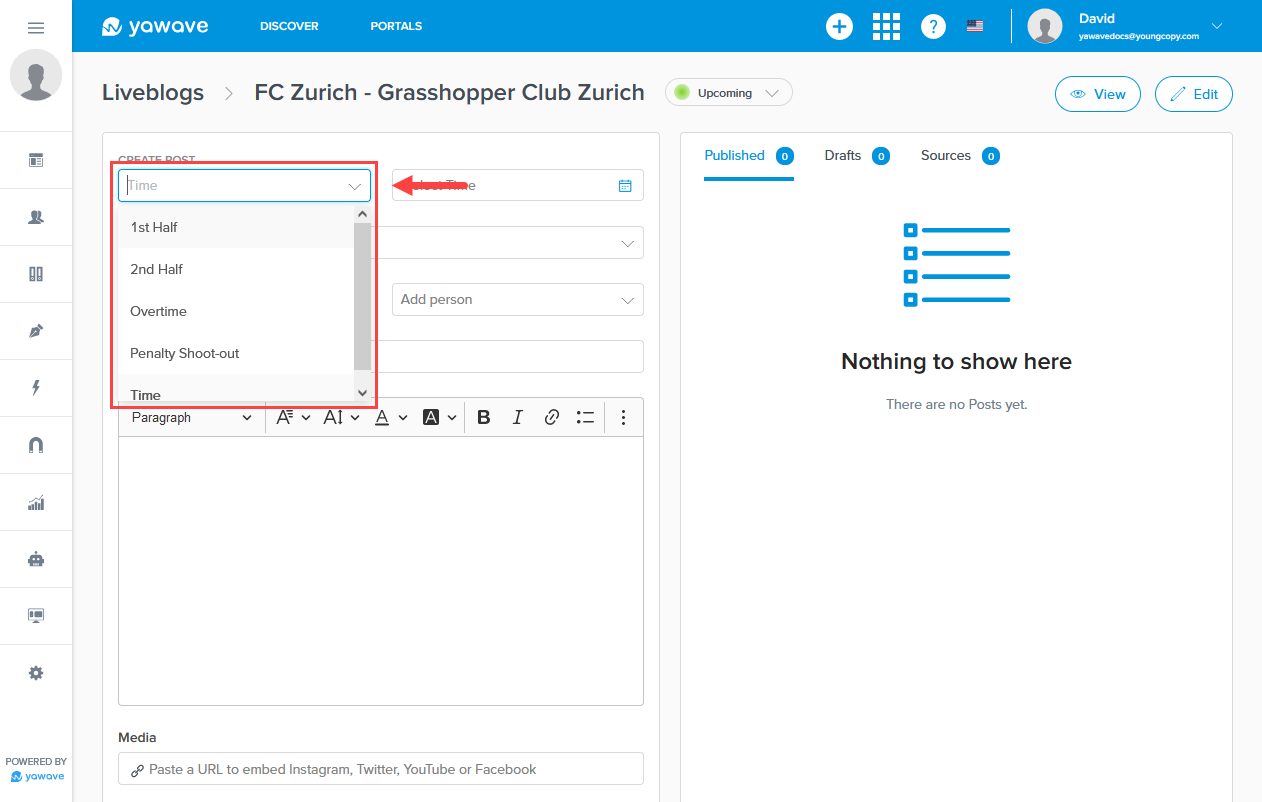
- By default Time is selected. In our example we selected Soccer as the Event type so we have a few more options available to select such as 1st Half, 2nd Half, Overtime and more.
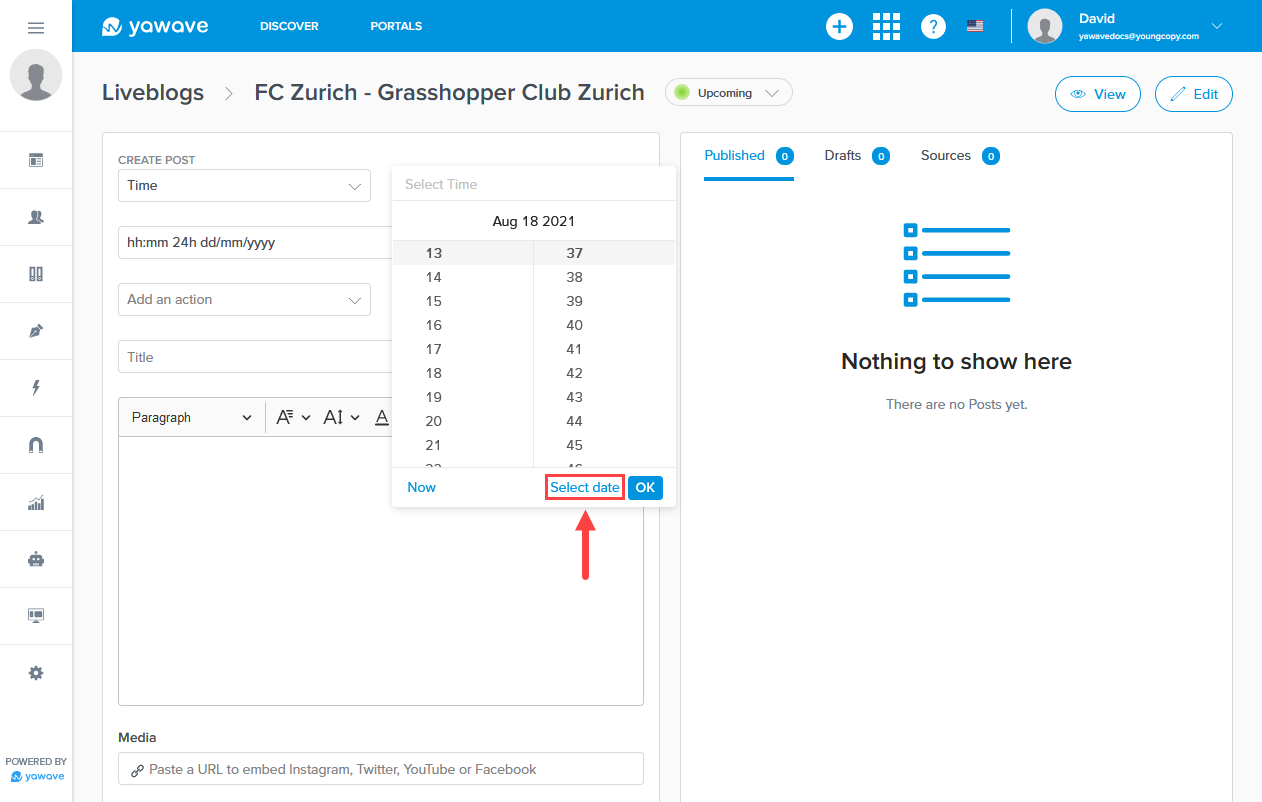
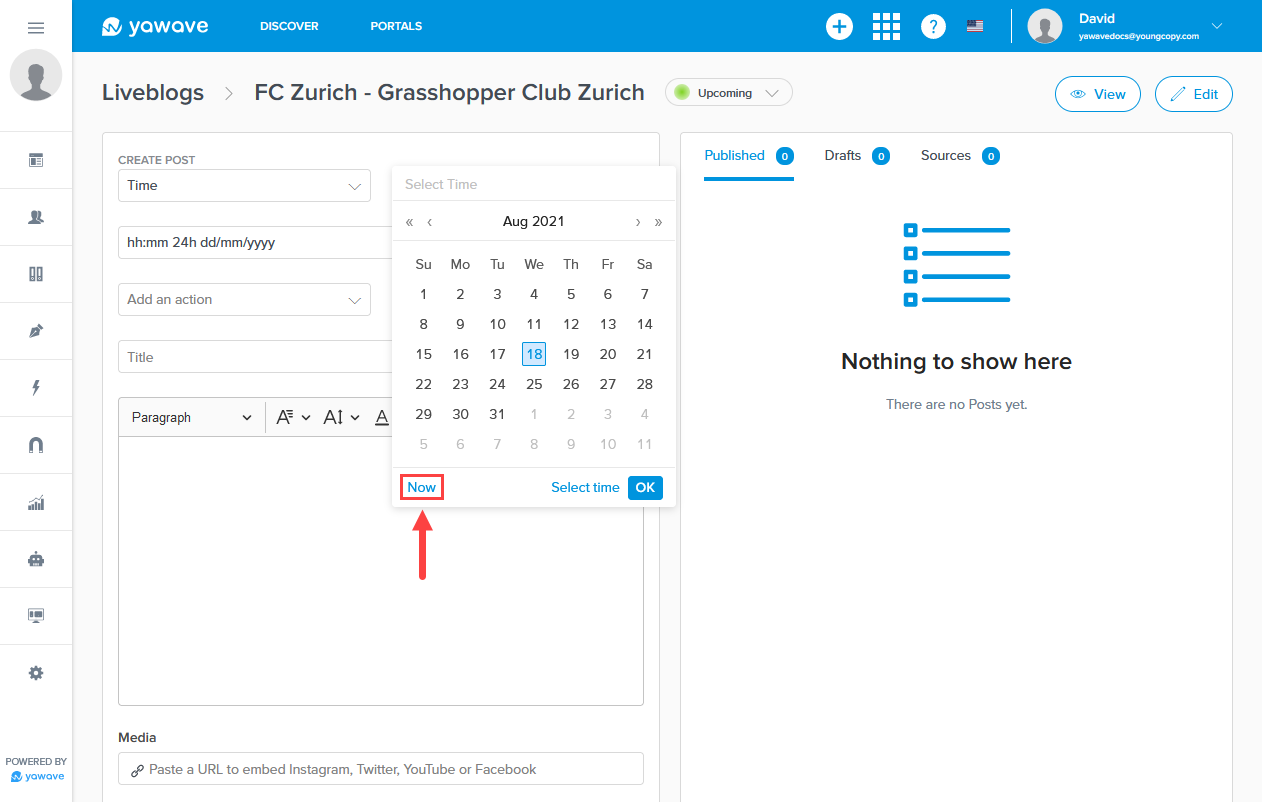
Select the date and time from the calendar and click OK. You can also select the month and day or just the time by clicking Select time.
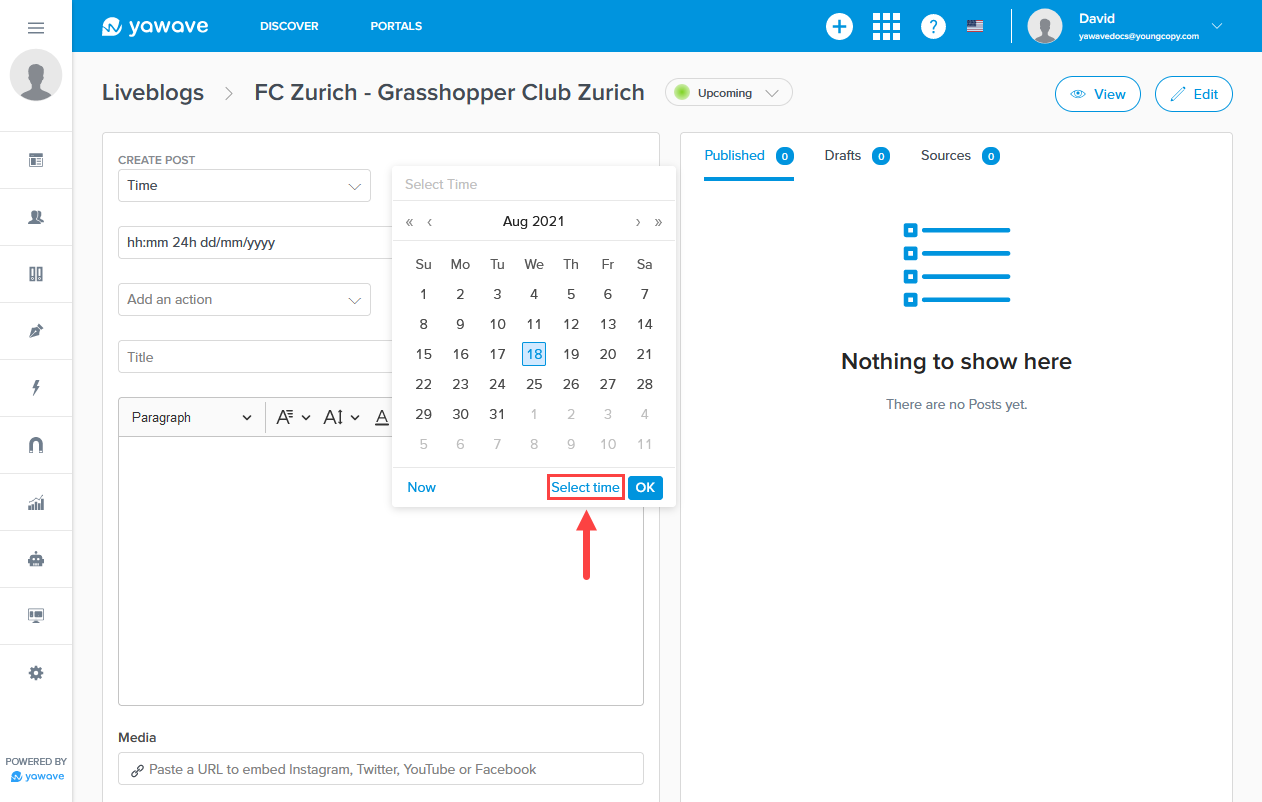
Click Select date to toggle between date and time.
Click Now for the current date and time, then click OK.
- Select the date and time format from the drop-down menu.

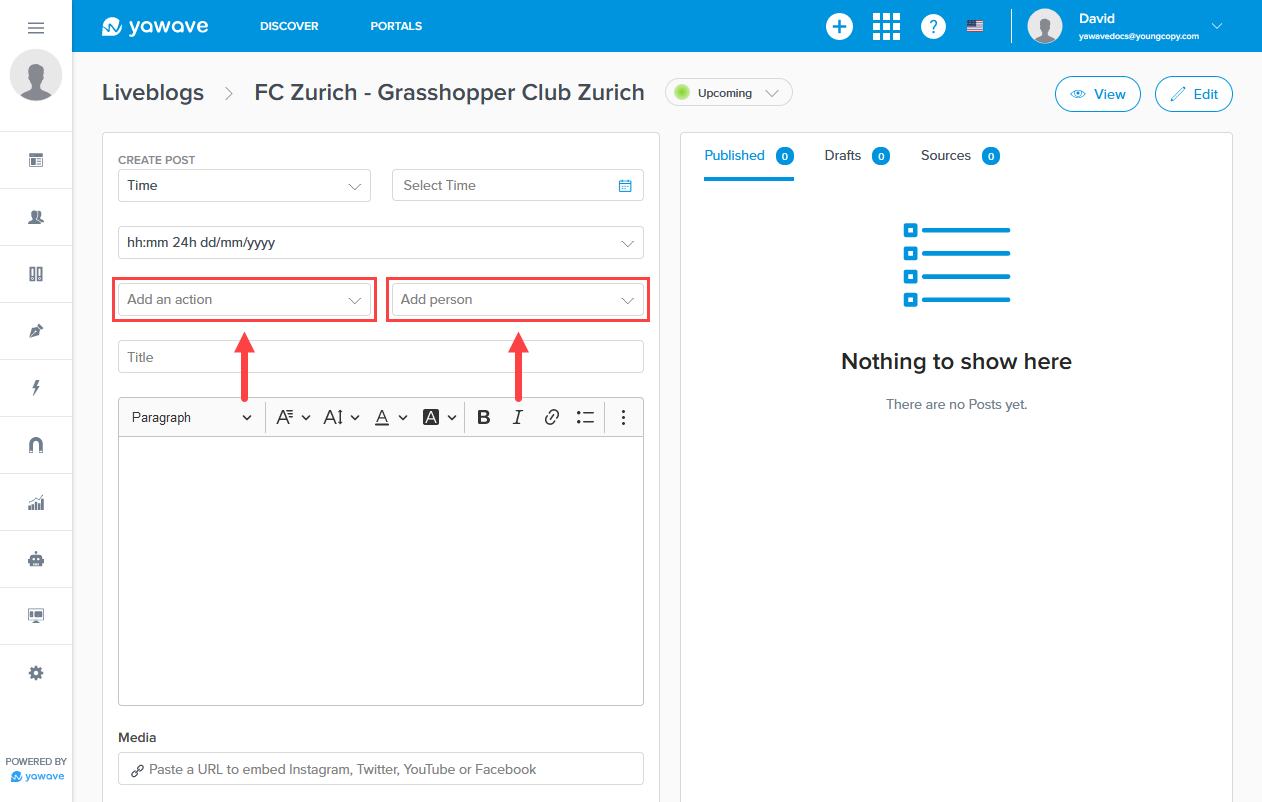
- If you are using 1-1 mapping, select the action and person from the Add an action and Add person drop-down menus. Note: 1-1 mapping is described in Step 9 in the Create a Liveblog section above.
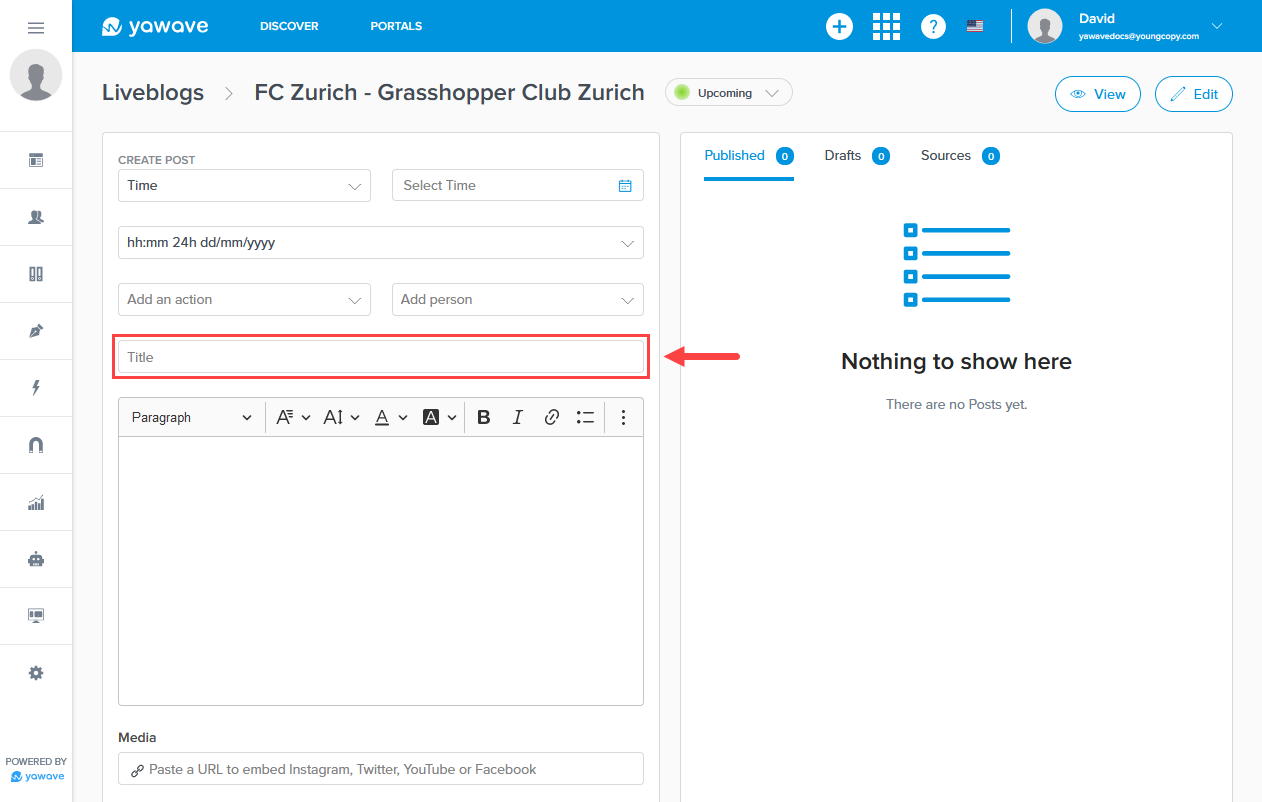
- Enter the title of the post in the Title field.
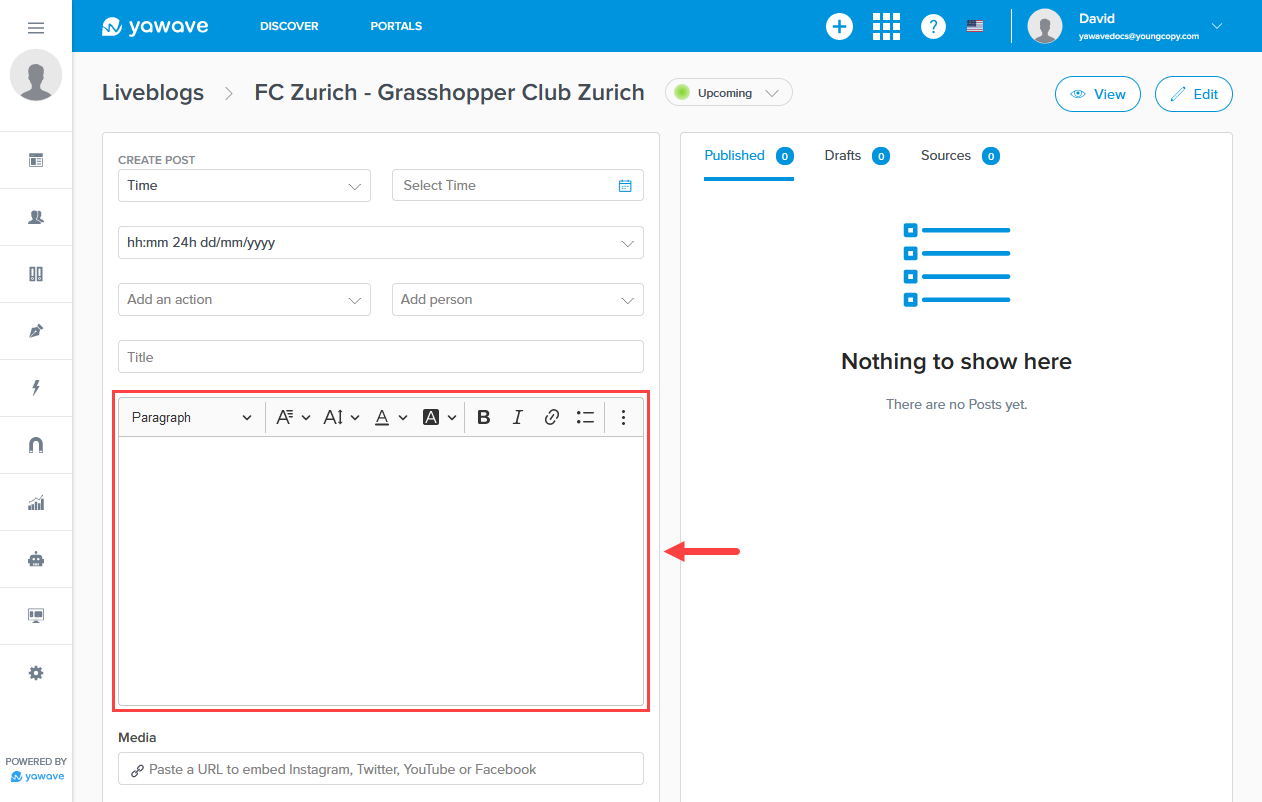
- Enter text you want to use in the post. You can format the text similar to Word documents or WordPress posts.
- Optional: You can embed a post from Instagram, Twitter, YouTube or Facebook by pasting the link to the post in the Media field.

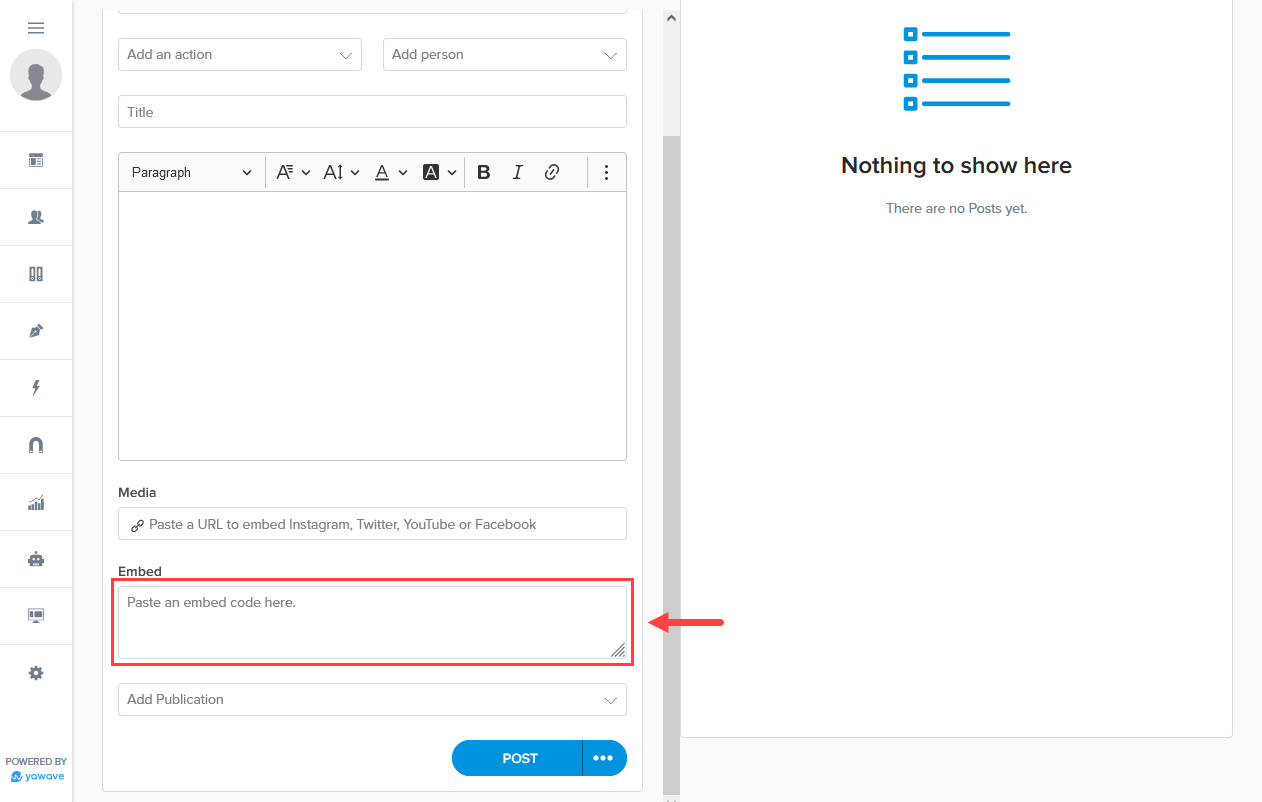
- Optional: Paste the embed code to a social media post such as Instagram in the Embed field.
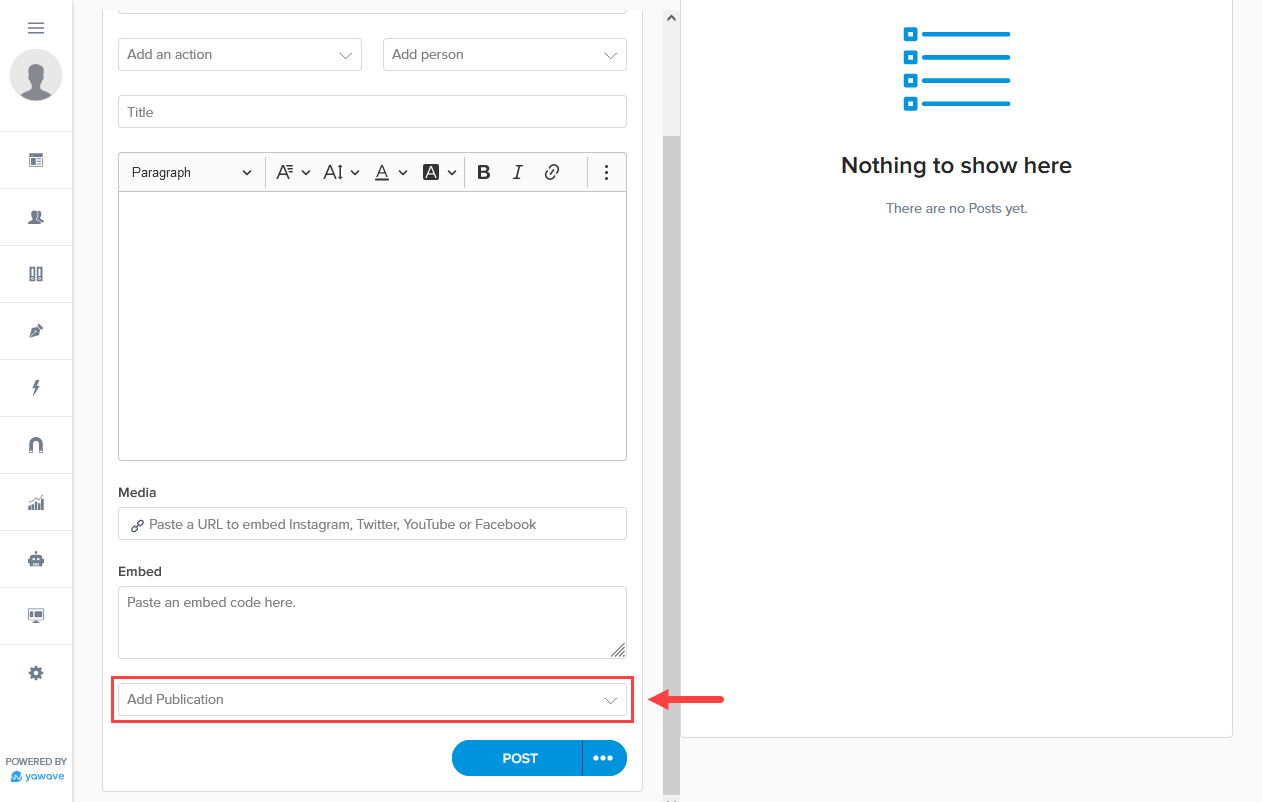
- Optional: If you have created a Publication, select it from the Add Publication drop-down menu.
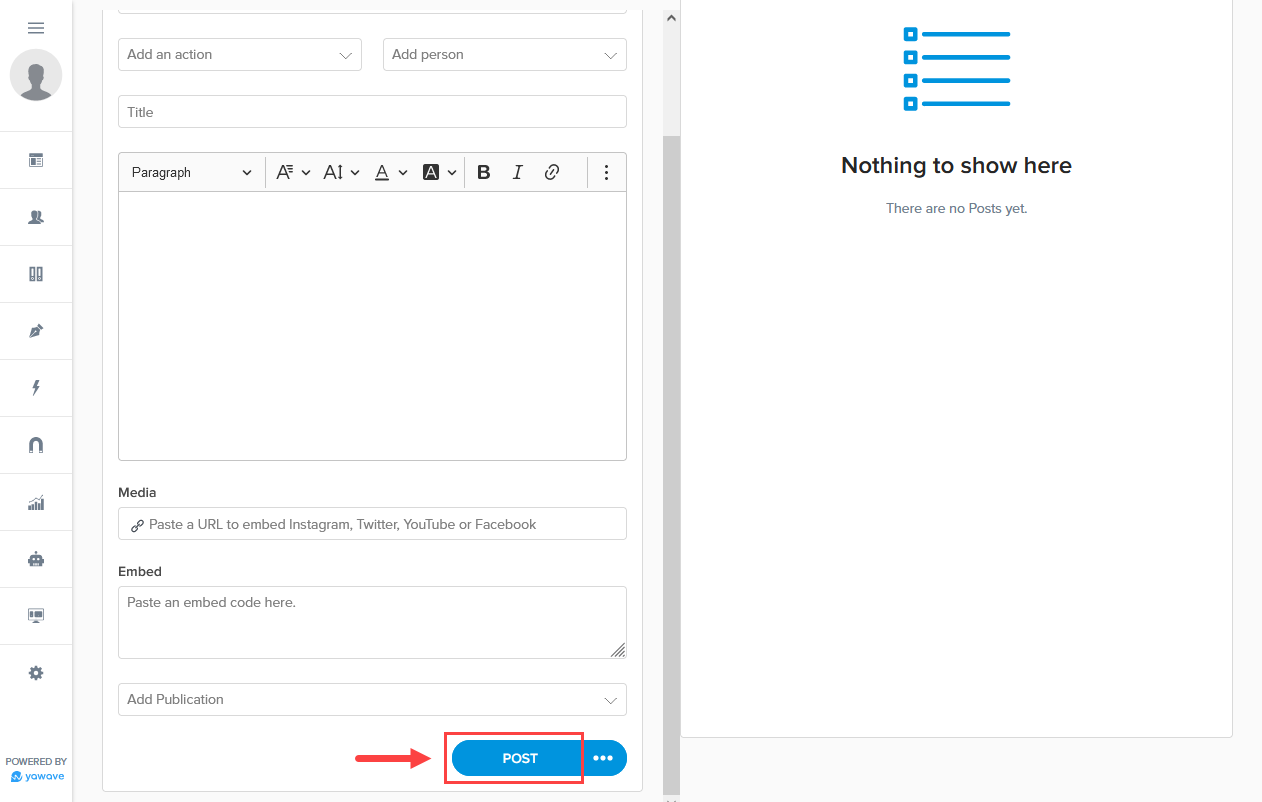
- Here you have two options: publish the post now or save as draft to publish at a later time.
Click Post to publish the post now.
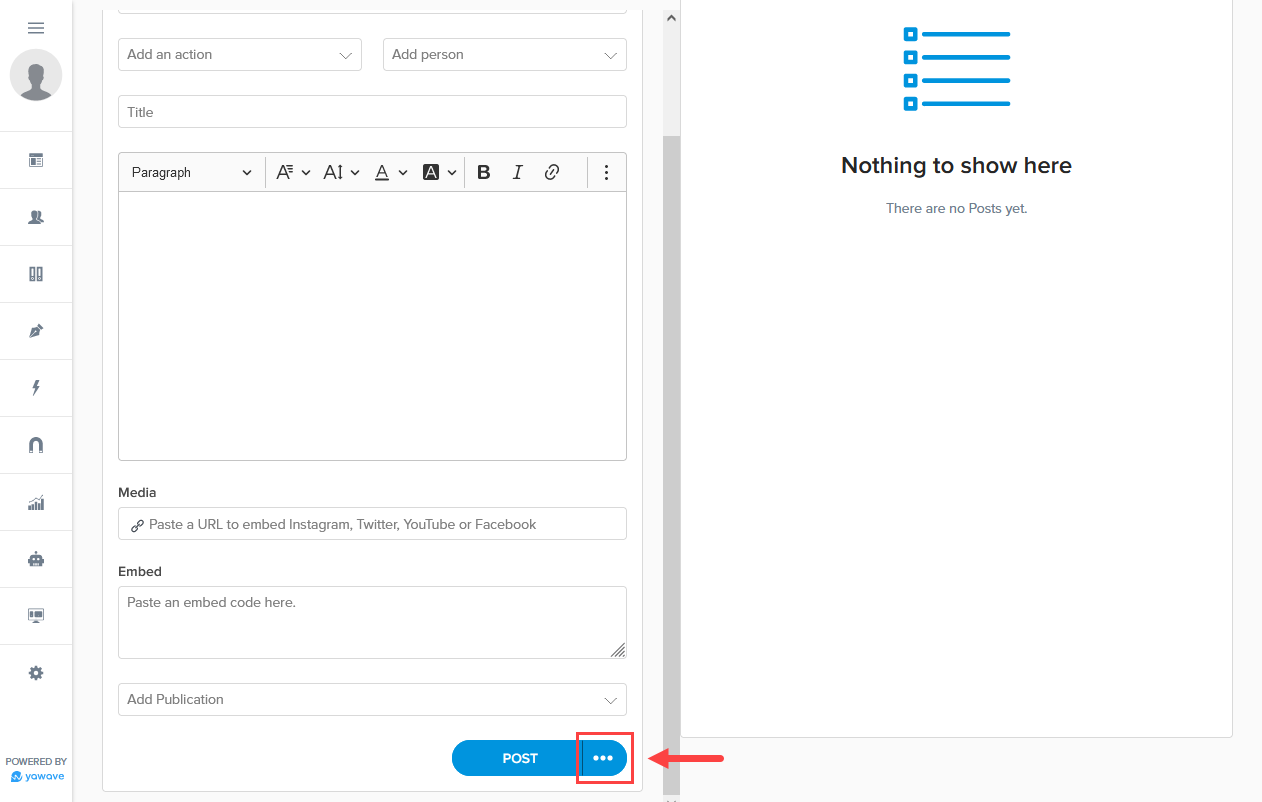
Click the three dot menu and select Save as Draft to save the post to publish in the future.
Embed a Liveblog on Your Website
You can embed a Liveblog on your website using the yawave WordPress Plugin or the yawave Typo3 Plugin.