Learn how to create a Role below.
Yawave already has 14 predefined roles included with your account. You can assign one of these roles to a Team Member at anytime or create your own role following the instructions below. Before you create a role, view the predefined roles to see if one of them fits your needs.
What is a Role? A Role is a set of permissions specific to how and where a Team Member can manage any area in Yawave. A Role can be configured to exactly how you want a Team Member to use Yawave.
-
Click Team/Roles.
-
Click Create Role.
-
Required Setting: Enter the name you want to call the Role in the Role name field.
-
Recommended Setting: Enter the role's description in the Role description field. With 14 predefined roles in Yawave plus the Roles you create, you'll need a way to distinguish roles from one another. Adding a description helps you keep track of your roles.
-
Next you'll need to configure permissions for the different areas of Yawave.
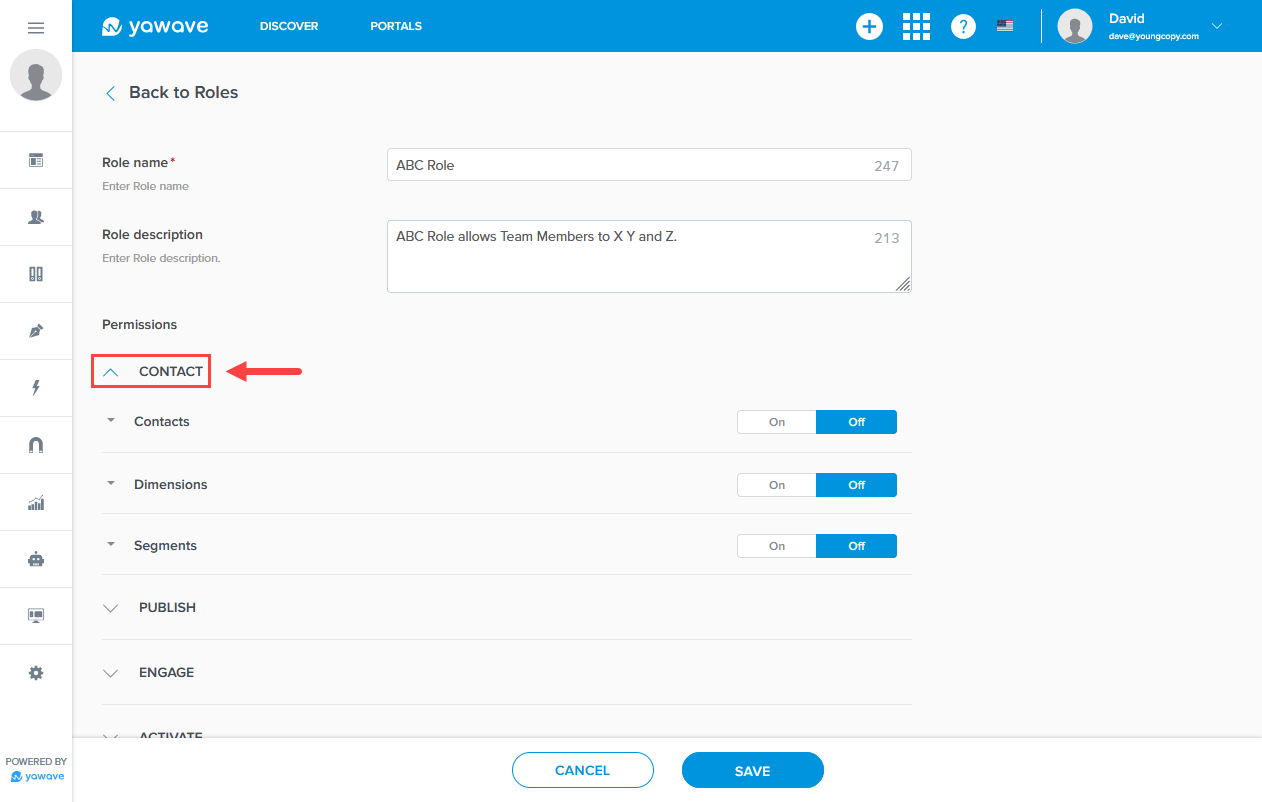
Here is an example of turning On permissions for everything related to Contacts:
Contact is toggled as indicated by the up arrow (shown in the image below).
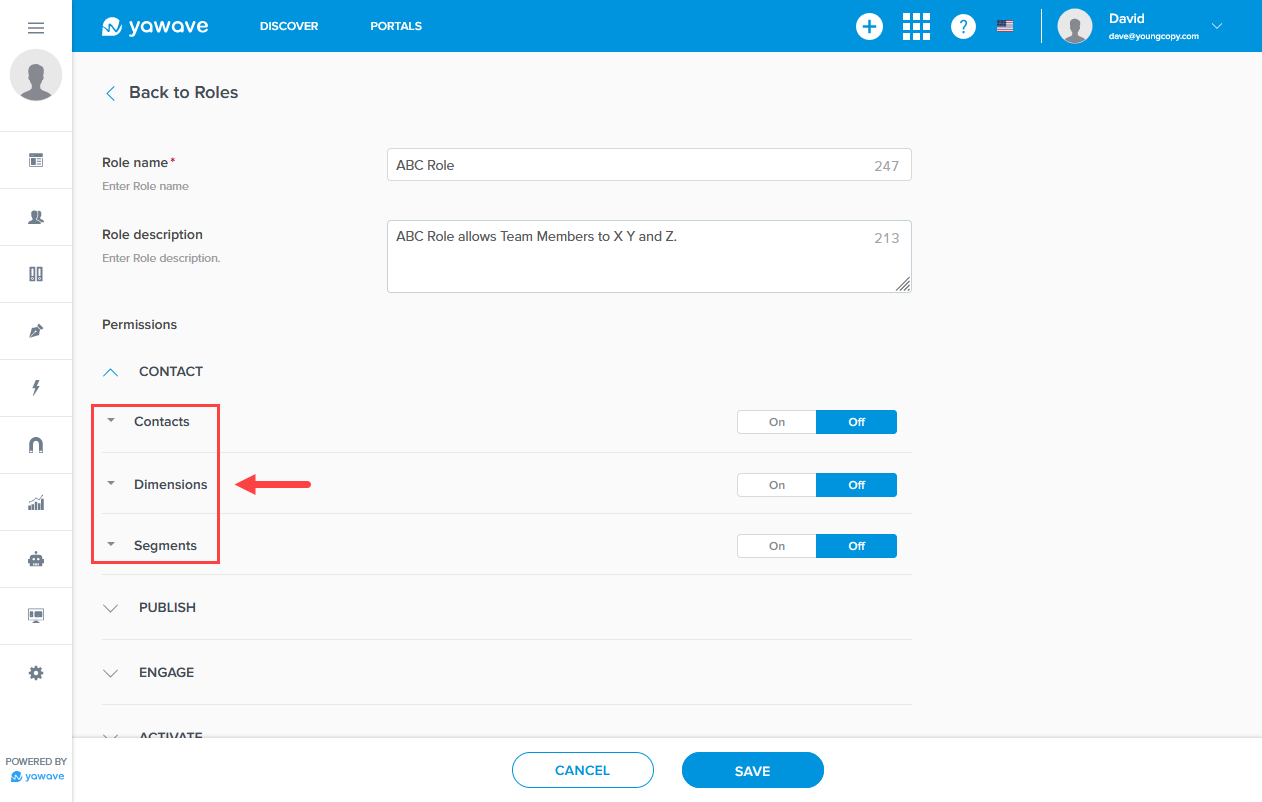
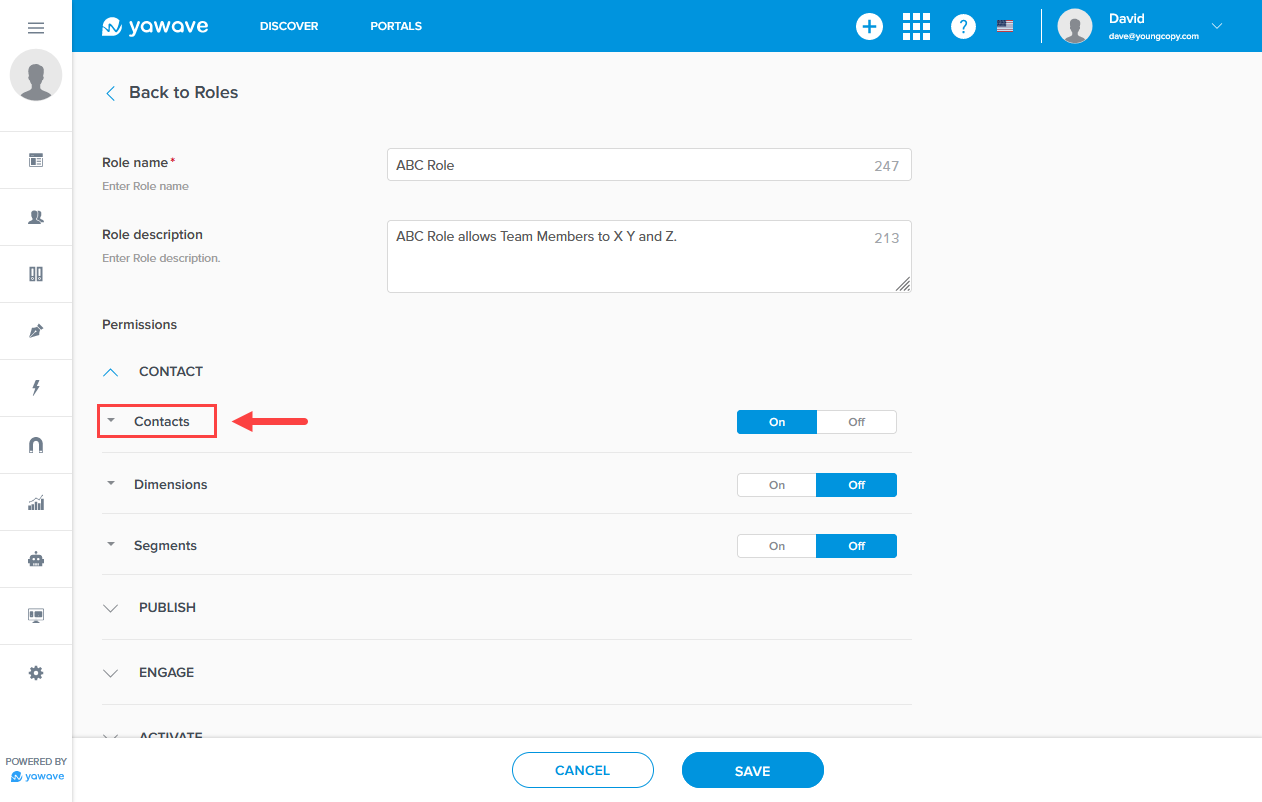
Next you'll see the three subsettings for Contact (Contacts, Dimensions, Segments).
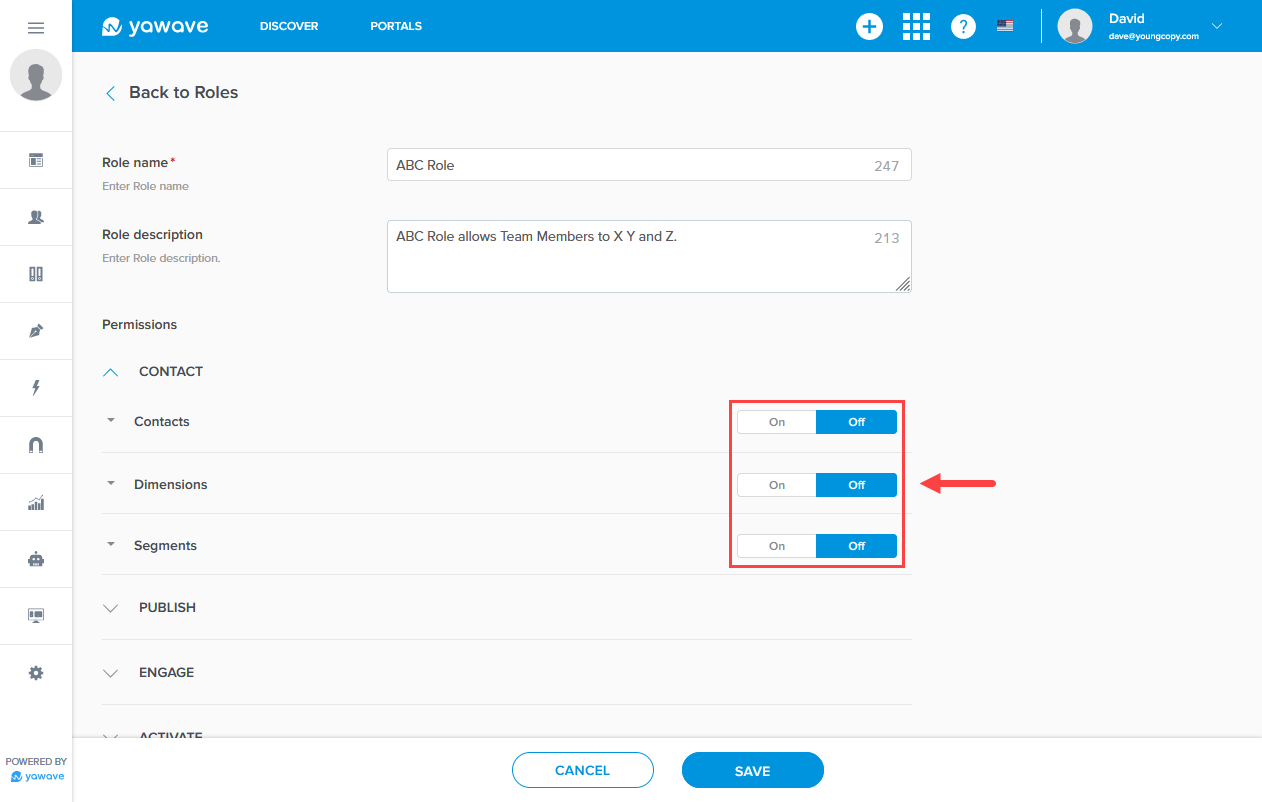
By default each of the three settings under Contact are toggled Off.
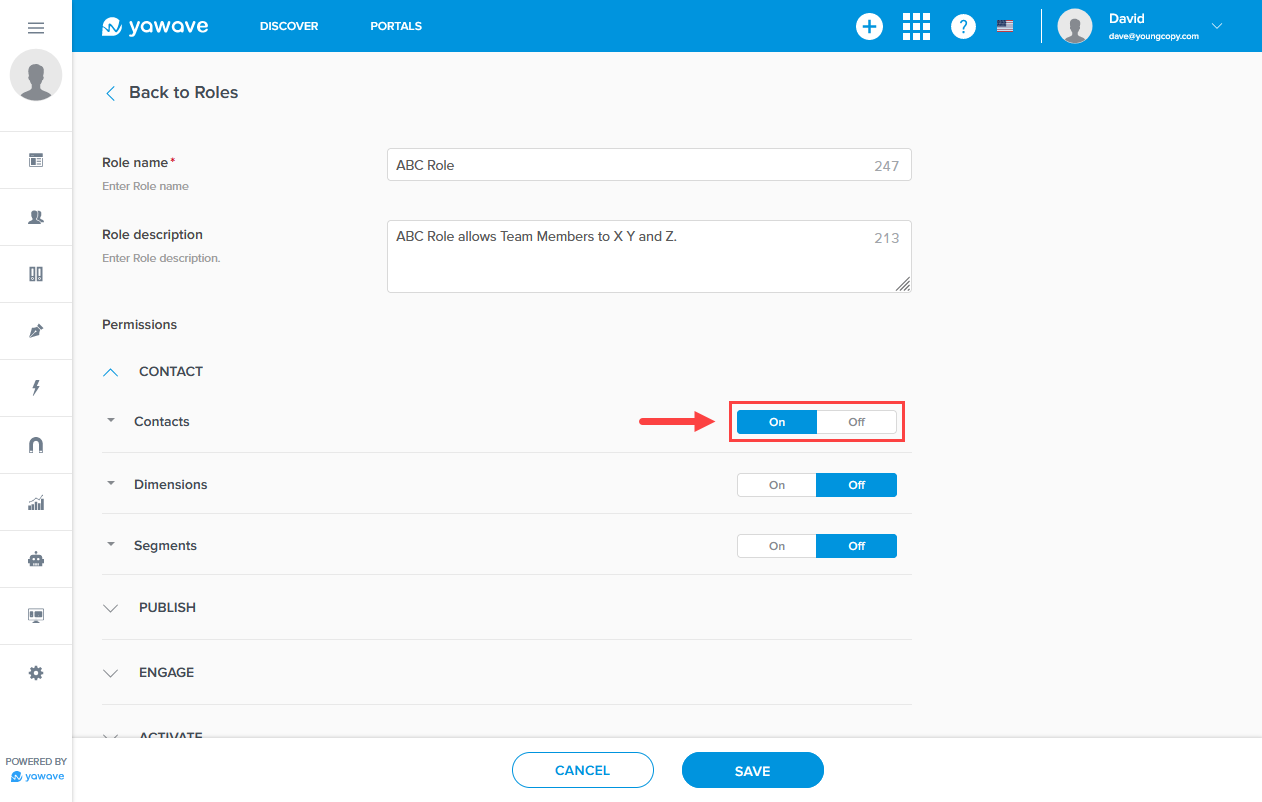
As an example, click On to turn permissions On for Contacts.
Click Contacts.
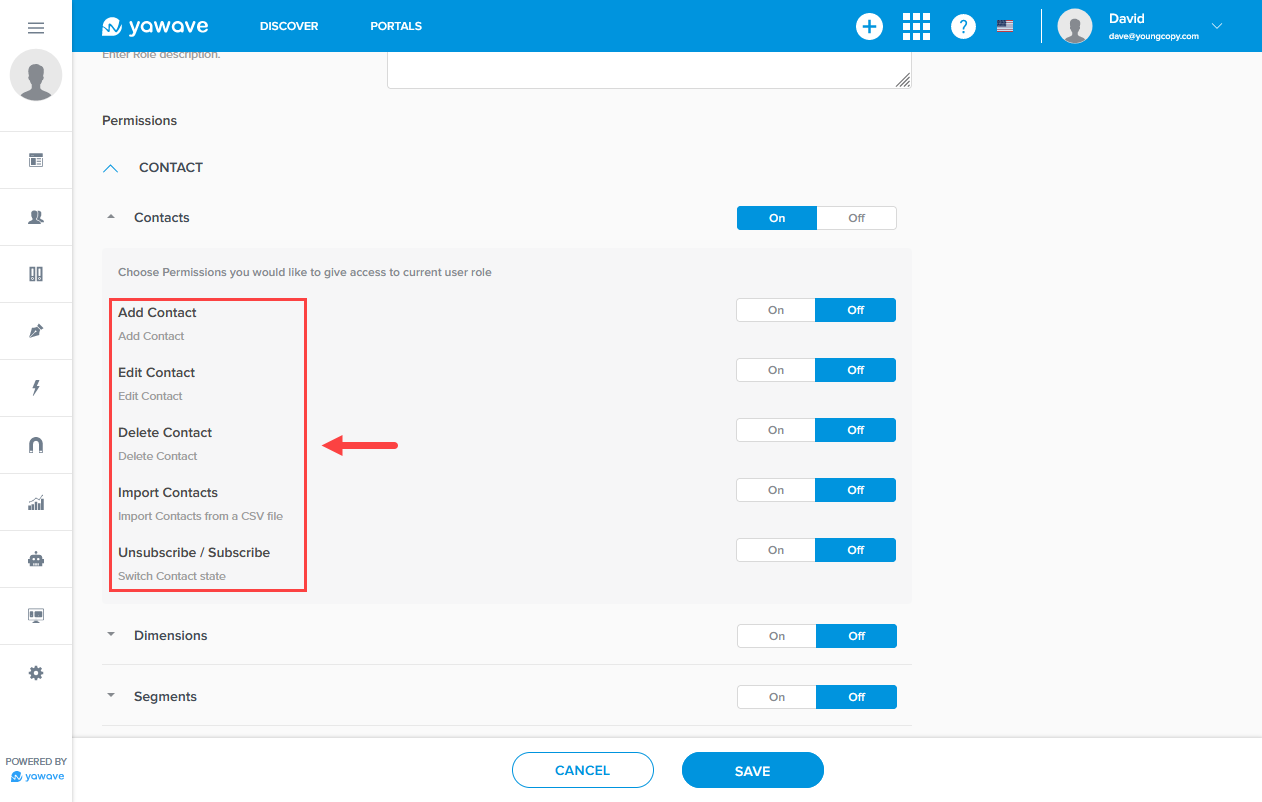
Next you'll see the permission settings available for Contacts such as Add Contact, Edit Contact, Delete Contact and more.
Click On to turn on permissions for each of the Contacts settings. When turned On this means you are giving permission for the Member with this Role to add or edit or delete or a combination of all the available permissions for Contacts.
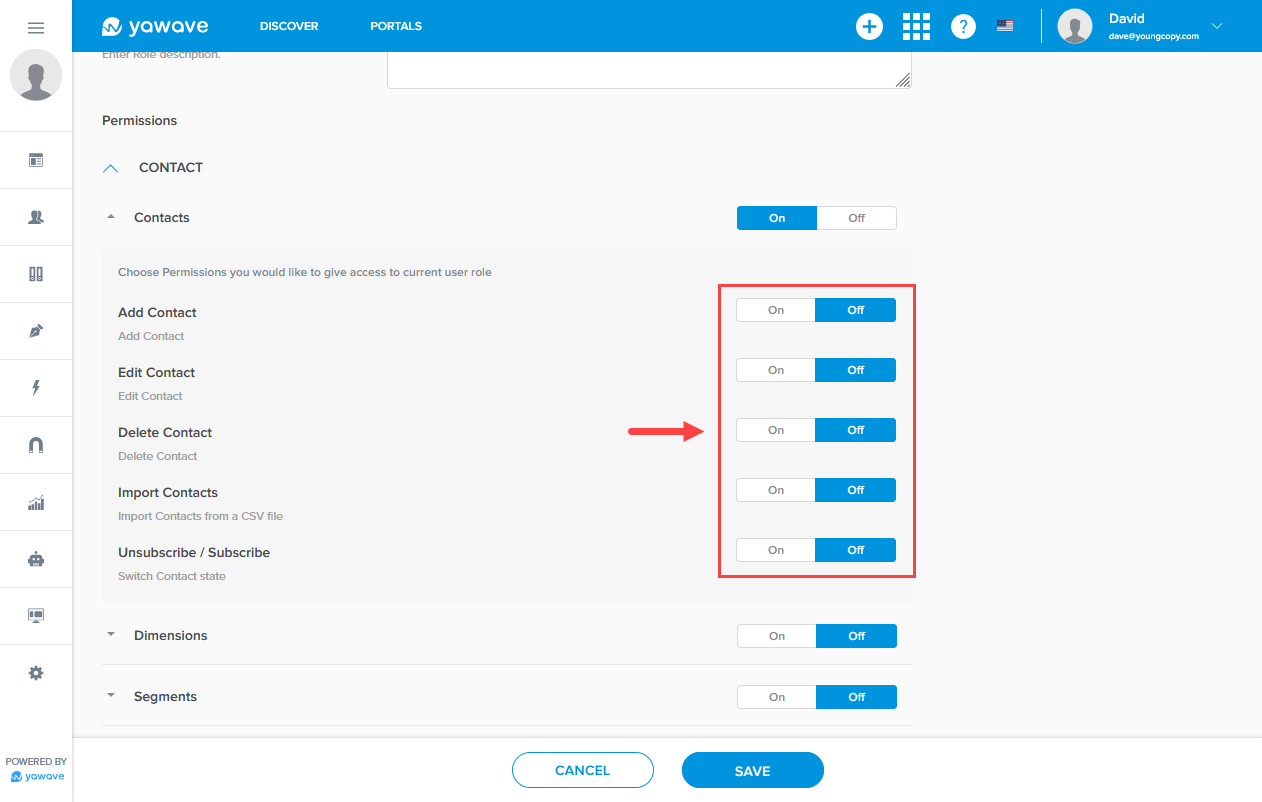
Repeat the steps above for each setting where you want to turn permissions On for the Role you are creating.
- Click Save.