Learn how to create an Email template below.
Yawave comes with almost 500 pre-designed templates you can customize or you can create a template from scratch. You can also use custom variables in your email templates using the Merge Tags feature.
Why create an email template?
Use email templates to send newsletters to your Contacts. Yawave's powerful customization tools allow you to build an email/newsletter to your specifications. Email templates are also used to create email responses when someone submits a form using a Payment Tool or Form Tool.
Note: Yawave does not support HTML email templates. However, you can use the HTML block when using the drag-and-drop content blocks to create or customize your email template.
Ways to create an email template
-
Click Administrate/Templates/Emails.
-
When the page loads choose one of the following:
- Click Create your own from scratch and use the drag-and-drop tool to design your own email template. (See Create an email template from scratch instructions.)
- Click Create Email Template and use the drag-and-drop tool to design your own email template.
- Click Get Started on the template you want to customize and and use the drag-and-drop tool to modify the template. Note: Wait a few seconds and the page will populate with existing templates. When you scroll down the page will populate the next set of templates.
Create an email template from scratch
-
Click Administrate/Templates/Emails.
-
Click Create your own from scratch.
-
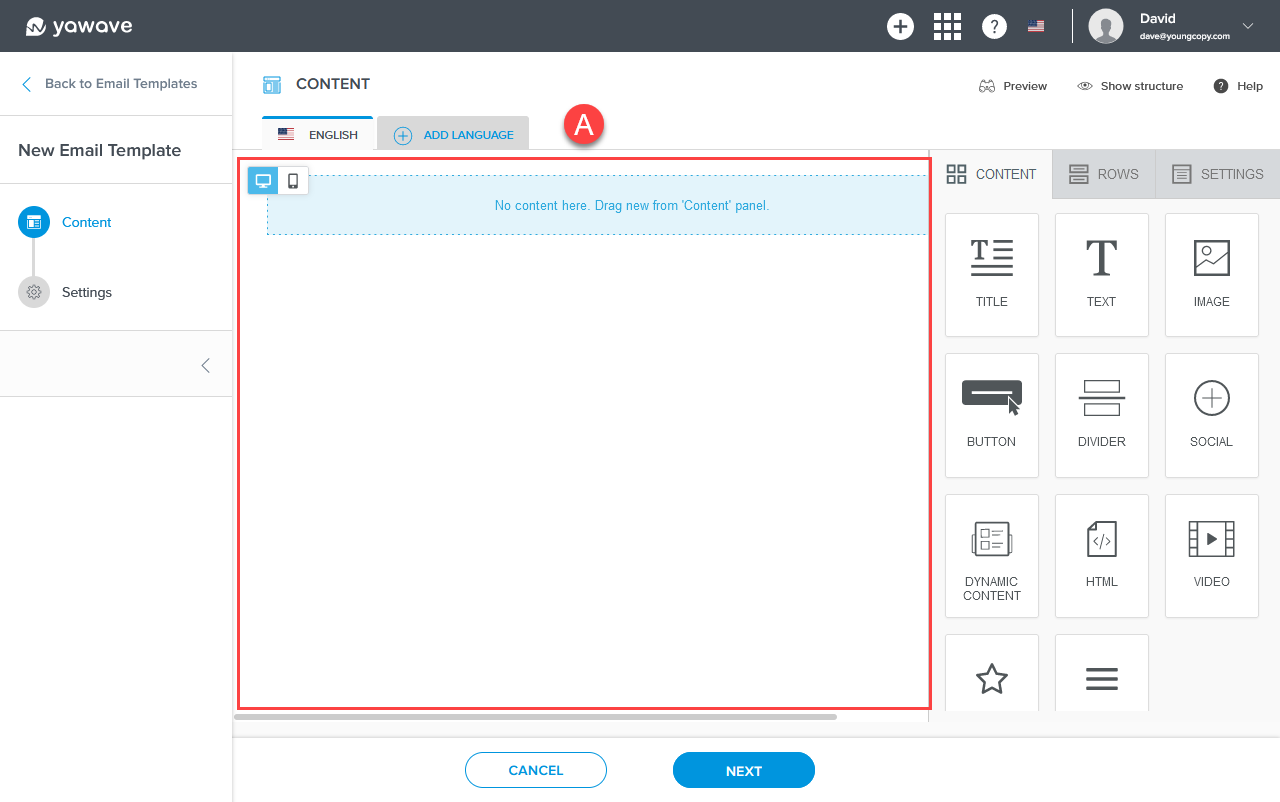
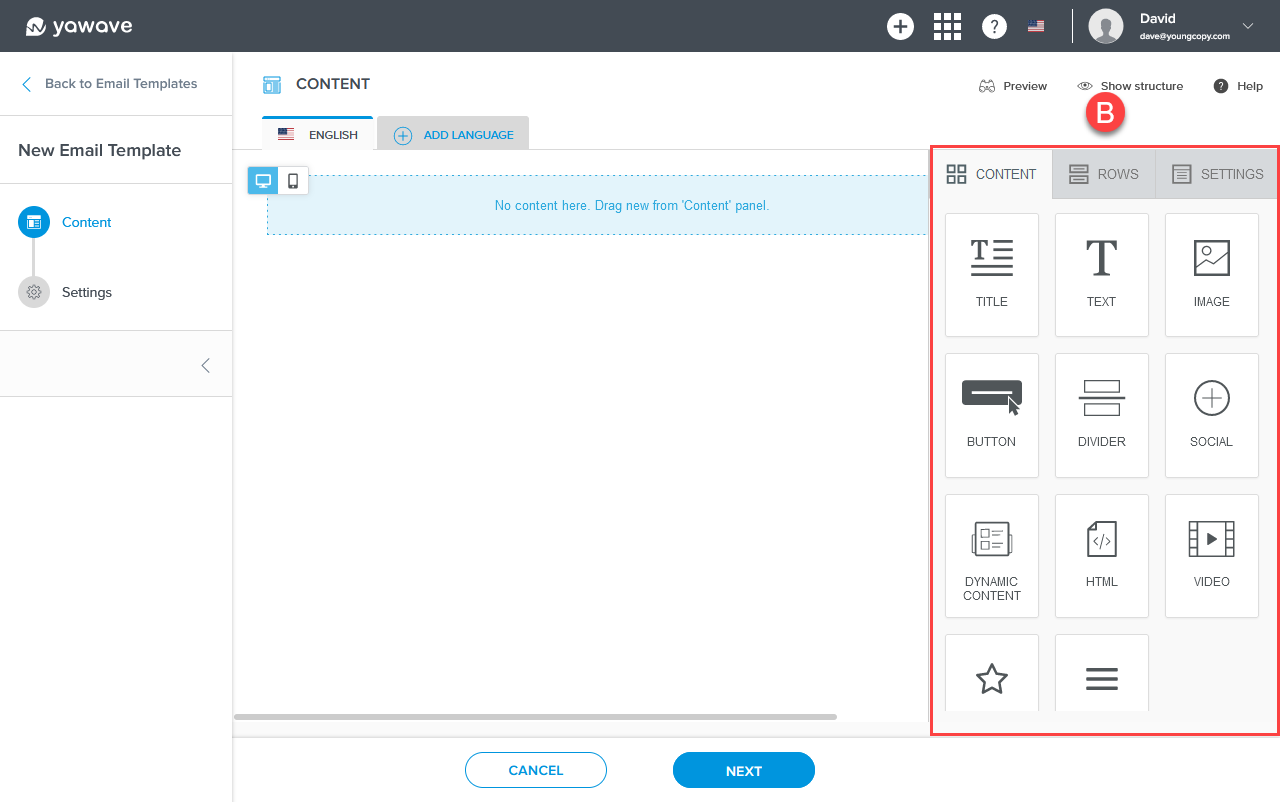
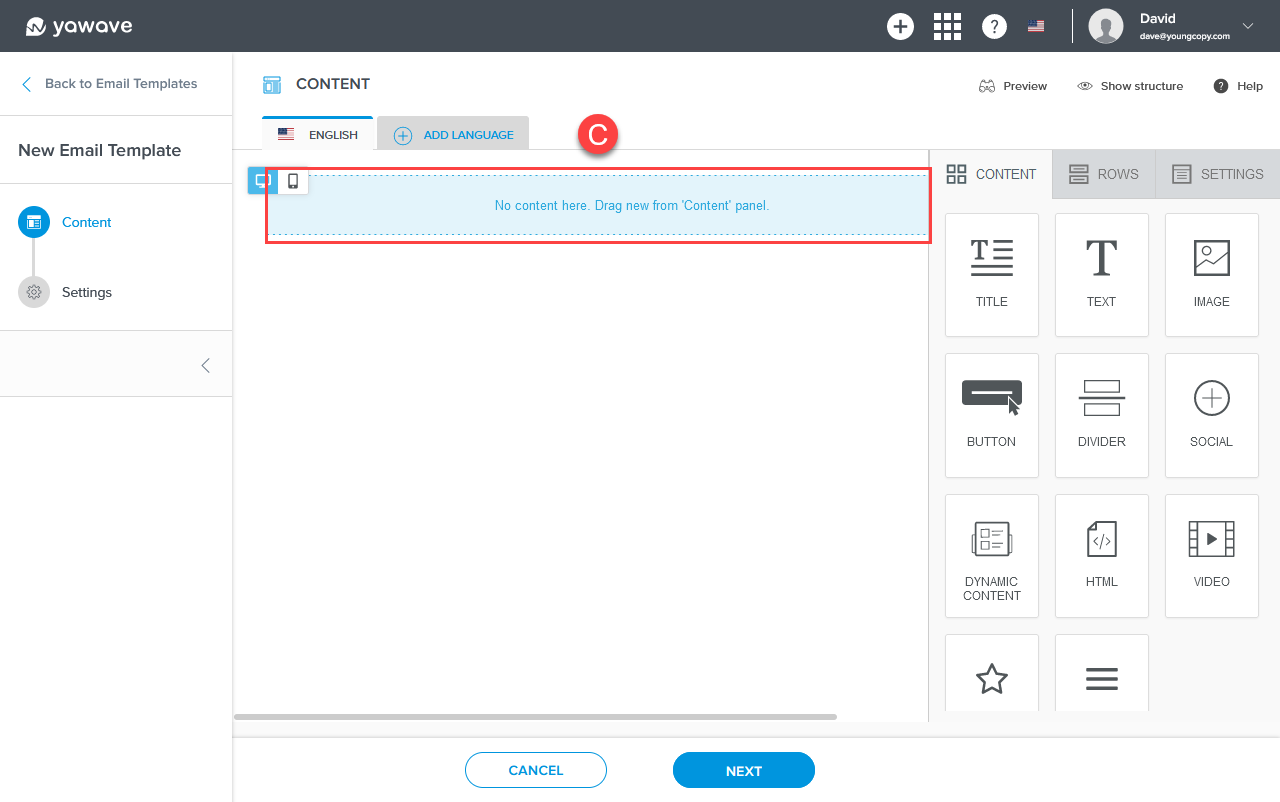
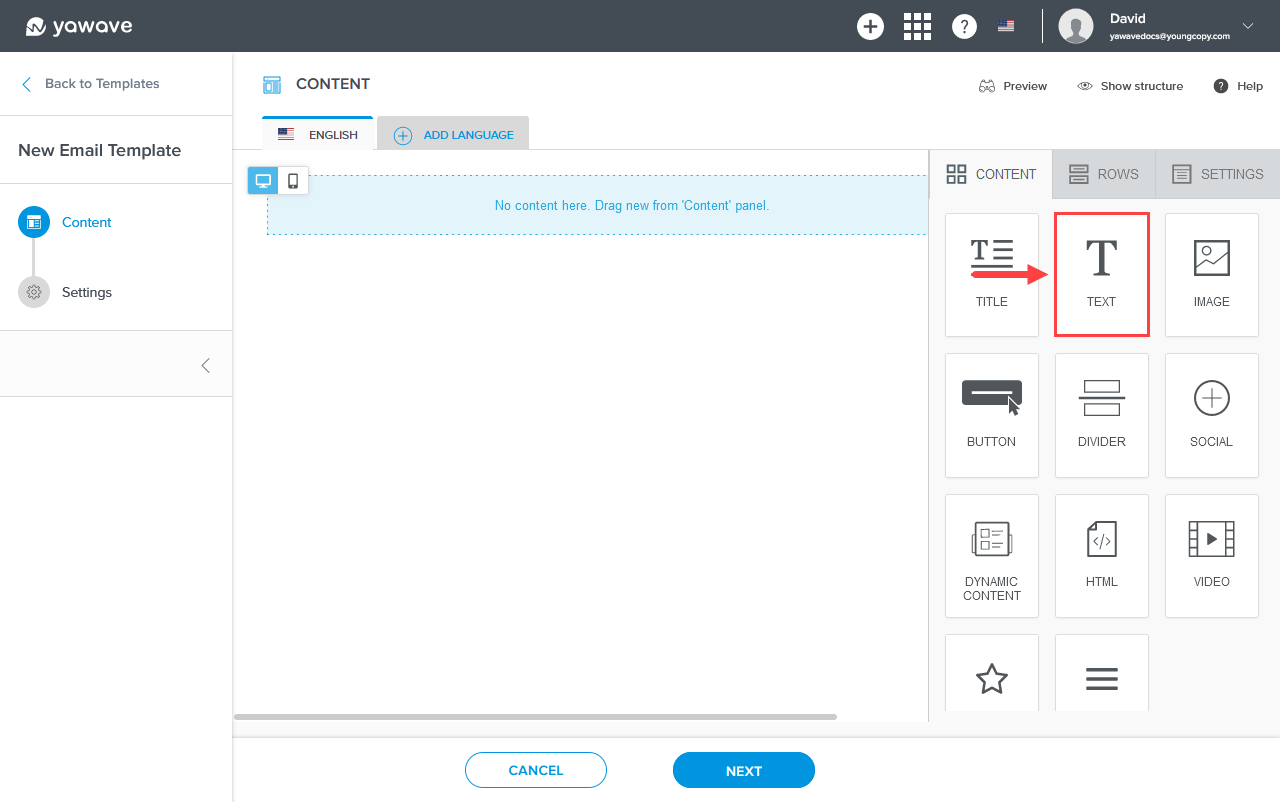
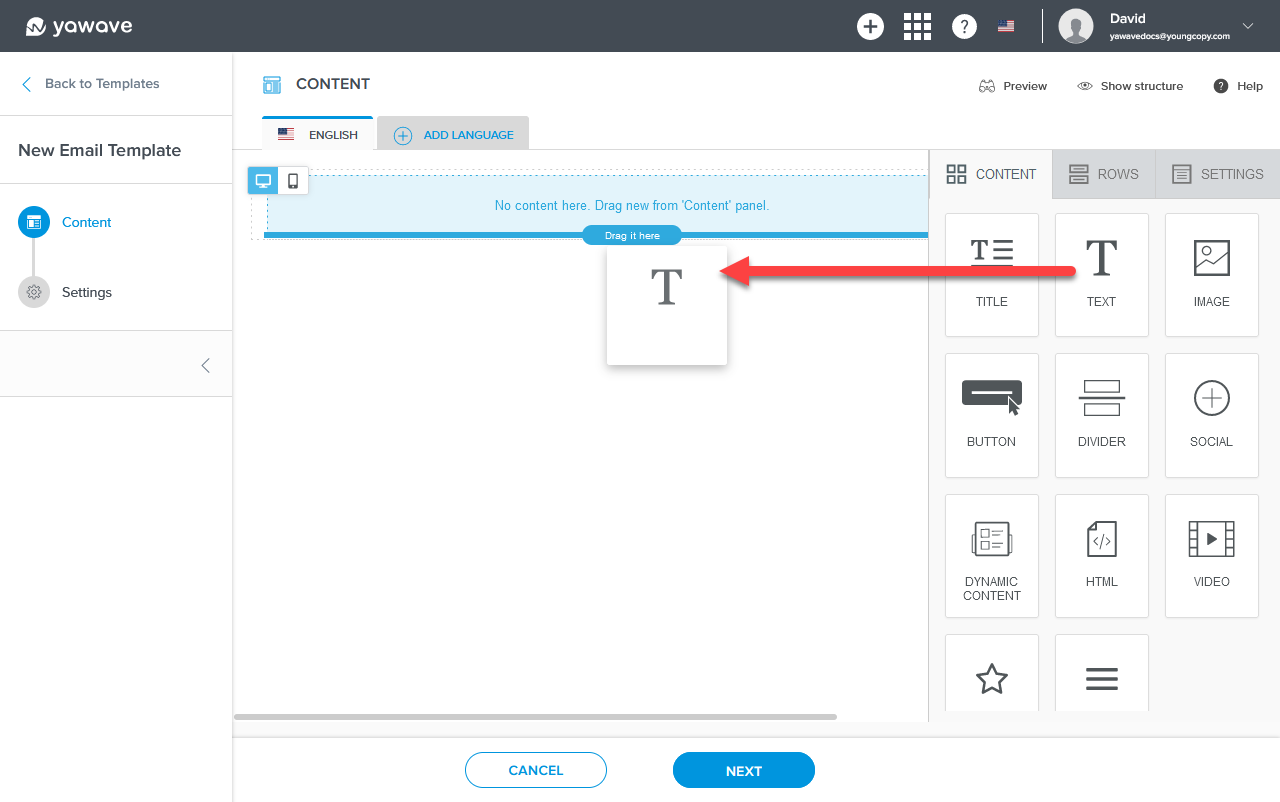
Below you'll see two images. (A) shows the email template content area and (B) shows the email template content blocks. Drag-and-drop blocks from the email template content blocks area (B) to the email template content area (A). Note: Make sure you drag-and-drop content blocks into the blue area as shown in image (C) below, which is also called a row. By default a row is already created. If you need an additional row, or want to have a two-column row layout, click the Rows tab in the email template content blocks are as shown in image (B). If you want to change the content area width, alignment, background color, font and link color, click the Settings tab as shown in image (B).
-
Click Next.
-
Enter the name you want to use to reference this template in the Template name field.
-
Click Save.
-
If you need to go back and edit the template you just created, click Own. The Create your own from scratch option will appear first, followed by the template(s) you previously created.
-
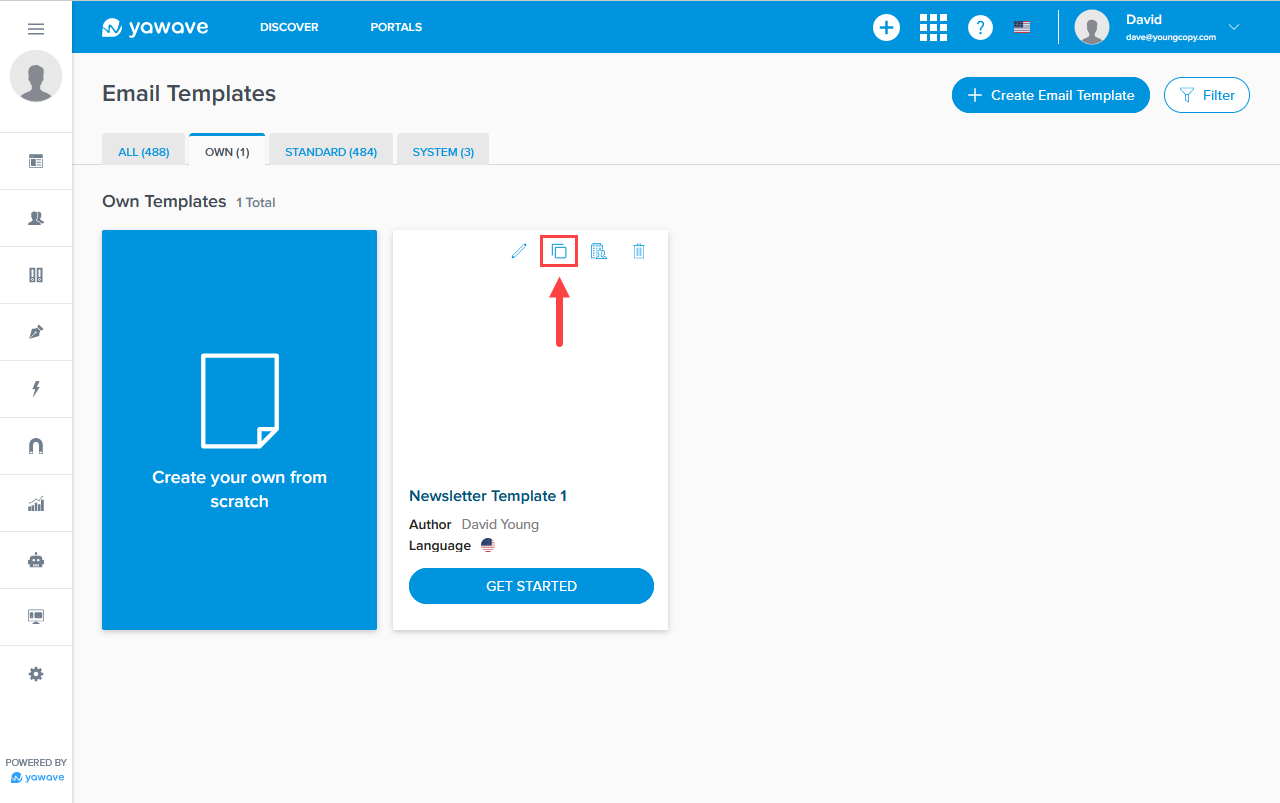
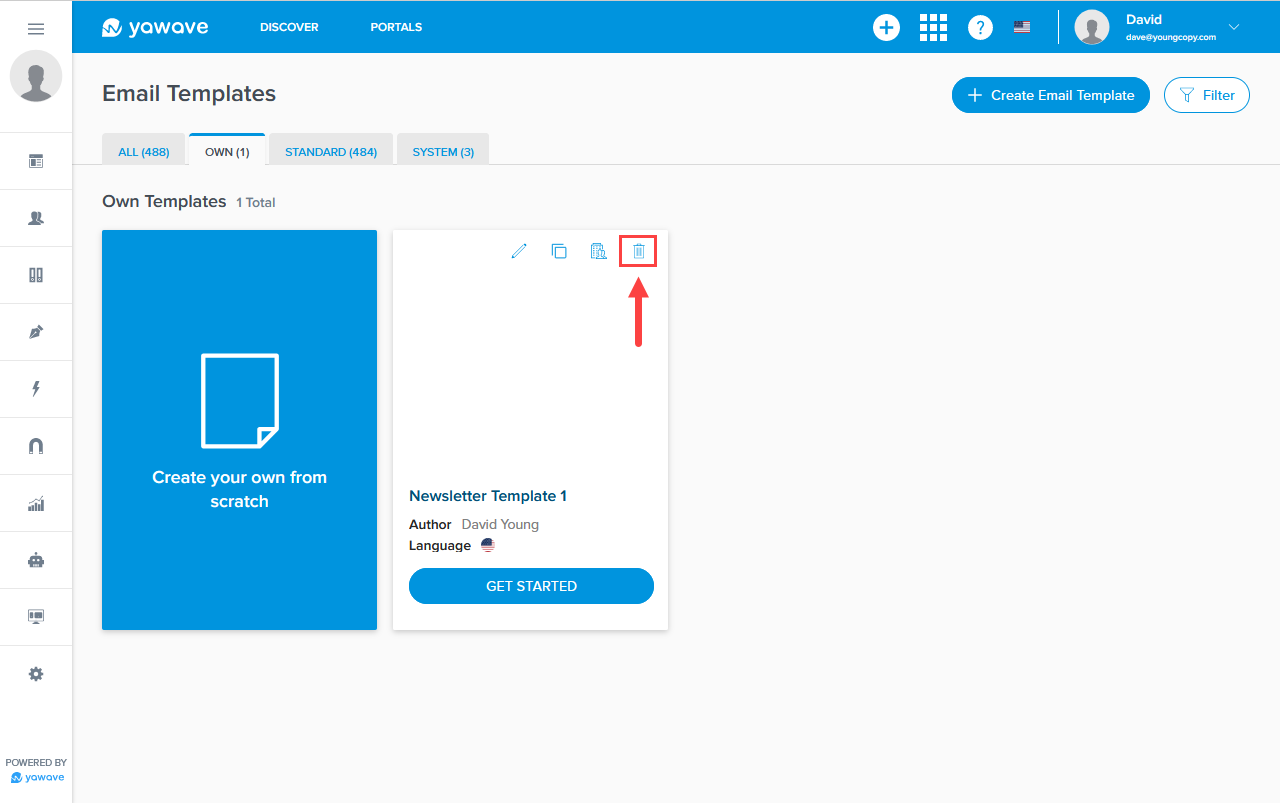
Hover over the custom email template you want to edit and click the edit icon as shown below.
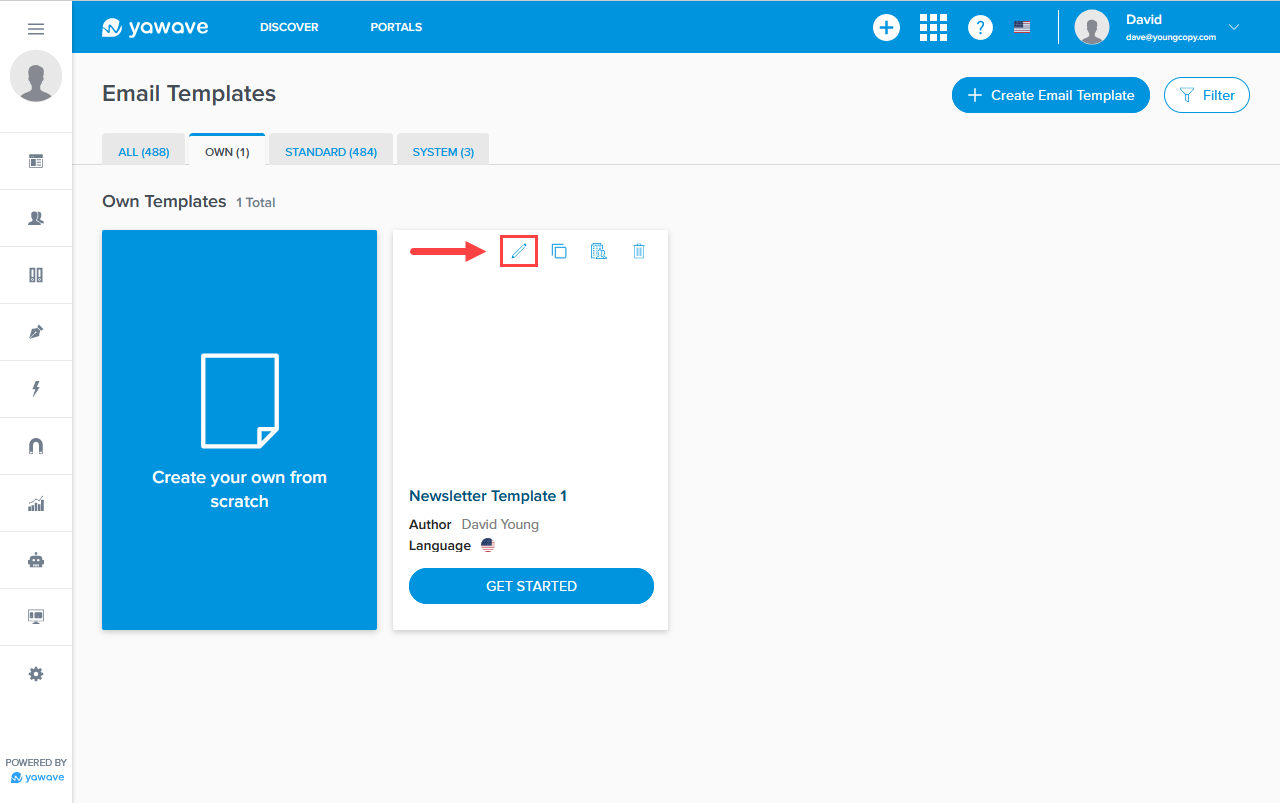
You can also duplicate the template by clicking the Duplicate icon.
Or if you need to discard the template, click the Delete icon.
- When the page loads you'll see the email template content area and the email template content blocks as described in Step 3 above. When you have finished editing your template, click Next. Edit the template name if needed. When done, click Save.
Using custom variables (Merge Tags) in your email template
Custom variables in email templates use the Merge Tags feature when using the Text block.
- Find the Text block under the Content tab in the email template editor.
- Click and drag the Text block to a row.
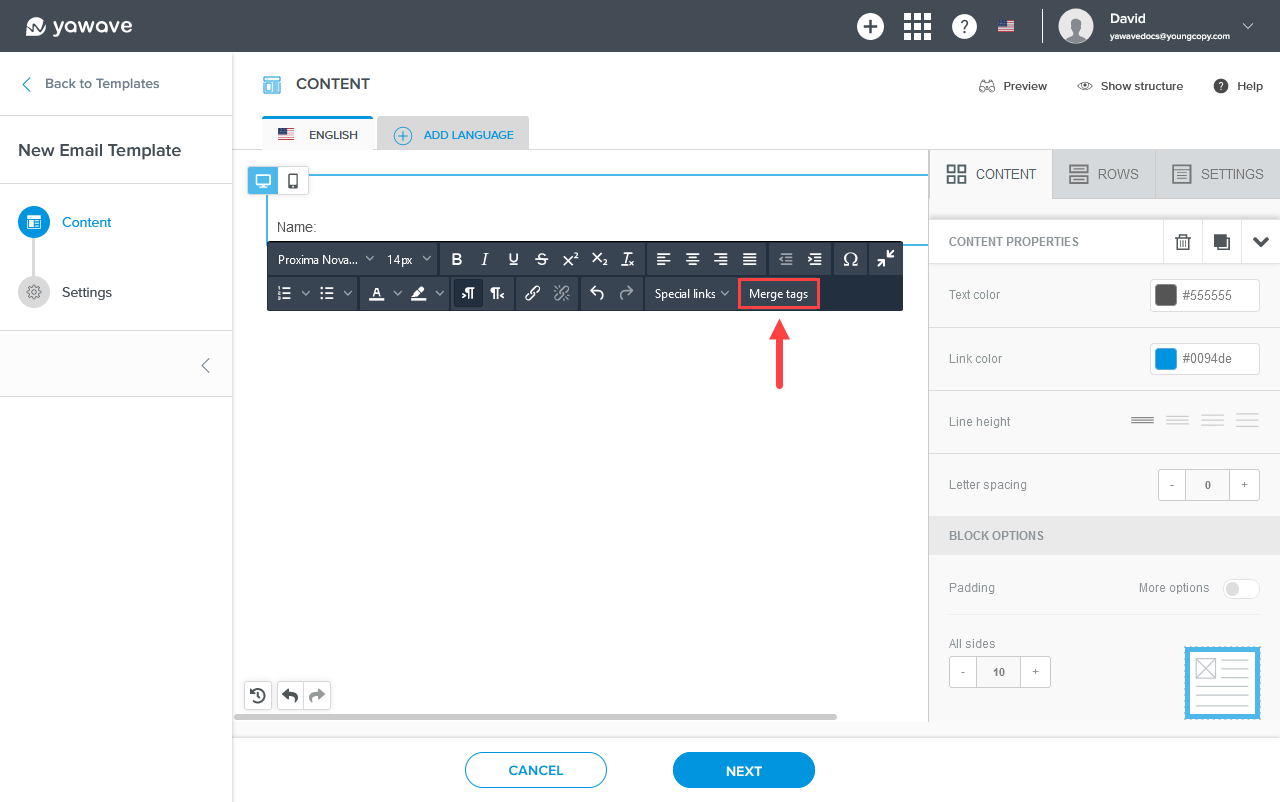
- Place the cursor where you want to insert the custom variable and click Merge Tags.
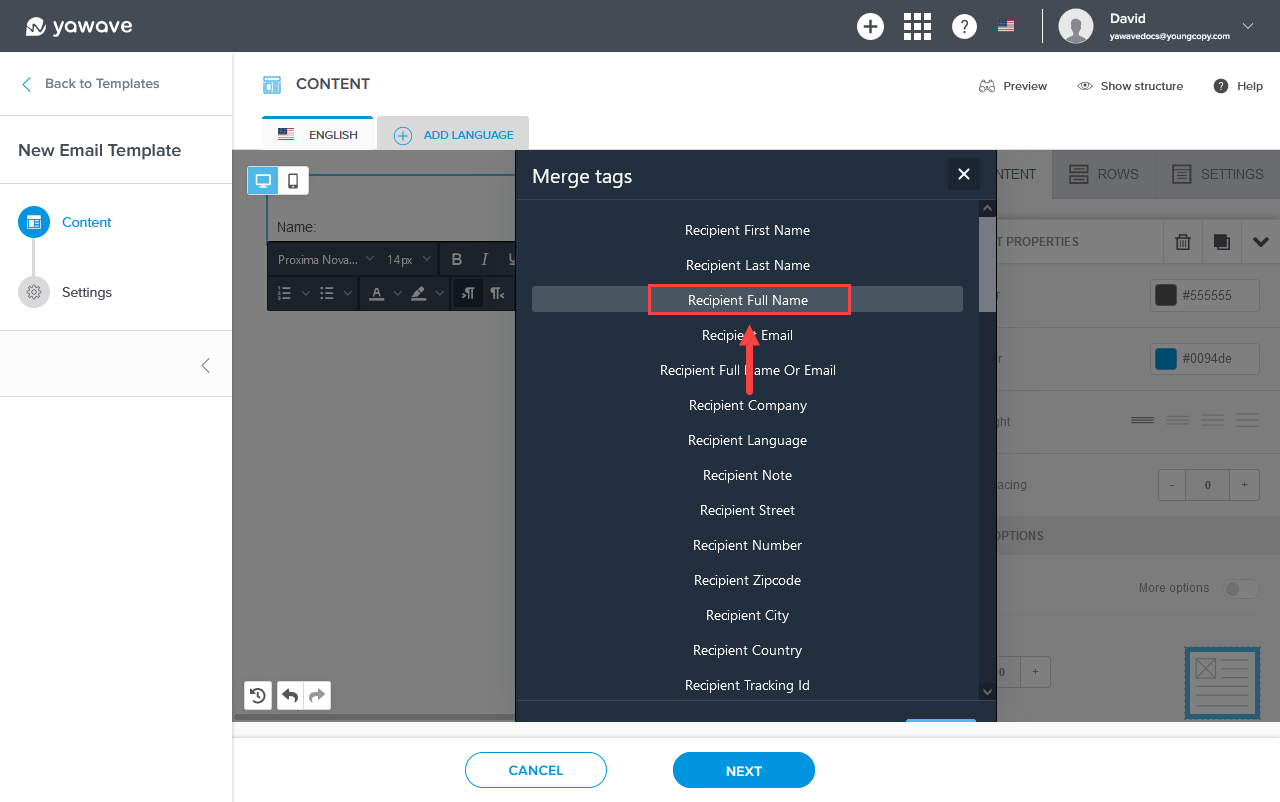
- Find and click the custom variable (Merge Tag) you want to use from the list. In our example we select Recipient Full Name.
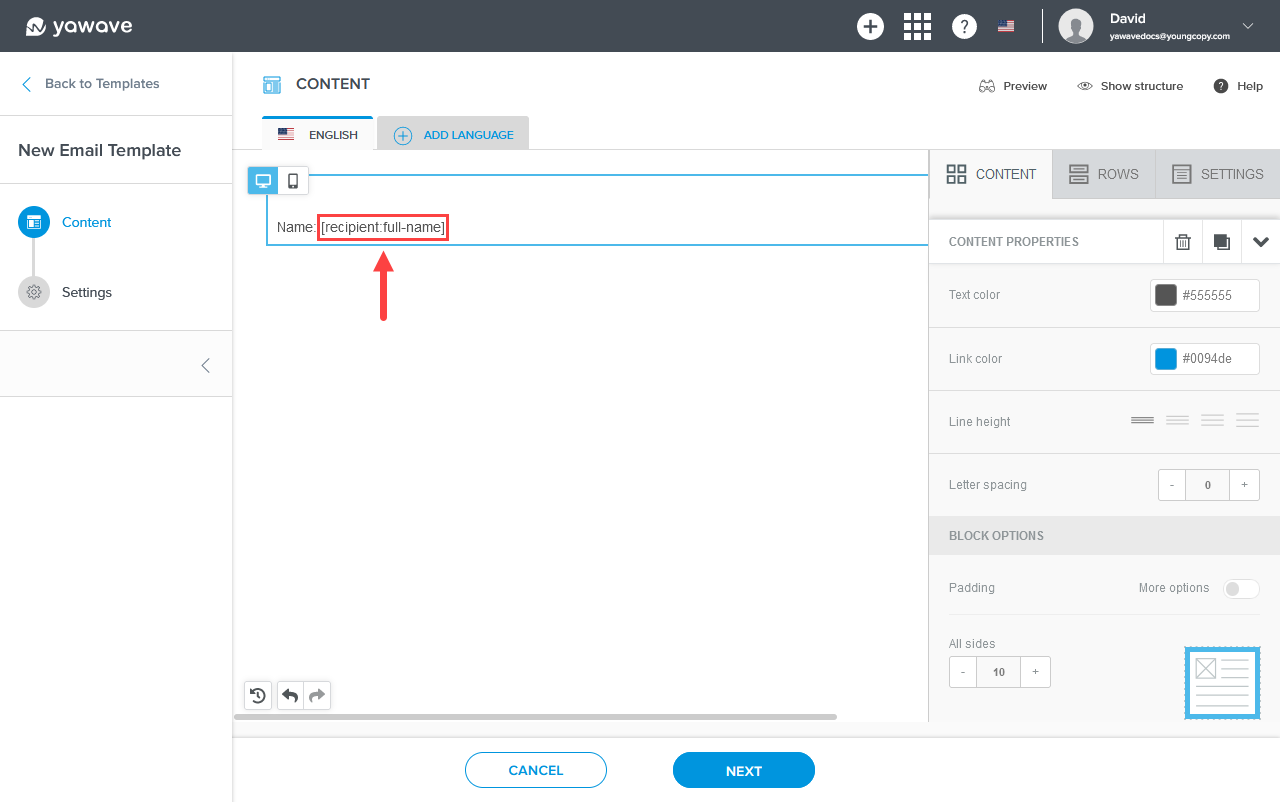
- The image below shows what the added custom variable (Merge Tag) looks like. Note: Custom variables (Merge Tags) are always in brackets.
- Continue adding all the custom variables (Merge Tags) you want to use for your email template by repeating Steps 3-5. When finished, click Next, then click Save. Note: You can format custom variables (Merge Tags) the same way you format all text in your template. The format bar will appear when you click in a Text block. Highlight the text you want to format and adjust the formatting settings according to your preferences.