Learn how to add an Application below.
There are two ways to create an Application and both ways produce different results. It's important that you read the following to understand the two ways.
Understanding the two ways to create an Application
-
(Default Shared Users Option:) Add an Application to an existing yawave account. This way allows you to share multiple Applications with the same set of users.
-
(Advanced Option:) Add an Application when logging in. Adding an Application using the Advanced Option creates a new realm. This means the new Application will not share the same users as your existing Application. Here's an example. Let's say you already have one or more Applications and users registered with your Application(s) including fans, customers, subscribers, etc. You would use the Advanced Option if you want to create a new Application that you will not share with your existing users including fans, customers, subscribers, etc.
Add an Application: The Default Shared Users Option
-
Please read the Before You Begin section in blue above.
-
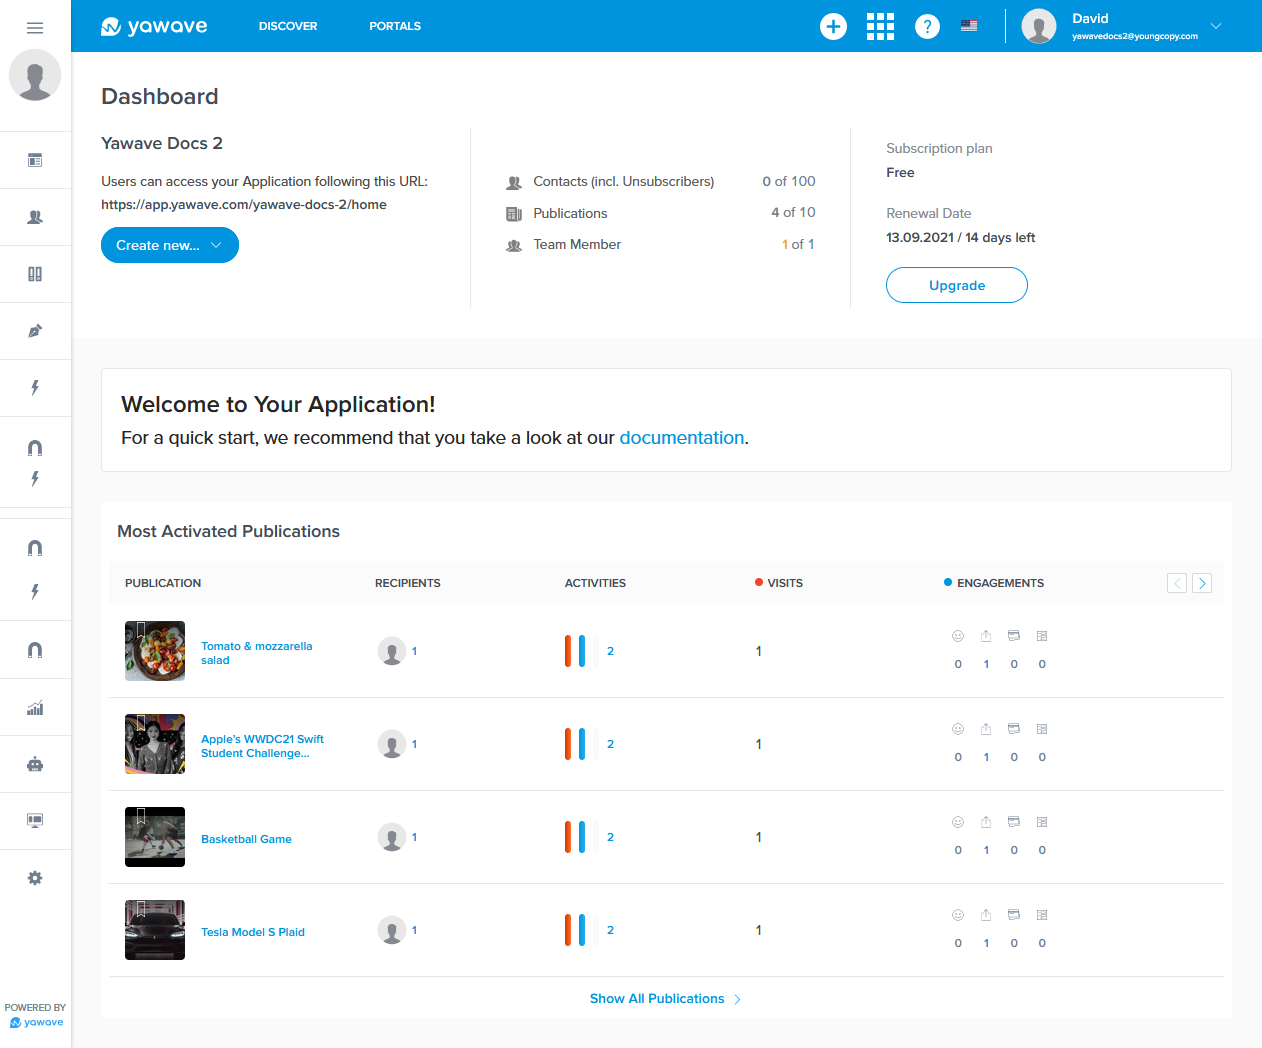
Log in to the yawave account where you want to add an Application.
-
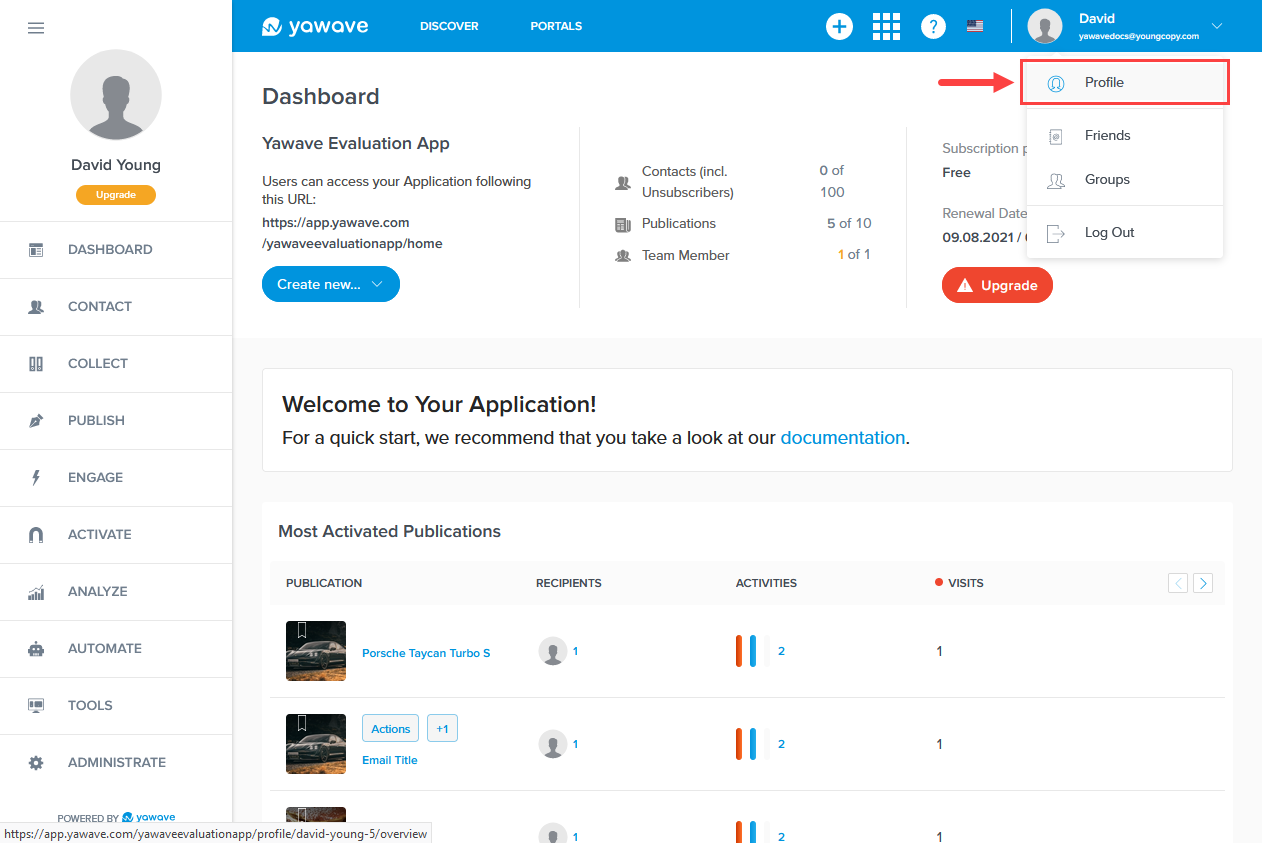
Click your name/email address in the top-right of your yawave account and select Profile from the drop-down menu.
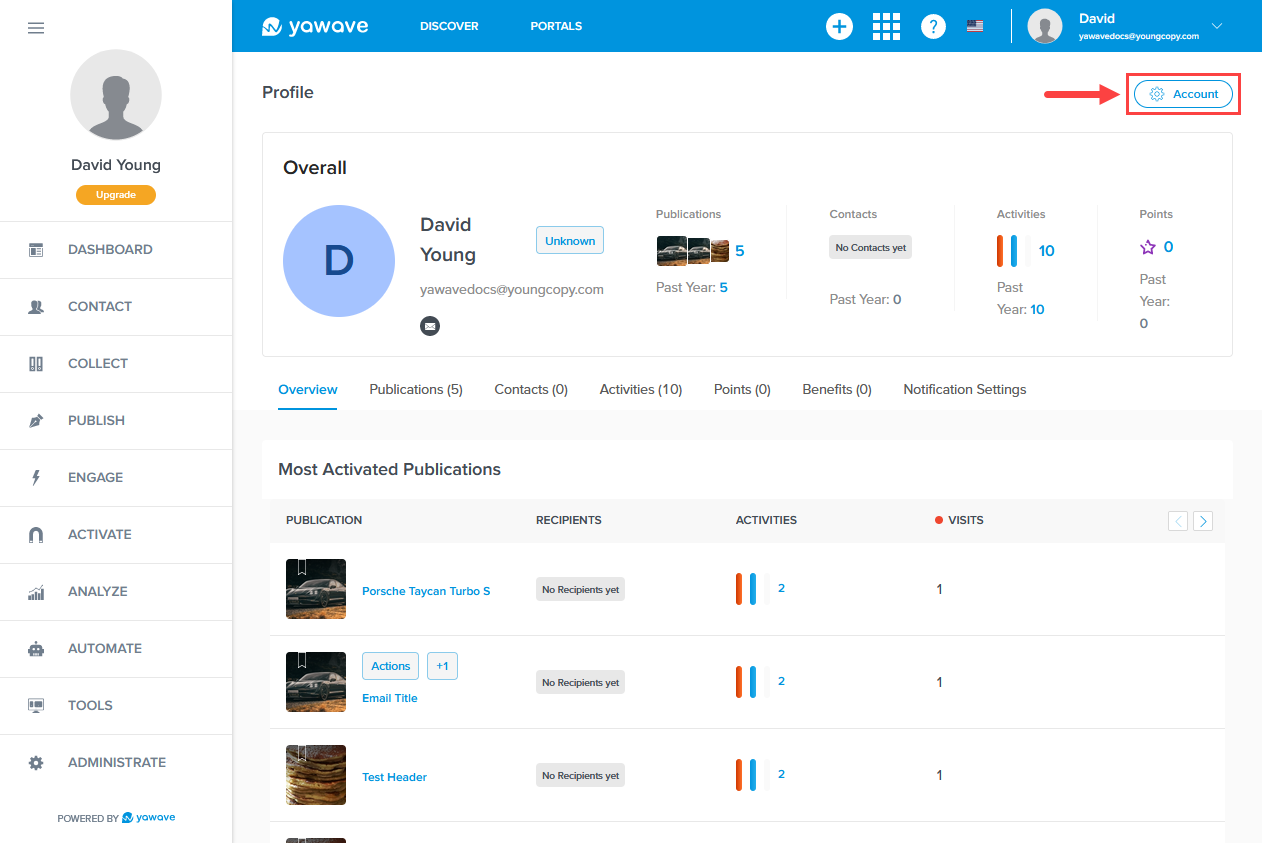
- Click Account.
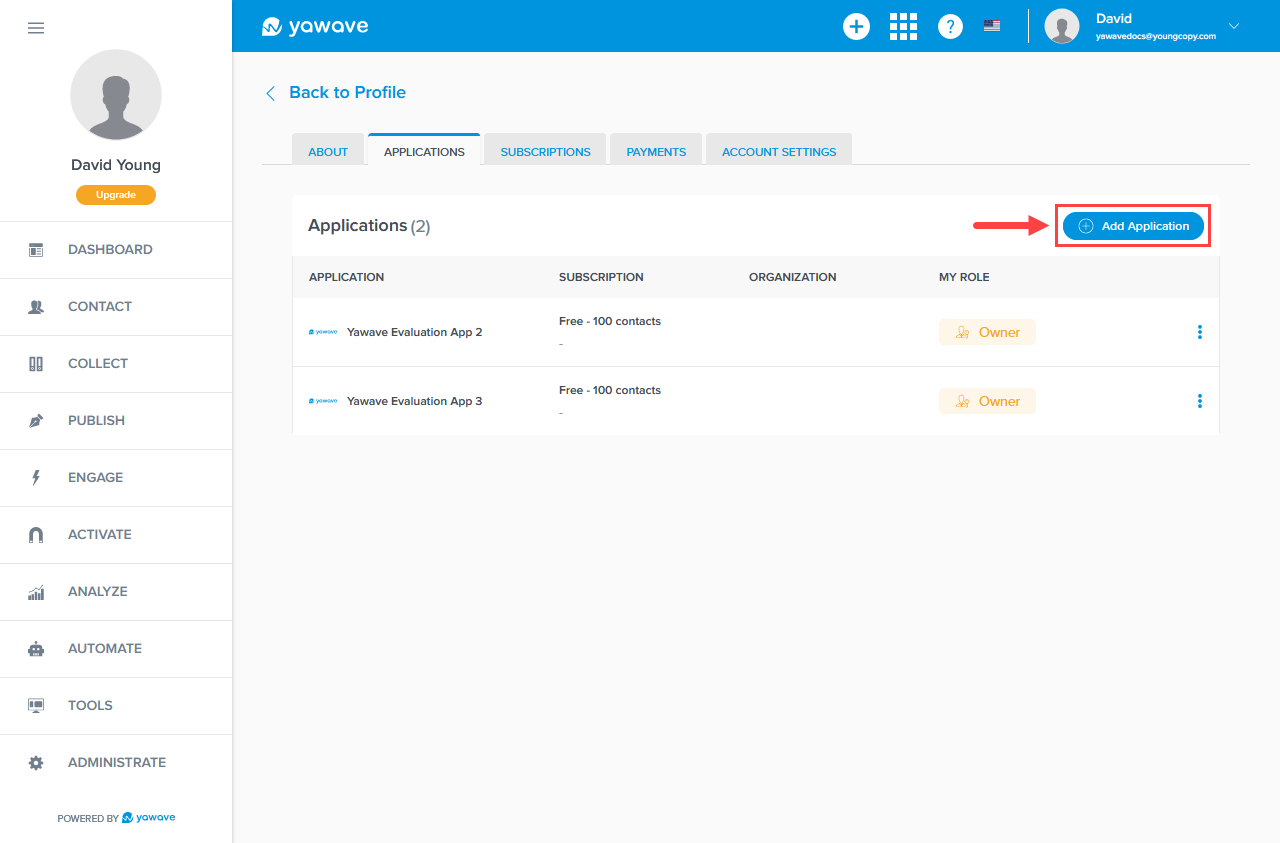
- Click Applications.
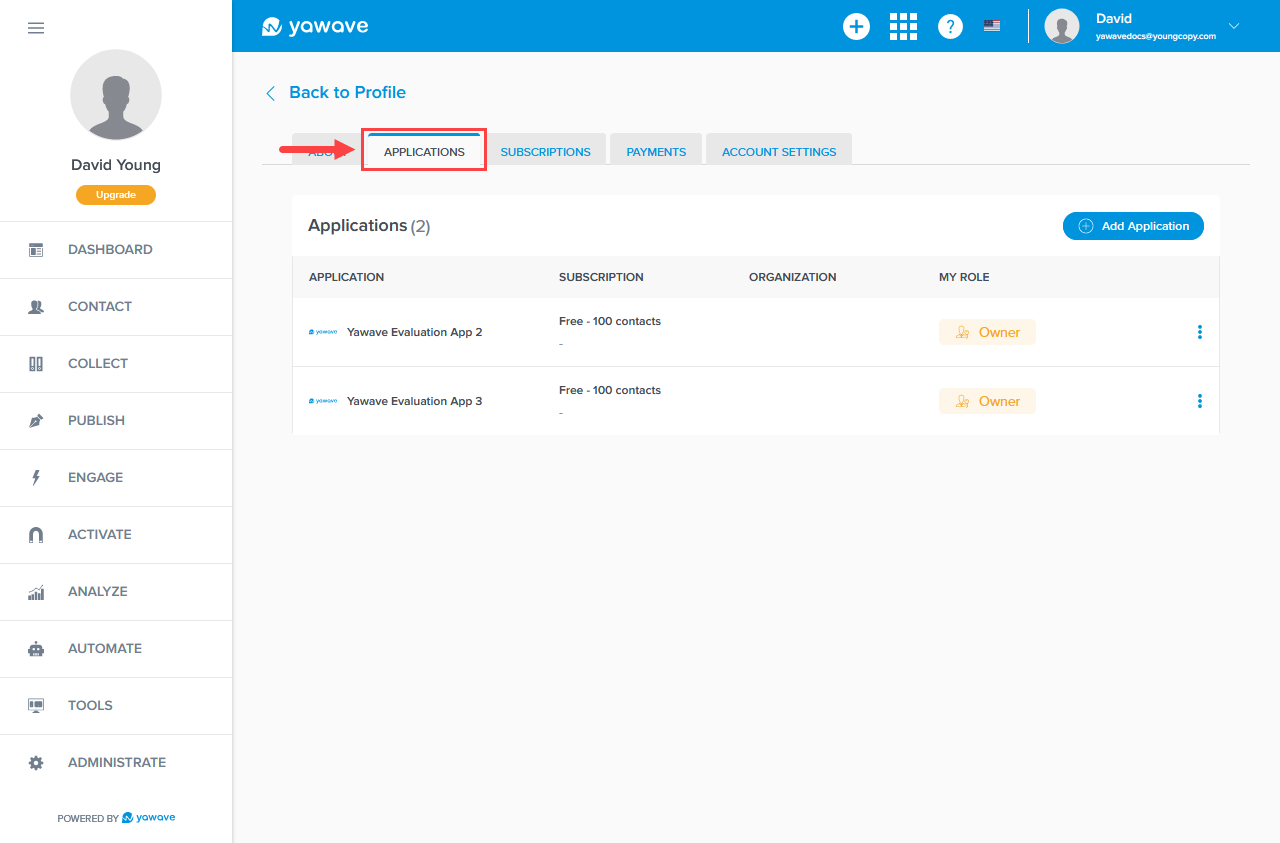
- Click Add Application.
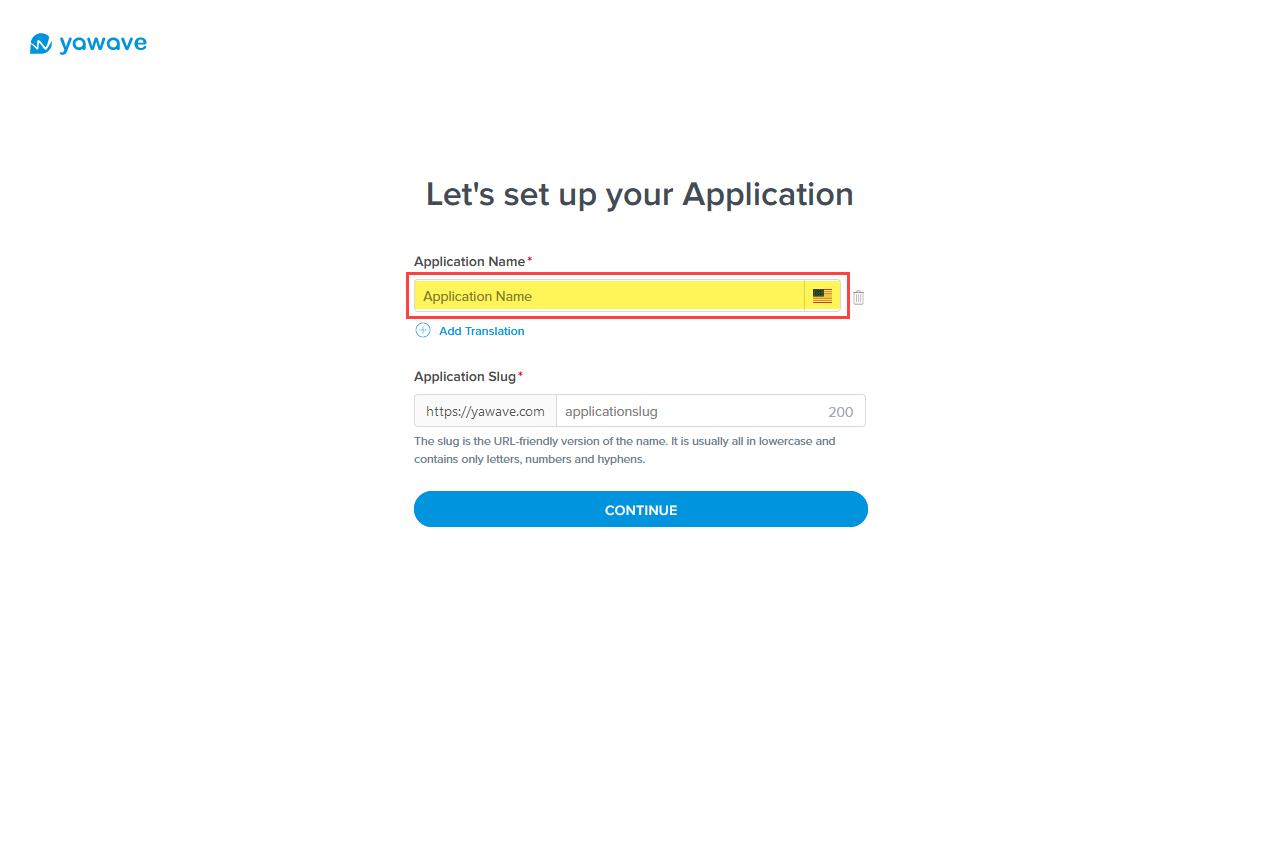
- Enter the name you want to use for the new Application in the Application Name field. The name you choose can be anything.
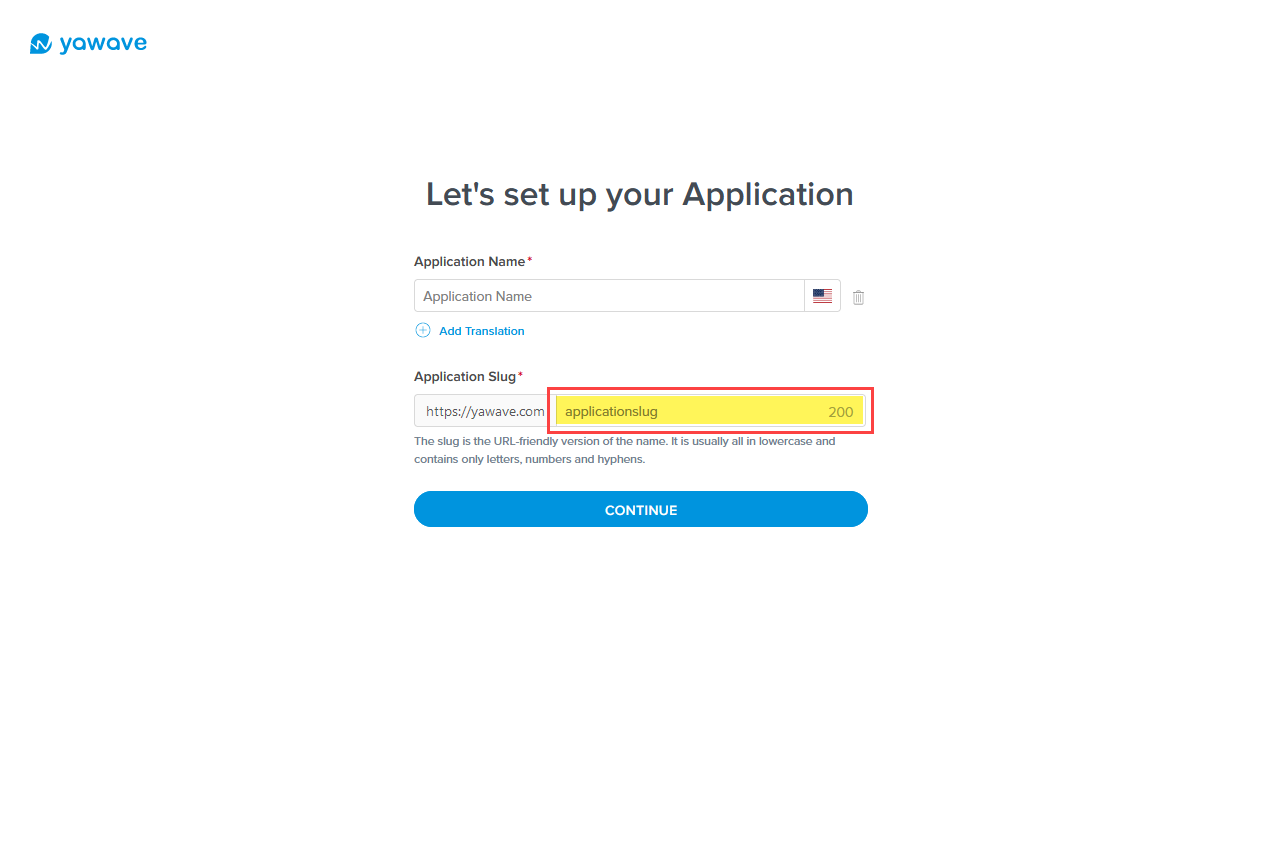
- Enter the name you want to use for your first application's slug in the Application Slug field. The name you choose can be anything.
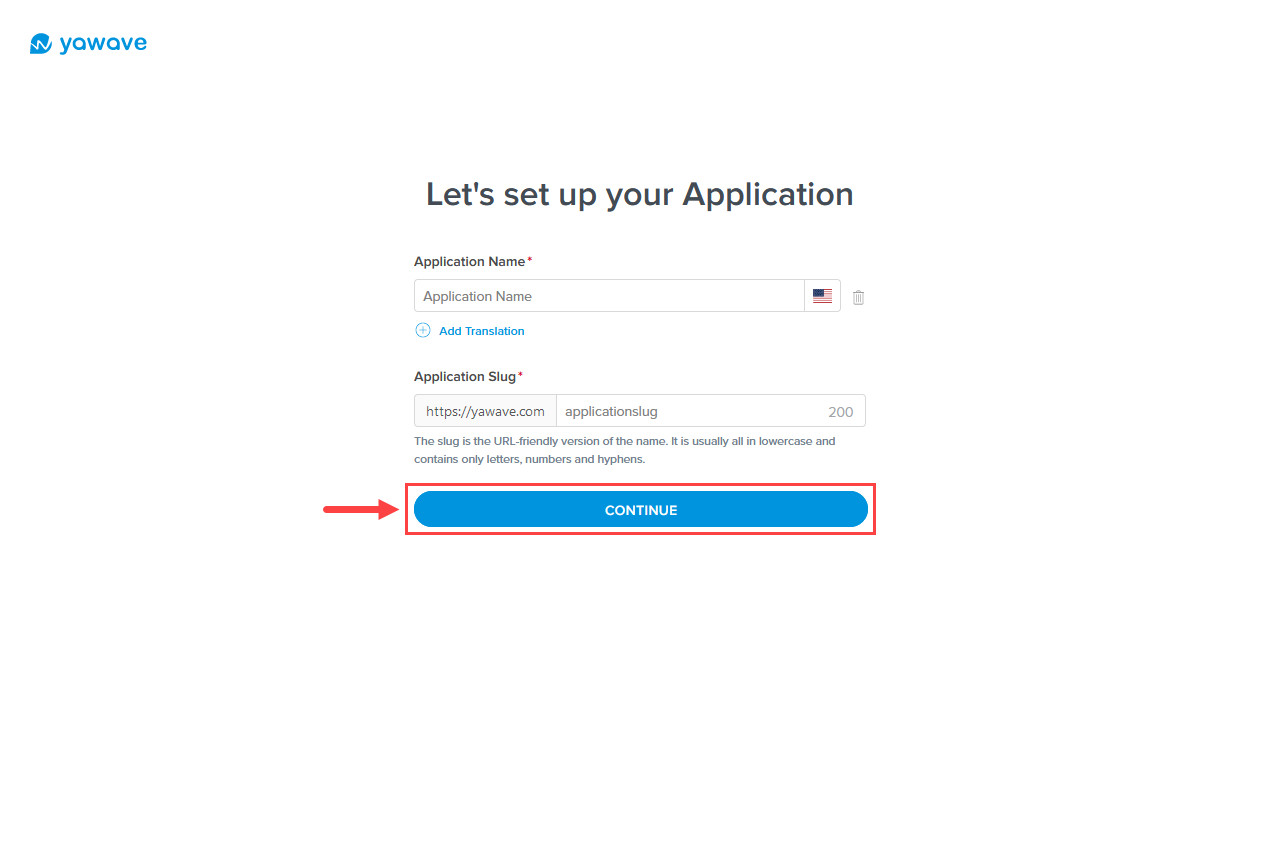
- Click Continue.
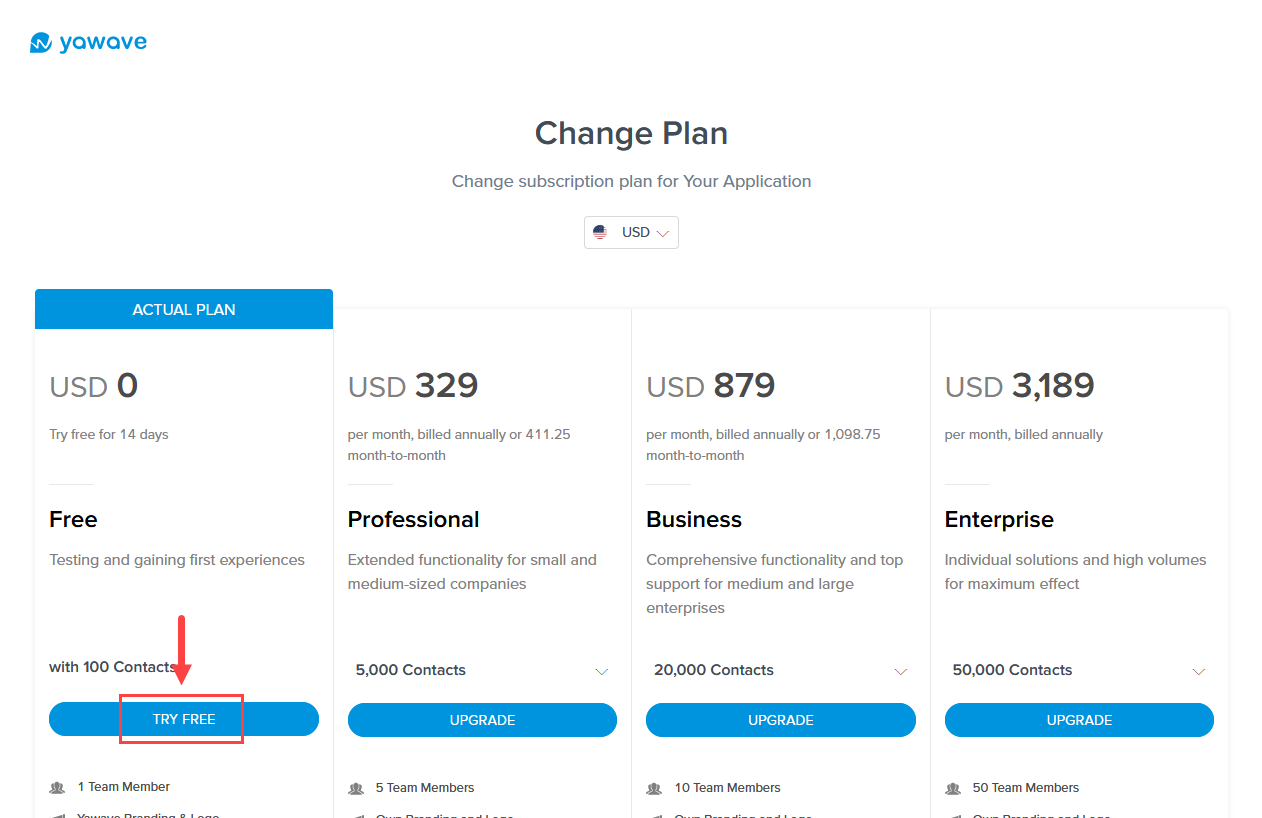
- The Plan page loads. The default plan selected is the Free plan. Click Try Free to continue with the Free plan or click Upgrade under any of the paid plans.
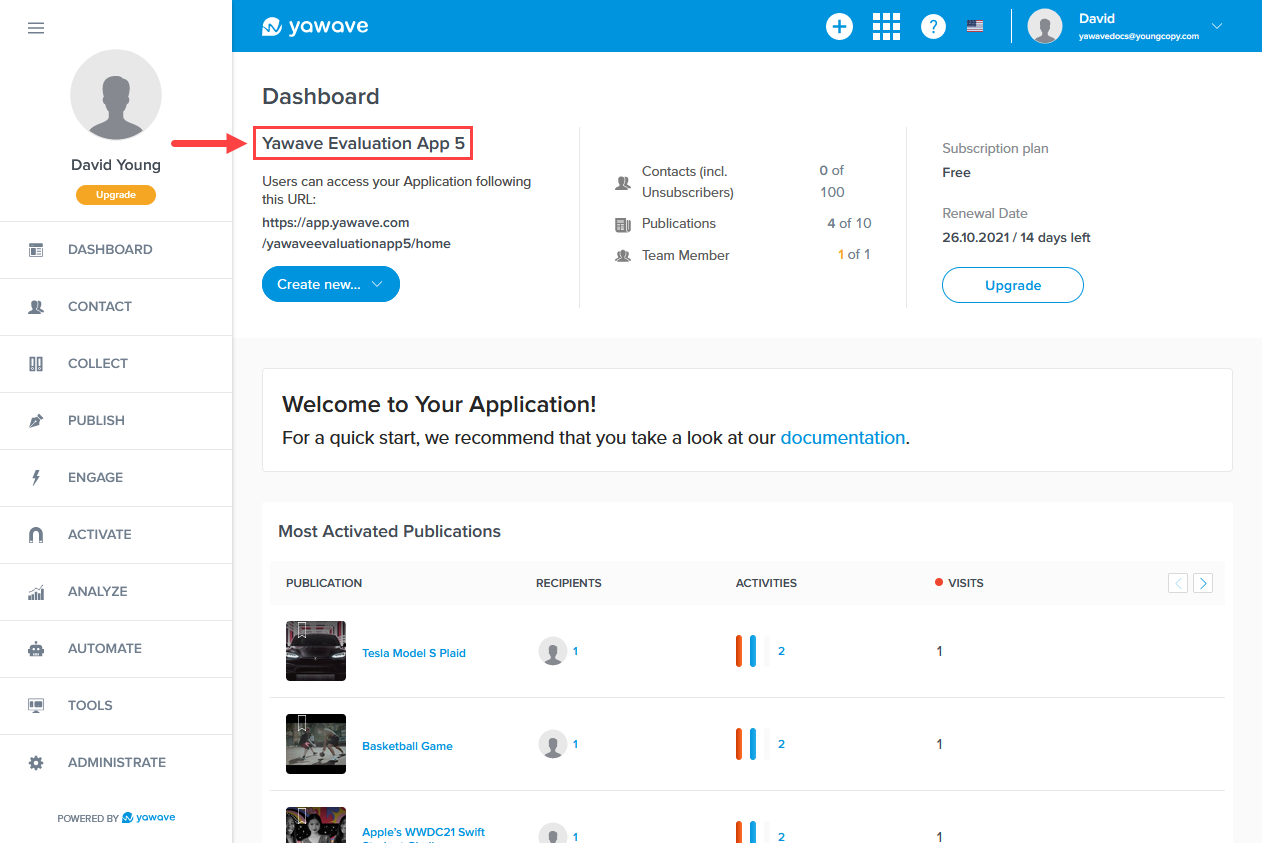
- When the page loads you'll see the yawave dashboard and you'll be logged in to the Application you just created. The name of your new Application will appear under Dashboard near the top of the page.
Add an Application: The Advanced Option
Please read this document carefully, starting from the Before You Begin section in blue at the top of this page in order to understand the two ways to add an Application. If you have questions not answered in this document, create a ticket or write to [email protected]. A yawave support specialist will respond to your ticket as soon as possible.
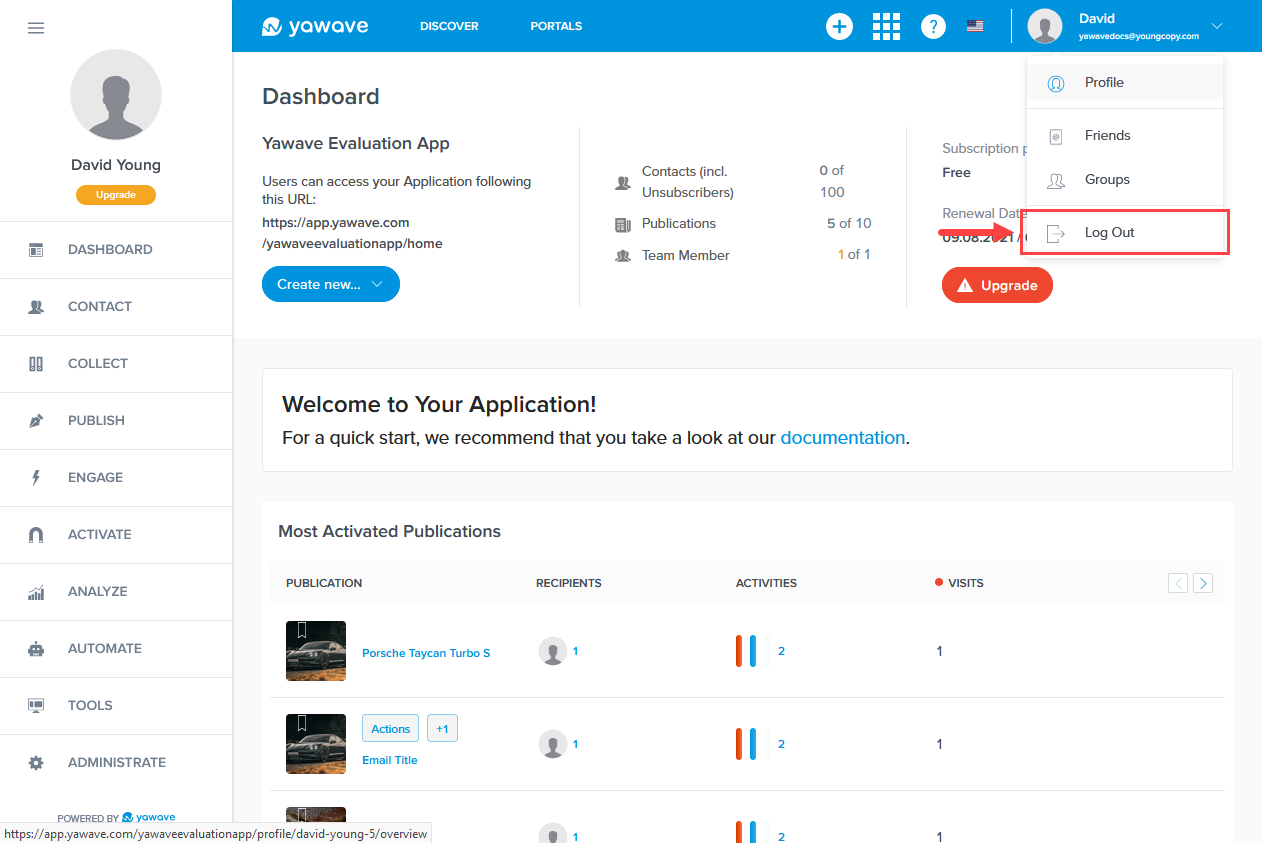
- Make sure you are logged out of your existing yawave account. To log out of your existing yawave account, click your name/email address in the top-right of your yawave account and select Log Out from the drop-down menu.
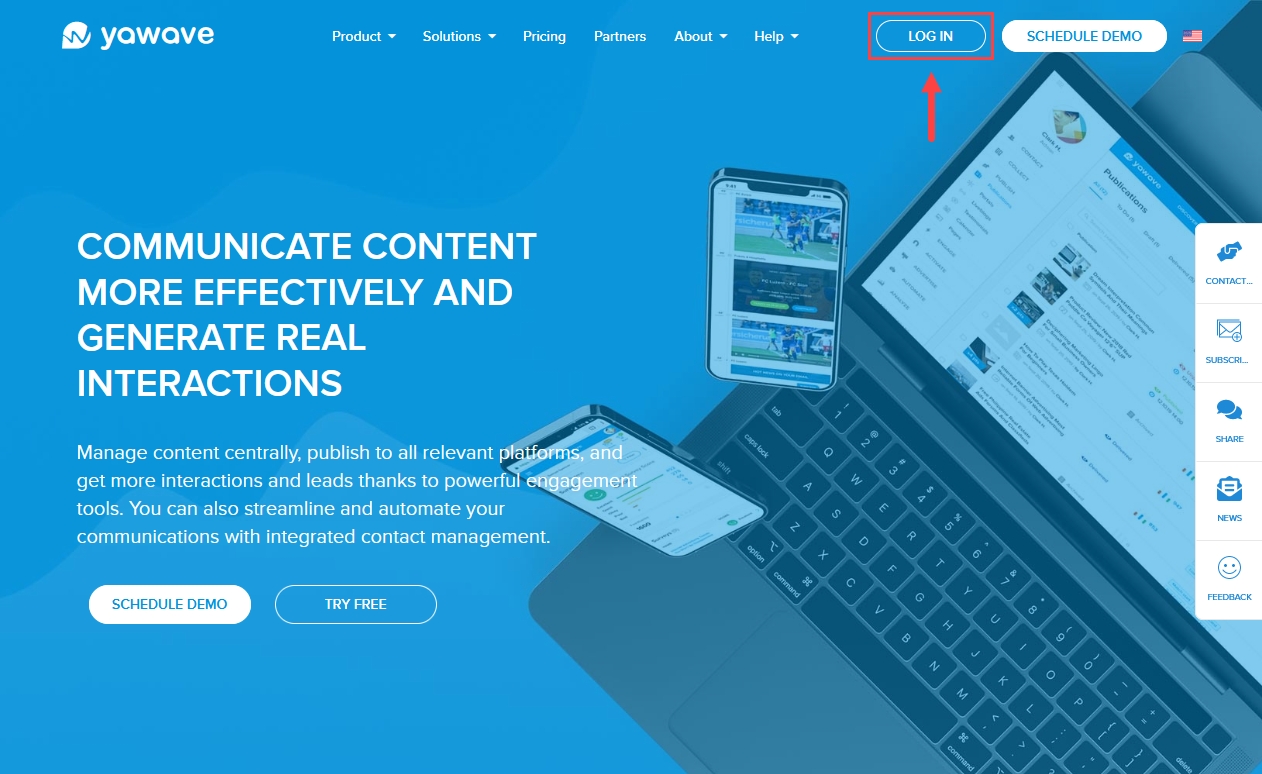
- Go to https://yawave.com/ and click LOG IN.
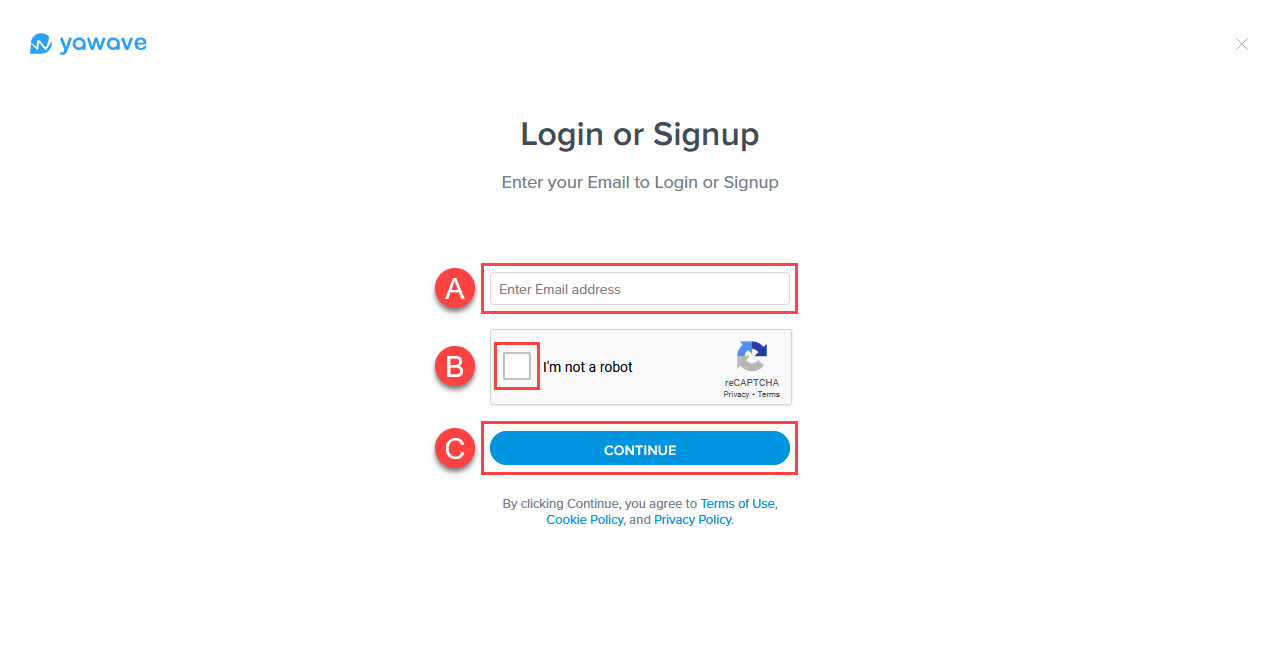
- When the page loads, enter email address of the yawave Account you want to add a new Application to (A), click the box next to I'm not a robot (B), then click Continue (C).
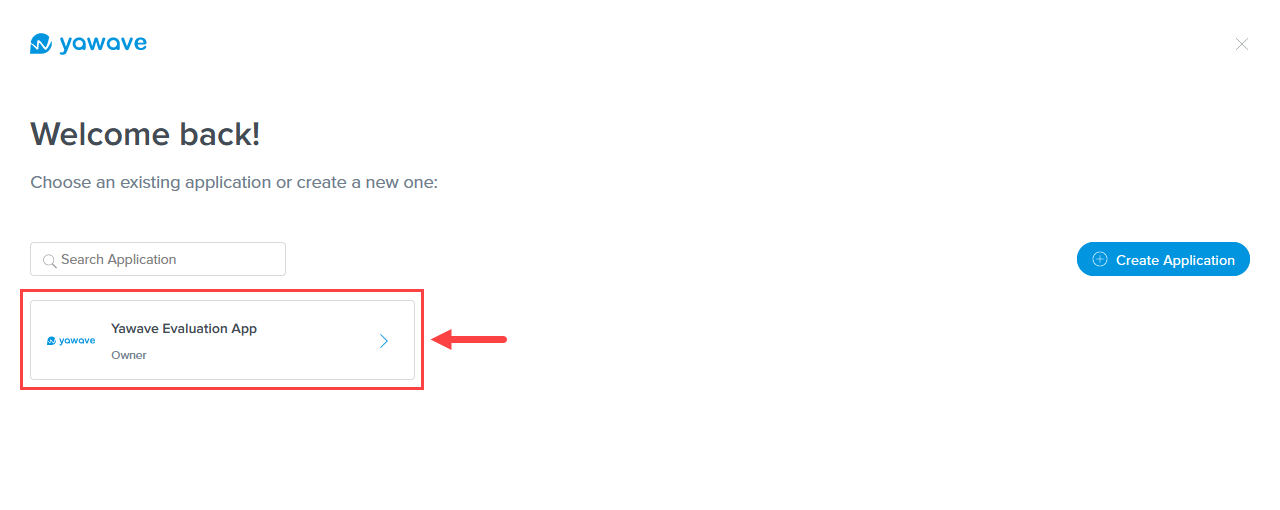
If the email address you entered is already registered in yawave, the system will show all the applications associated with the email address as shown below. In the following example only one application is associated with the email address. You may see one or more applications depending on how many applications are associated with the email address you entered.
Note: yawave shows applications where you are an Owner or Member. If no applications are associated with the email address you entered, yawave will automatically direct you to the create application page as shown in Step 5 below.
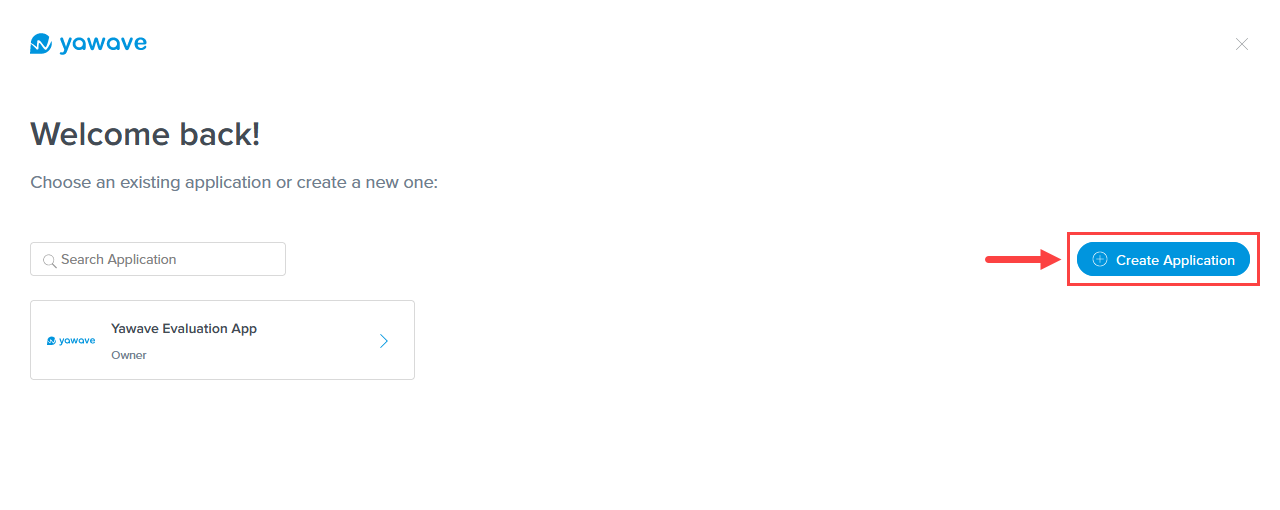
- Click Create Application.
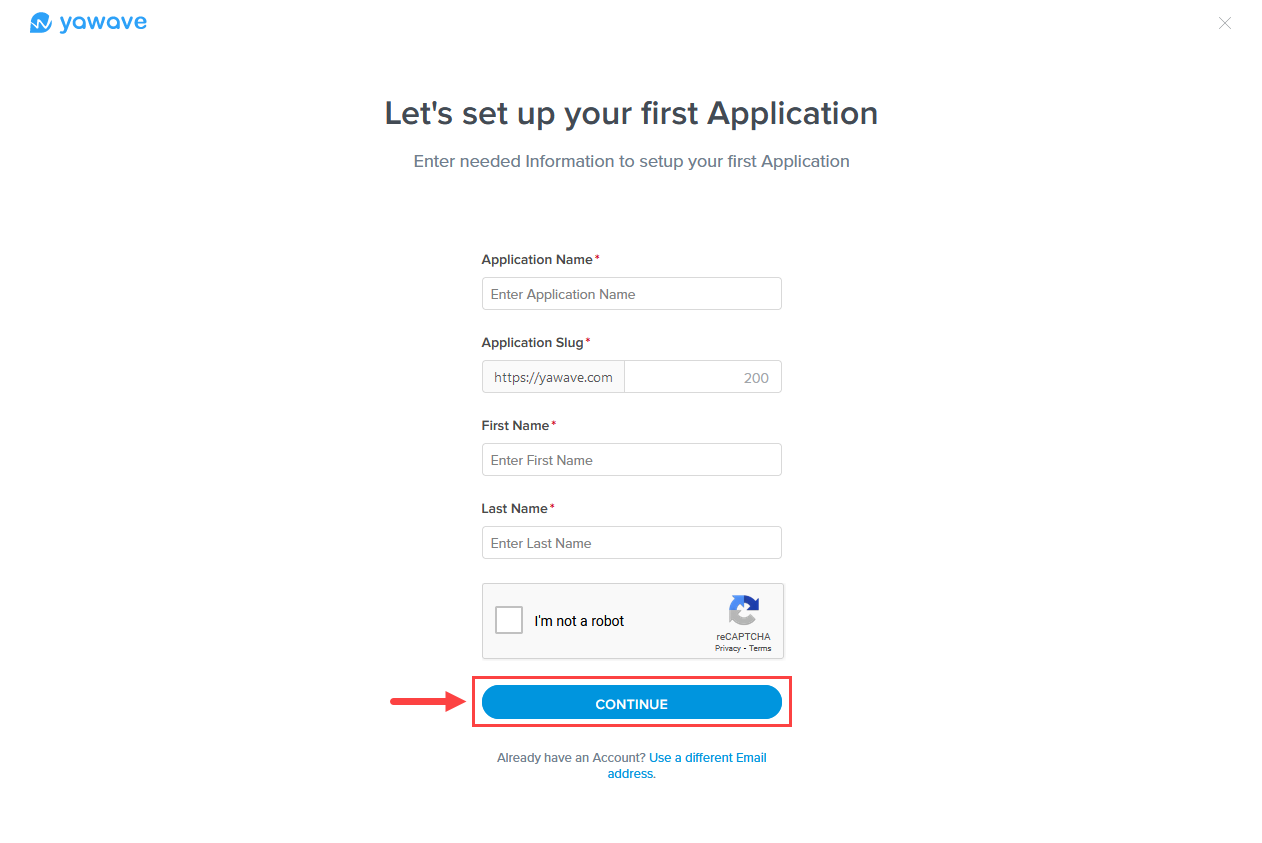
- Enter the name you want to use for your first application in the Application Name field. The name you choose can be anything.
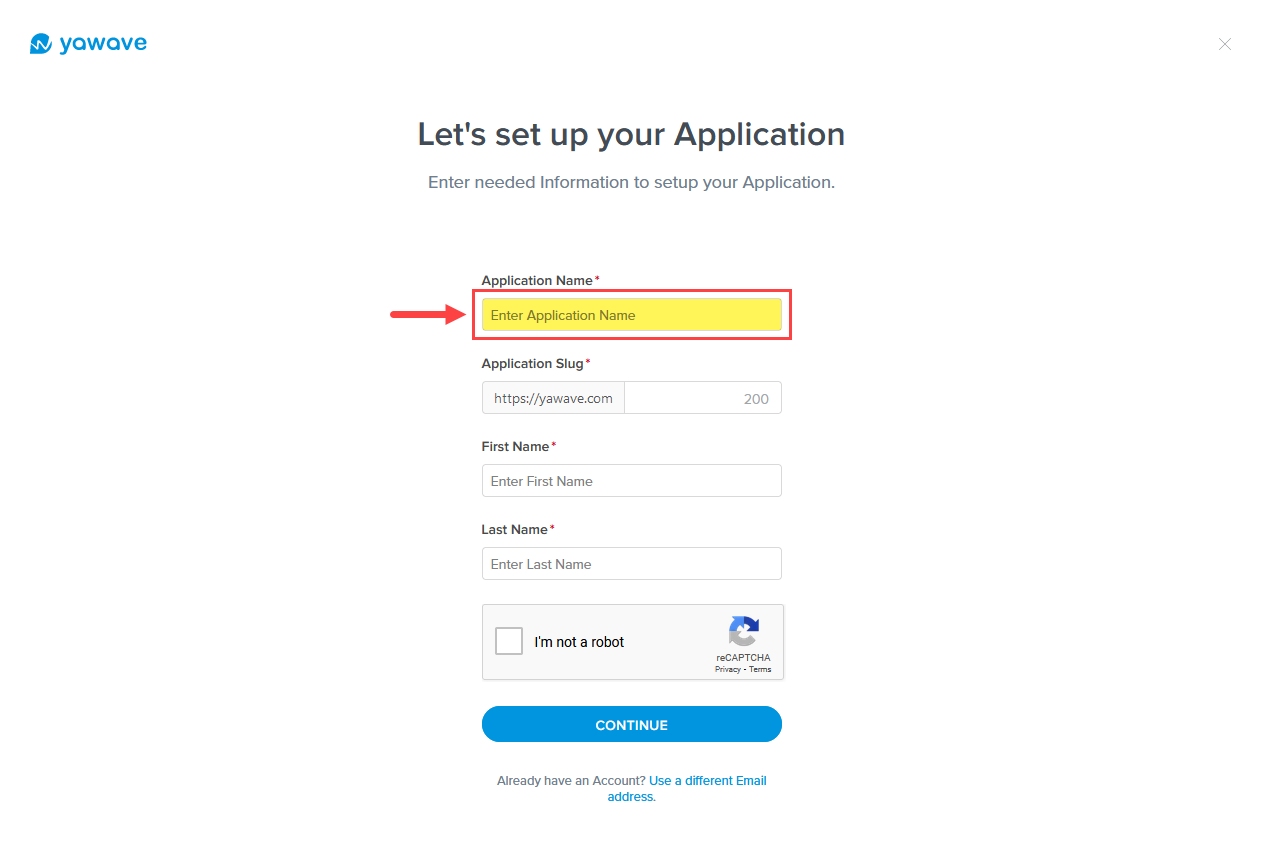
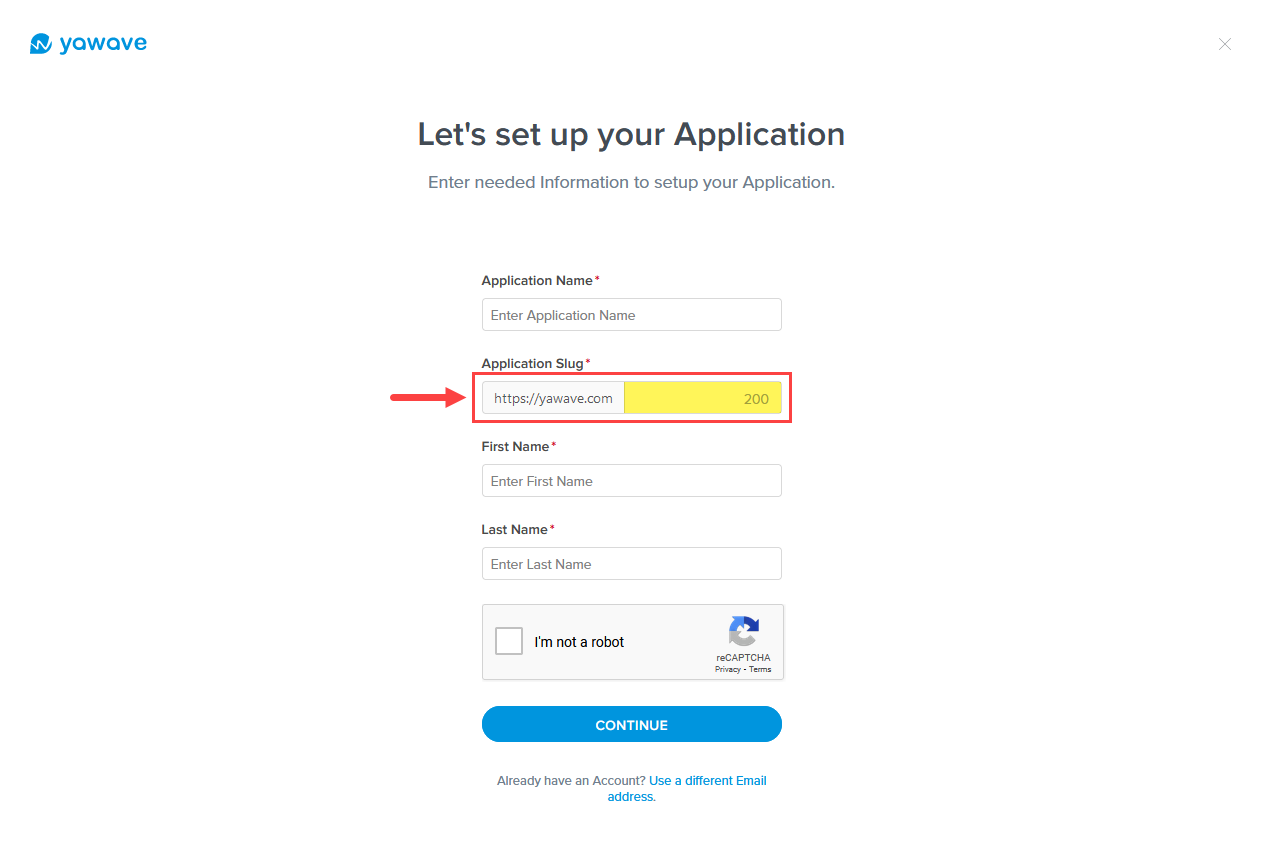
- Enter the name you want to use for your first application's slug in the Application Slug field. The name you choose can be anything. If a slug name is already taken by another yawave user, you'll see a message stating the slug is already taken. Slug names have a 200 character limit. Note: yawave automatically uses the name you entered for the Application Name in Step 5 above. You can change it to any name you choose unless it already taken by another user.
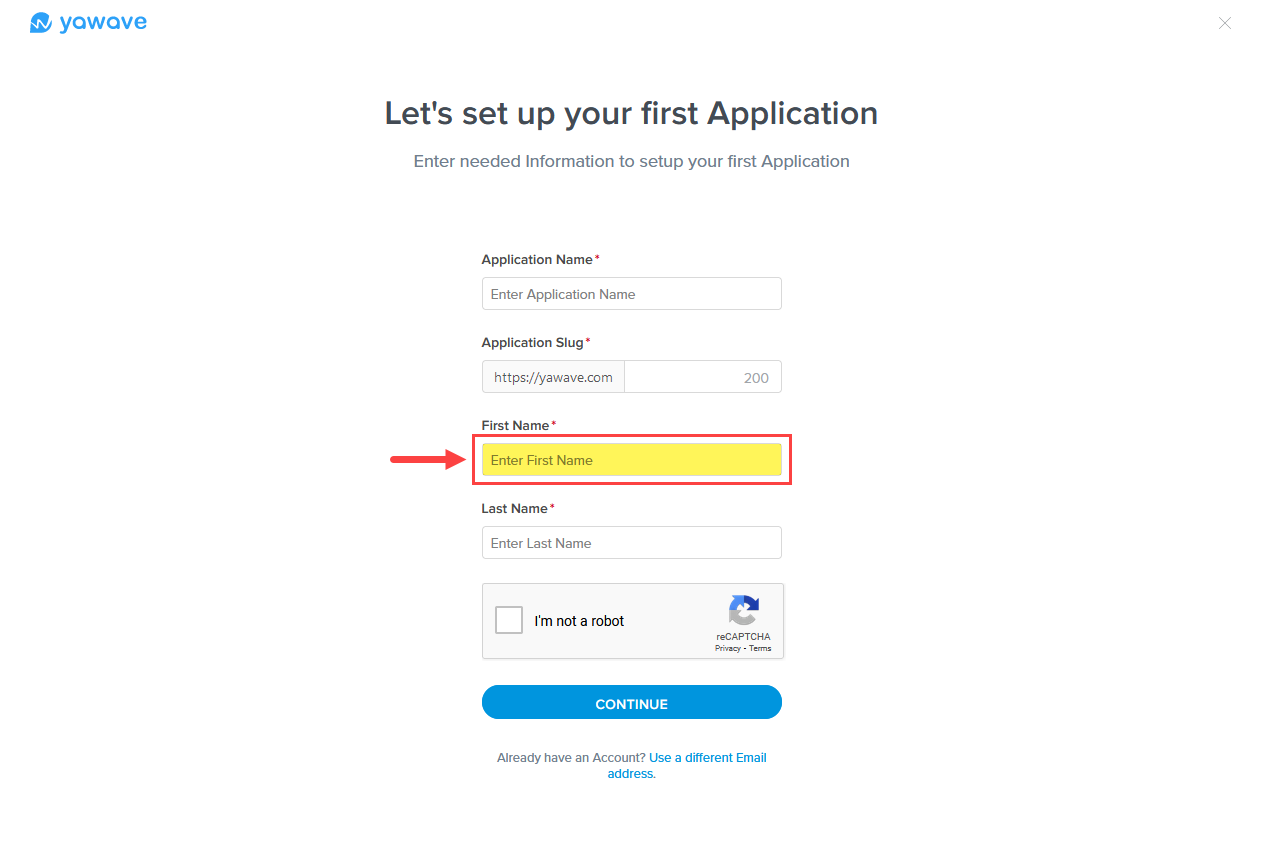
- Enter the first name you want to use for the application in the First Name field.
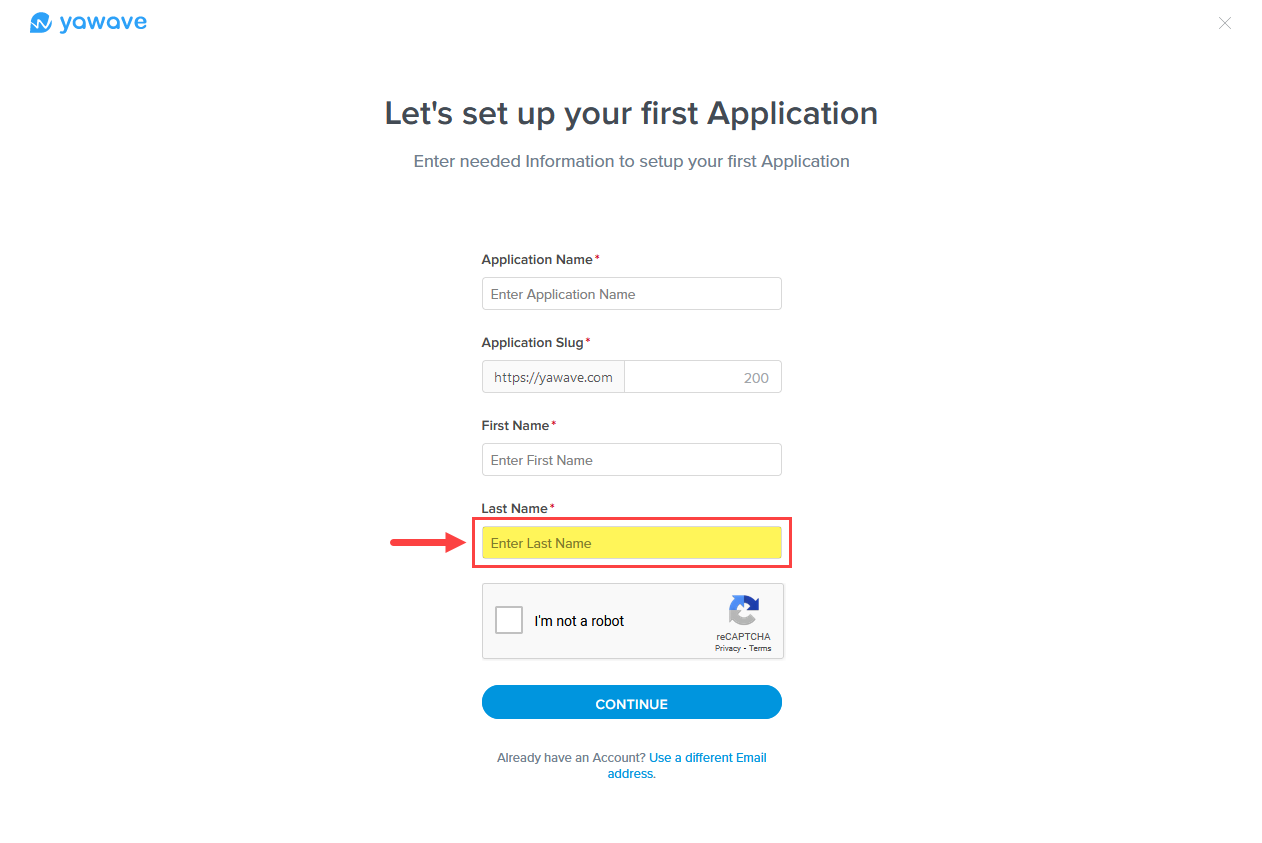
- Enter the last name you want to use for the application in the Last Name field.
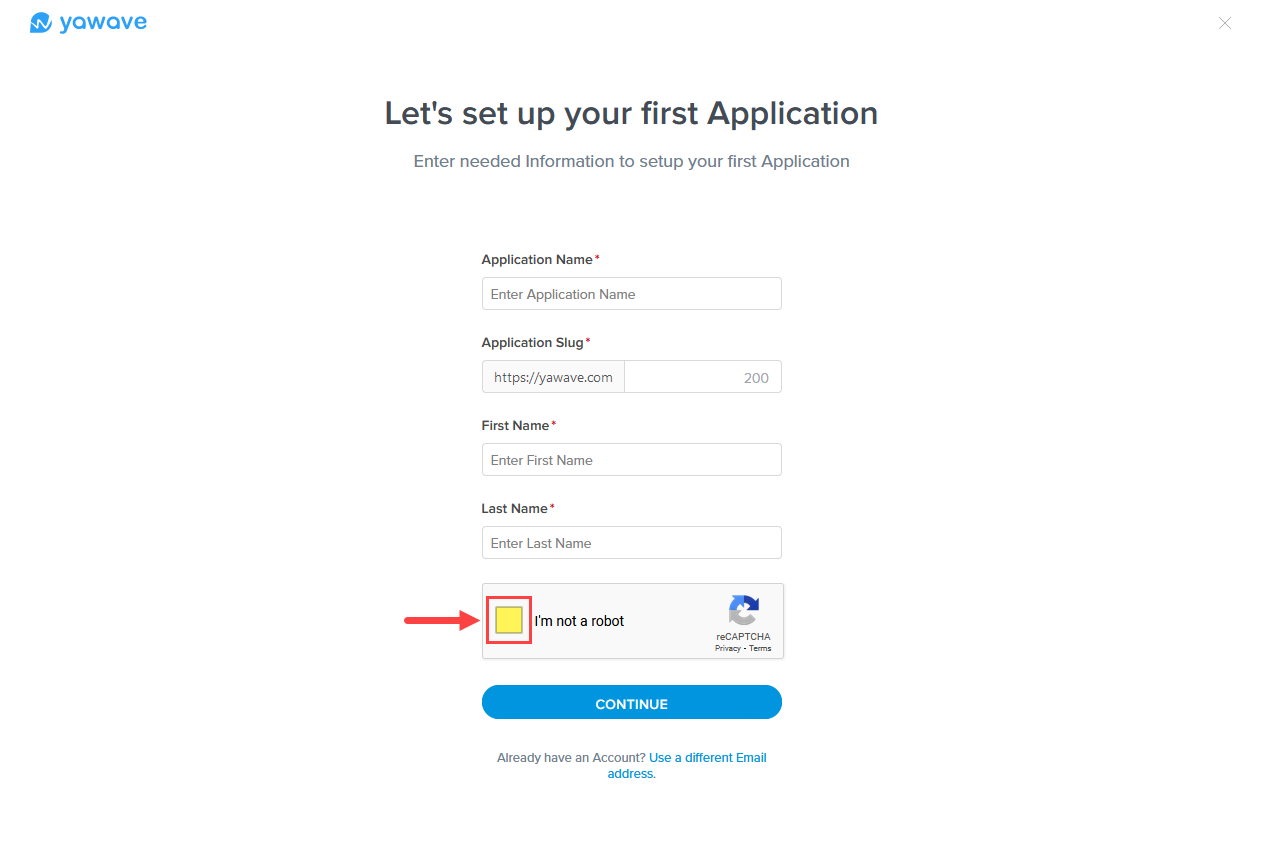
- Click the box next to I'm not a robot.
- Click Continue.
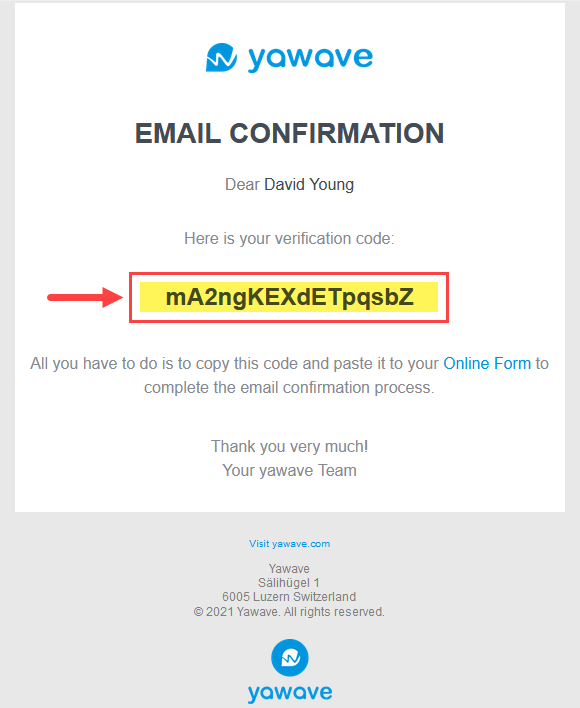
- When the page loads, check the Inbox of the email address you used in Step 3A above. Highlight and copy the verification code shown in the email. Below is an example of the email and where the verification code is located.
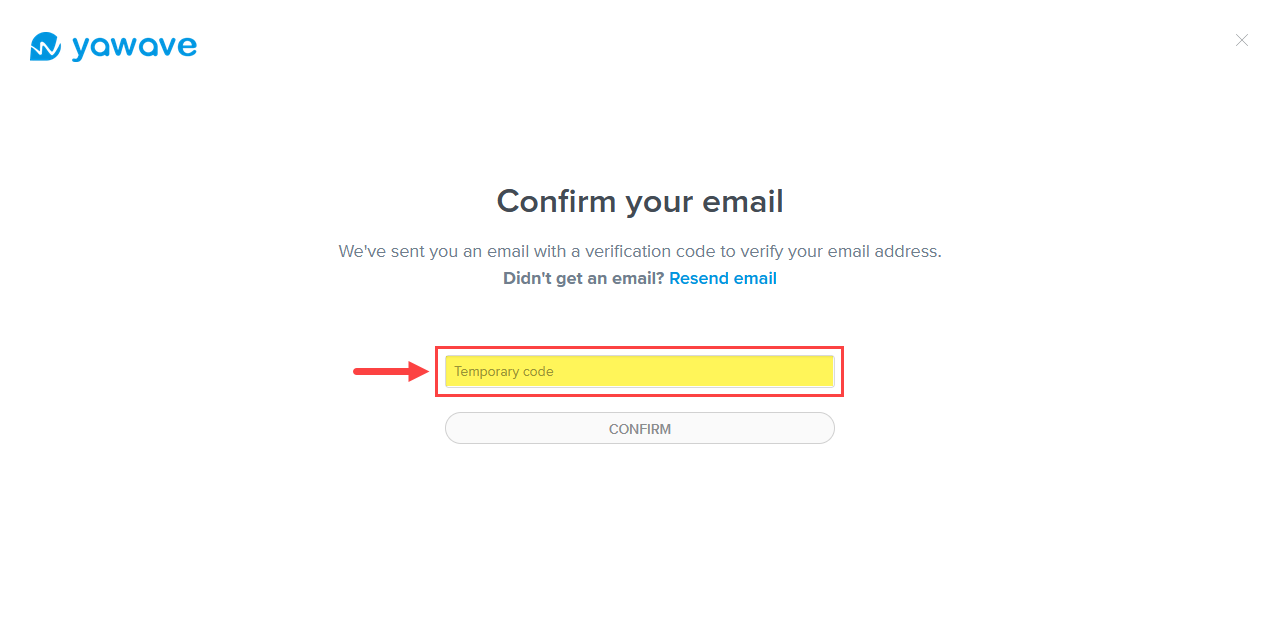
- Paste the highlighted verification code in the yawave Temporary code field.
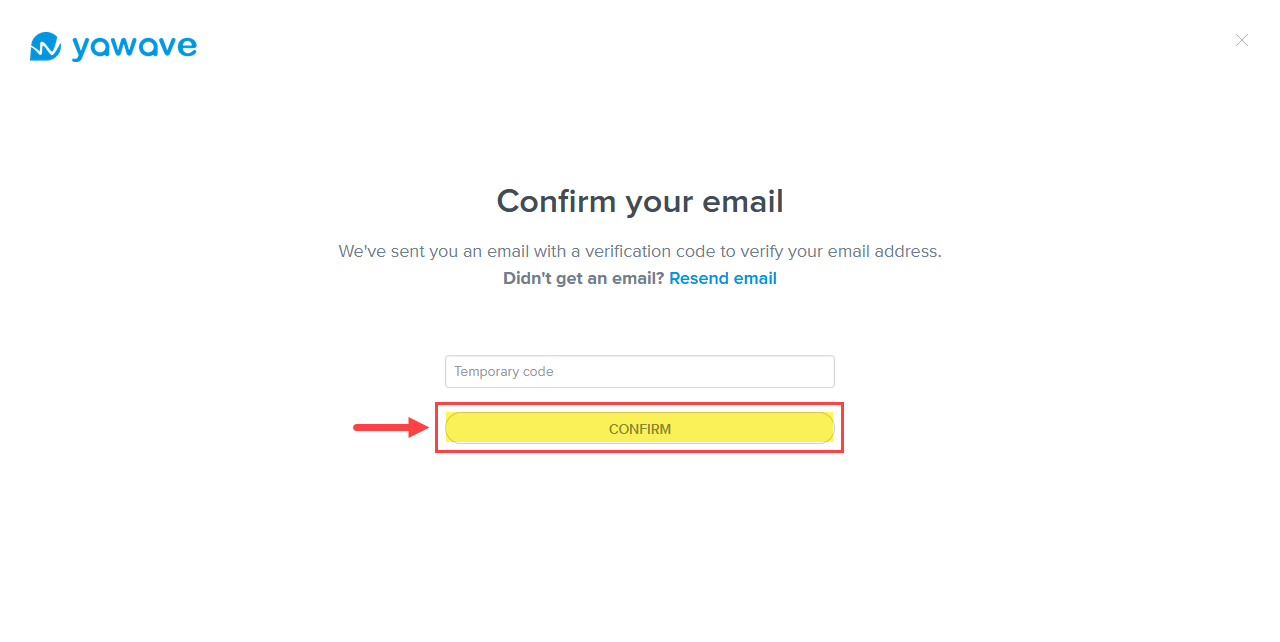
- Click Confirm.
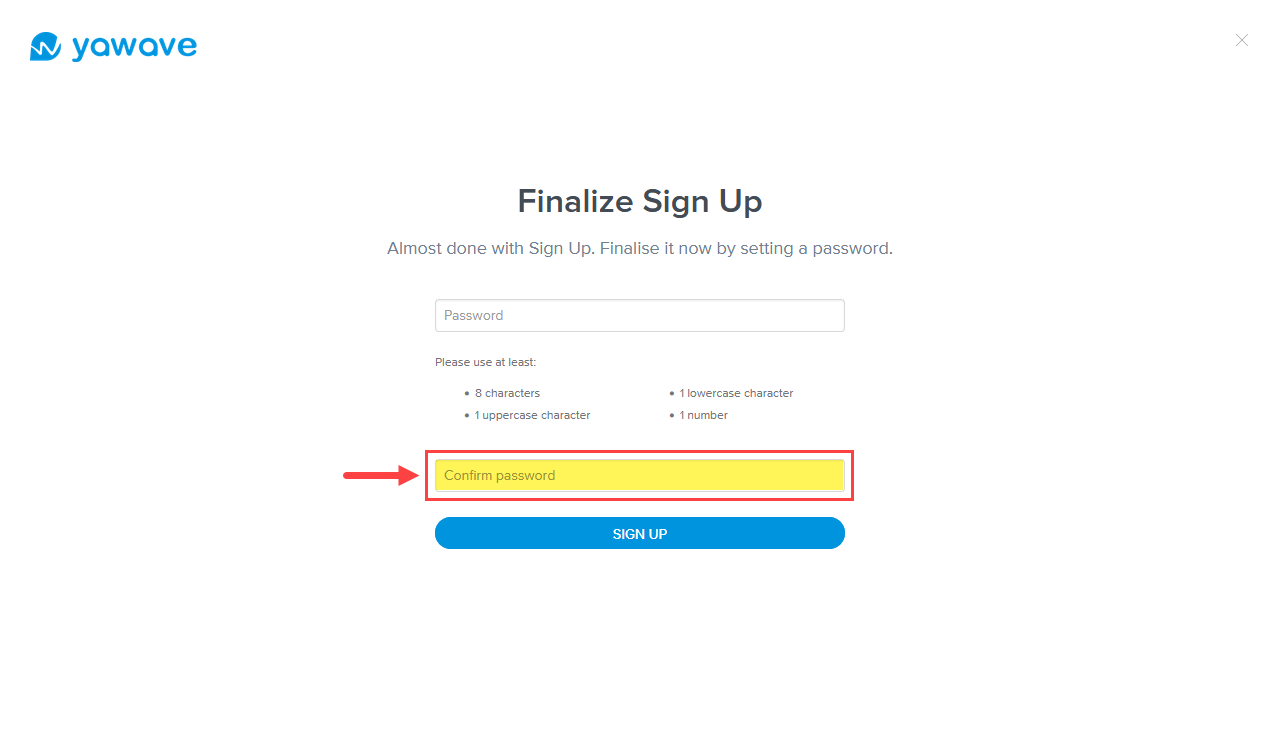
- Enter the password you want to use for the application in the Password field.

- Using the same password you used in Step 14 above, enter the password in the Confirm Password field.
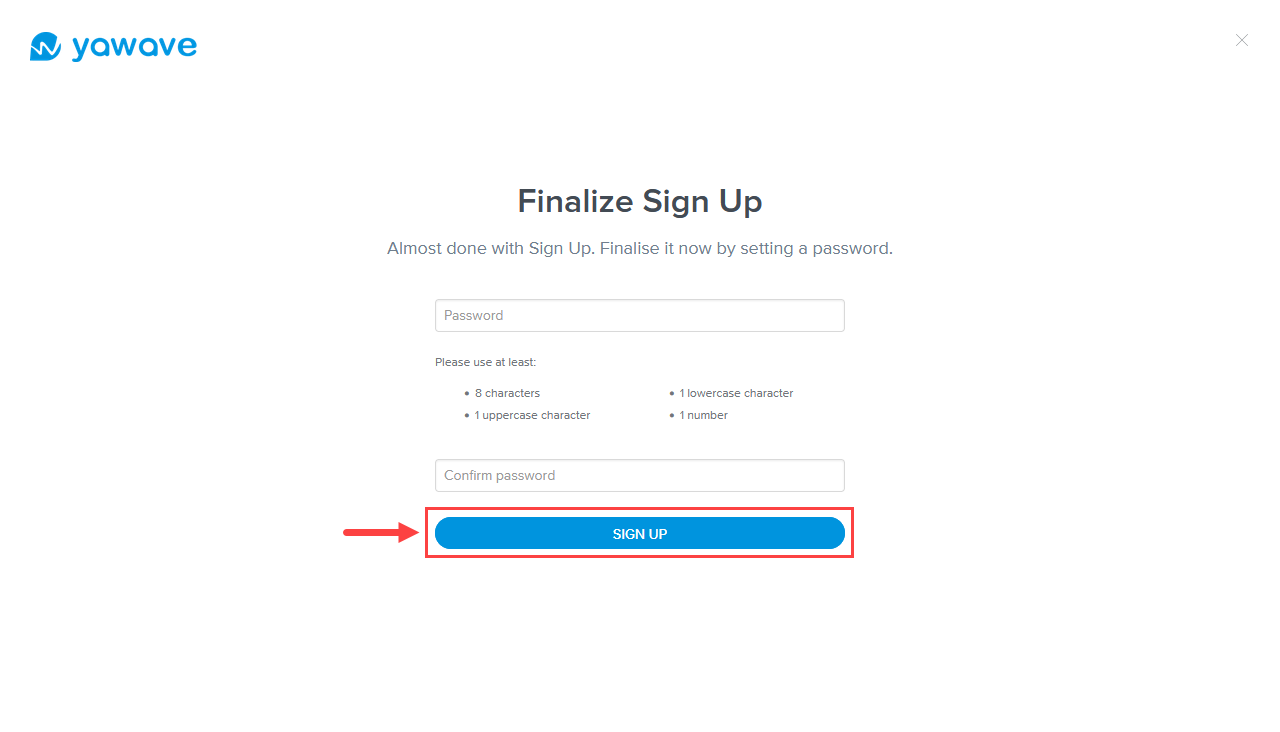
- Click Sign Up.
- The Plan page loads. The default plan selected is the Free plan. Click Try Free to continue with the Free plan or click Upgrade under any of the paid plans.
- When the page loads you'll see the yawave dashboard. If you are new to yawave, continue with the onboarding steps described in the Start Here page.