Learn how to create an Email below.
An Email in yawave is the same as a newsletter. With Publish Email you can send a customized email/newsletter to end users.
-
Click Publish/Emails.
-
Click Create Email.
-
Click Create your own from scratch. Note: Alternatively you can use an existing Email template. To do this, locate and hover your cursor over the existing Email template you want to use and click Get Started.
-
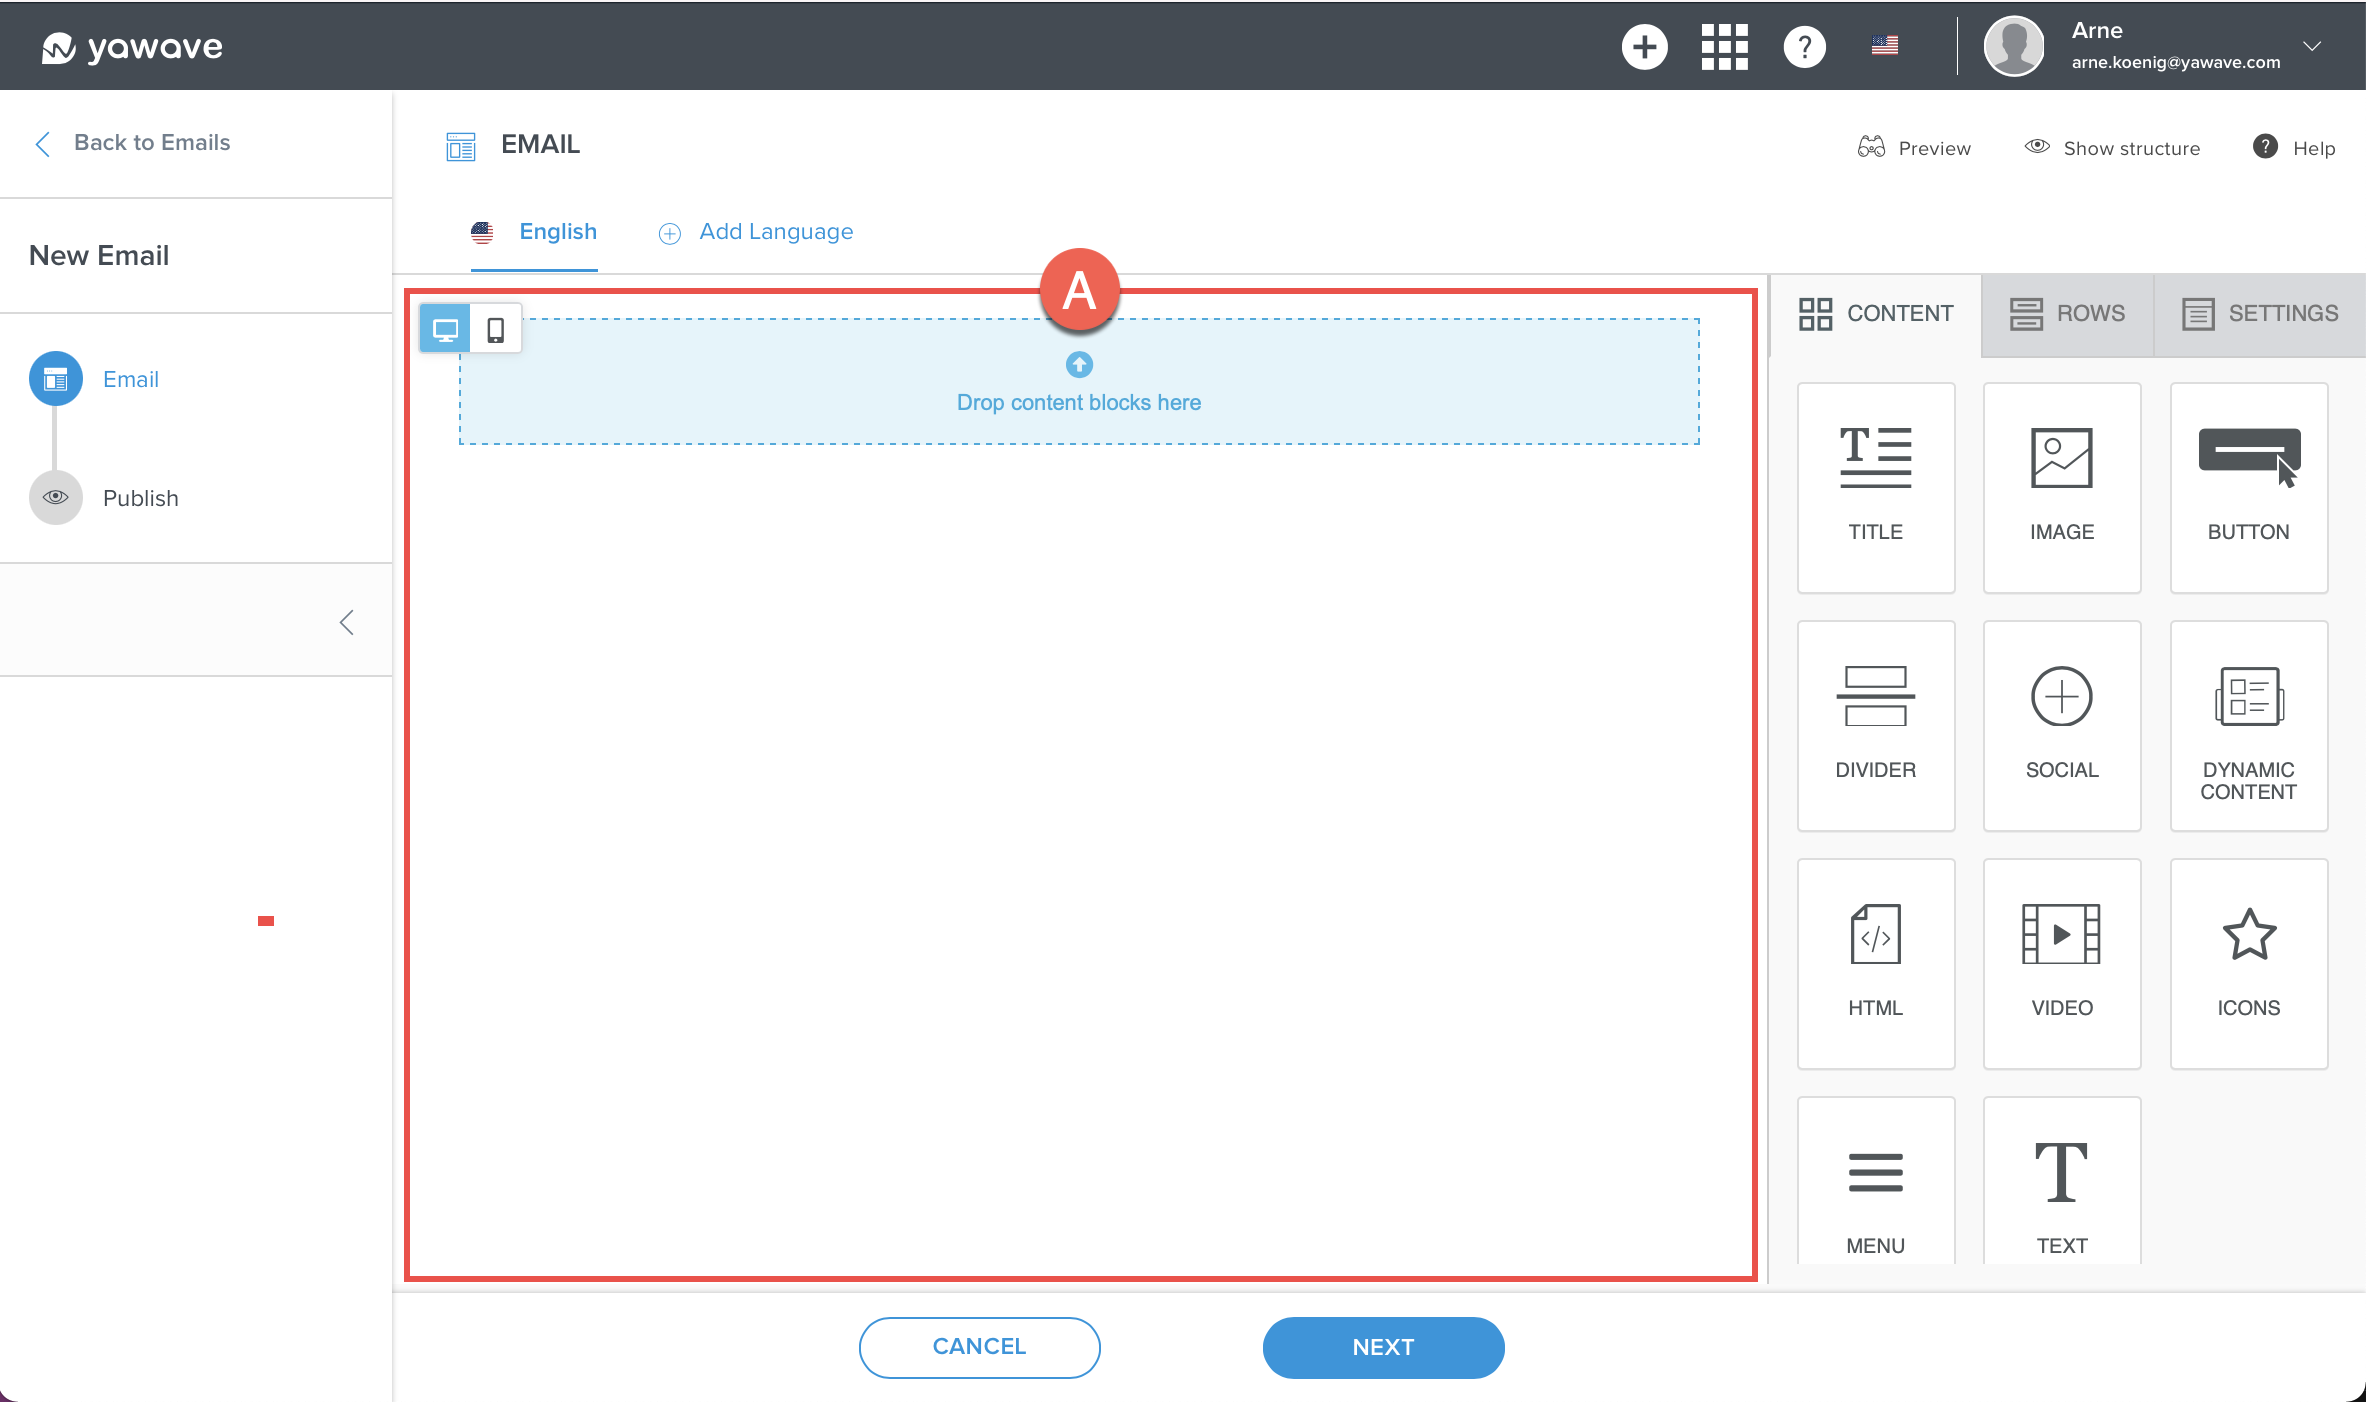
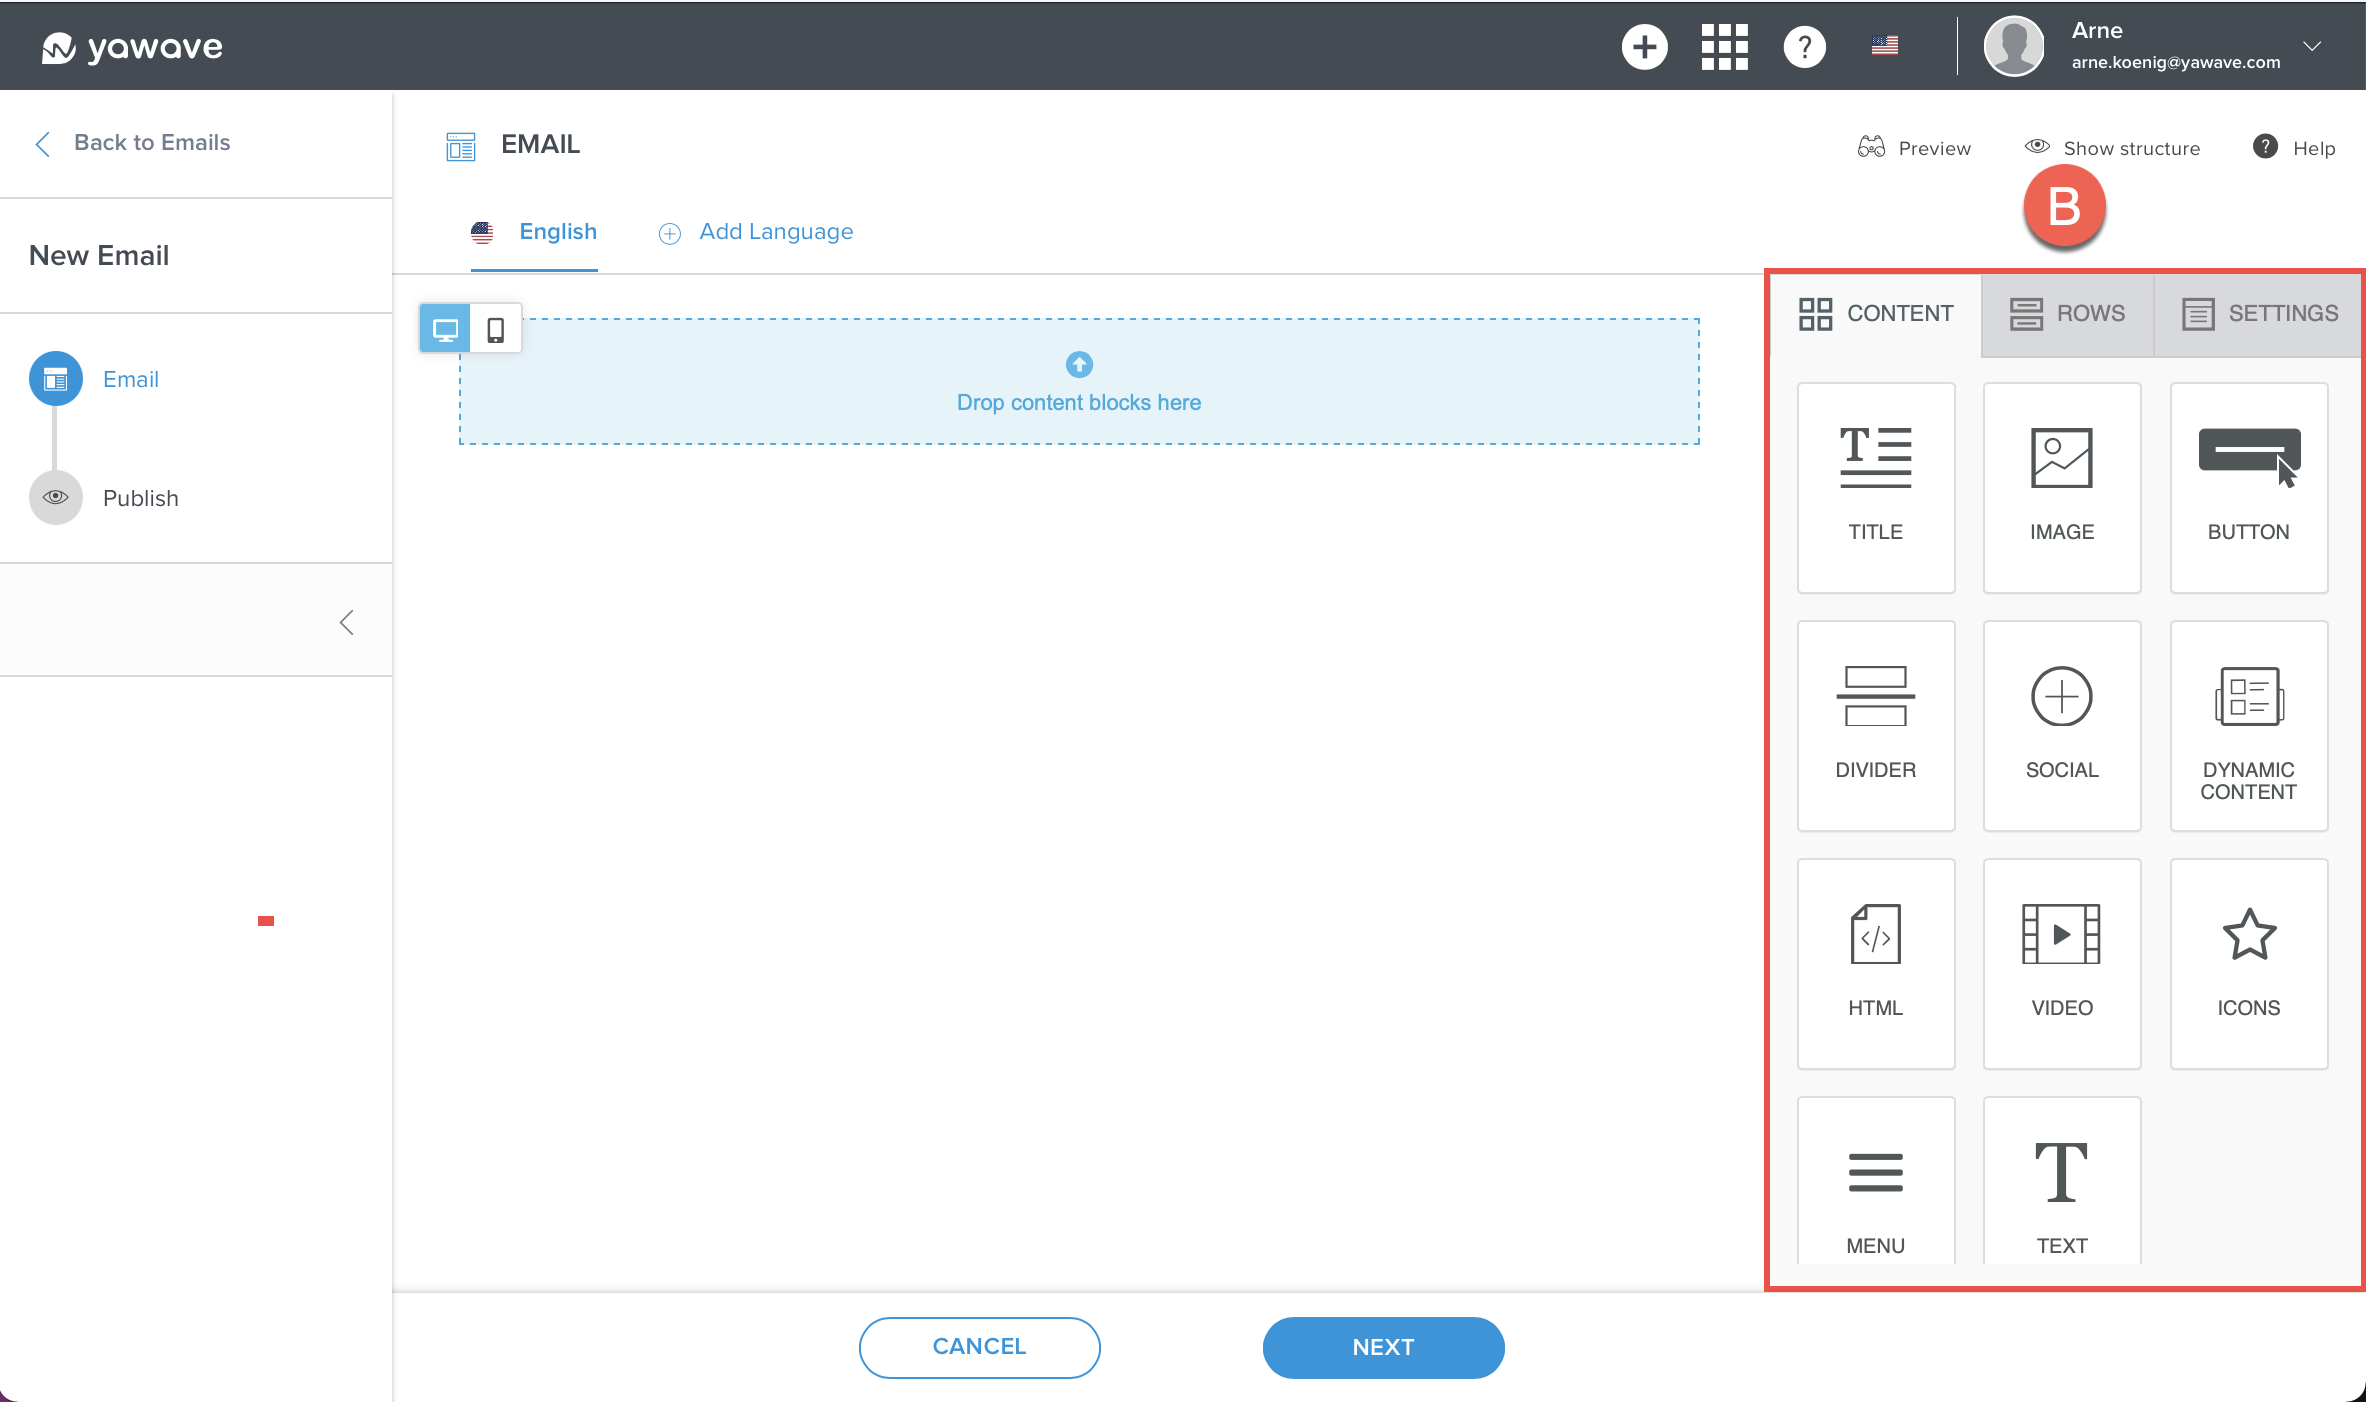
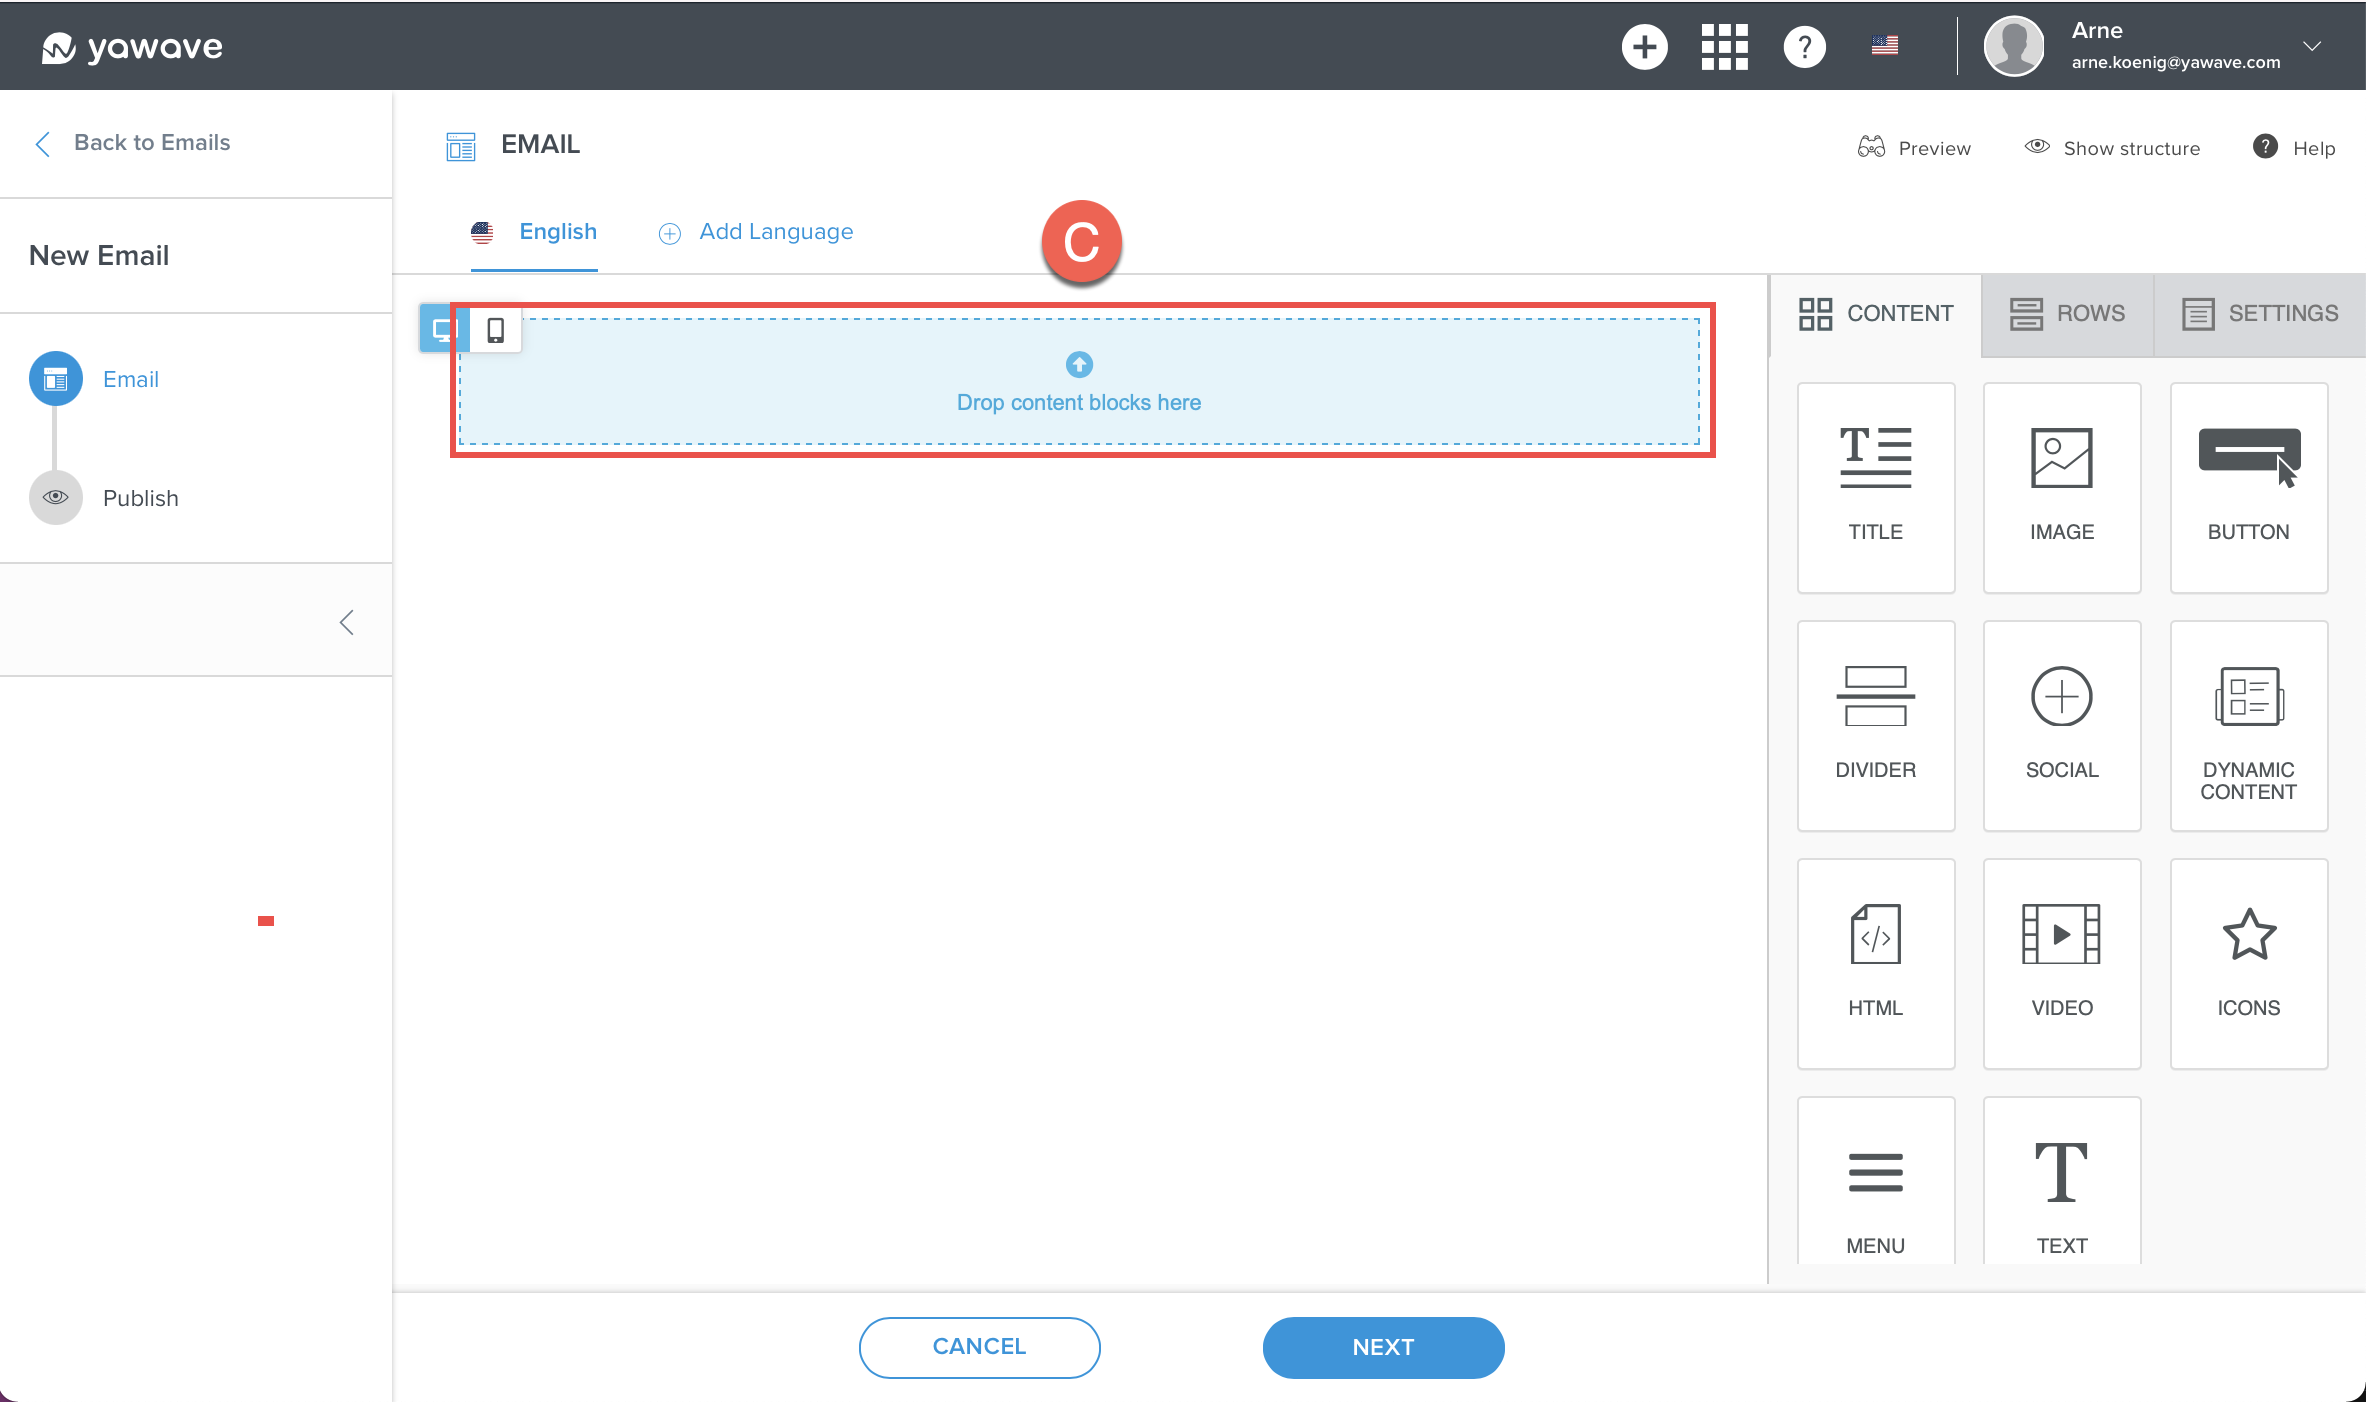
Below you'll see two images. (A) shows the email template content area and (B) shows the email template content blocks. Drag-and-drop blocks from the email template content blocks area (B) to the email template content area (A). Note: Make sure you drag-and-drop content blocks into the blue area as shown in image (C) below, which is also called a row. By default a row is already created. If you need an additional row, or want to have a two-column row layout, click the Rows tab in the email template content blocks are as shown in image (B). If you want to change the content area width, alignment, background color, font and link color, click the Settings tab as shown in image (B).
-
Click Next.
-
Enter the name you want to use for the Email's cover title in the Title field.
-
Enter the name you want to use for the Email's cover subtitle in the Subtitle field.
-
Drag and drop an image or click the Image icon to upload a new image.
-
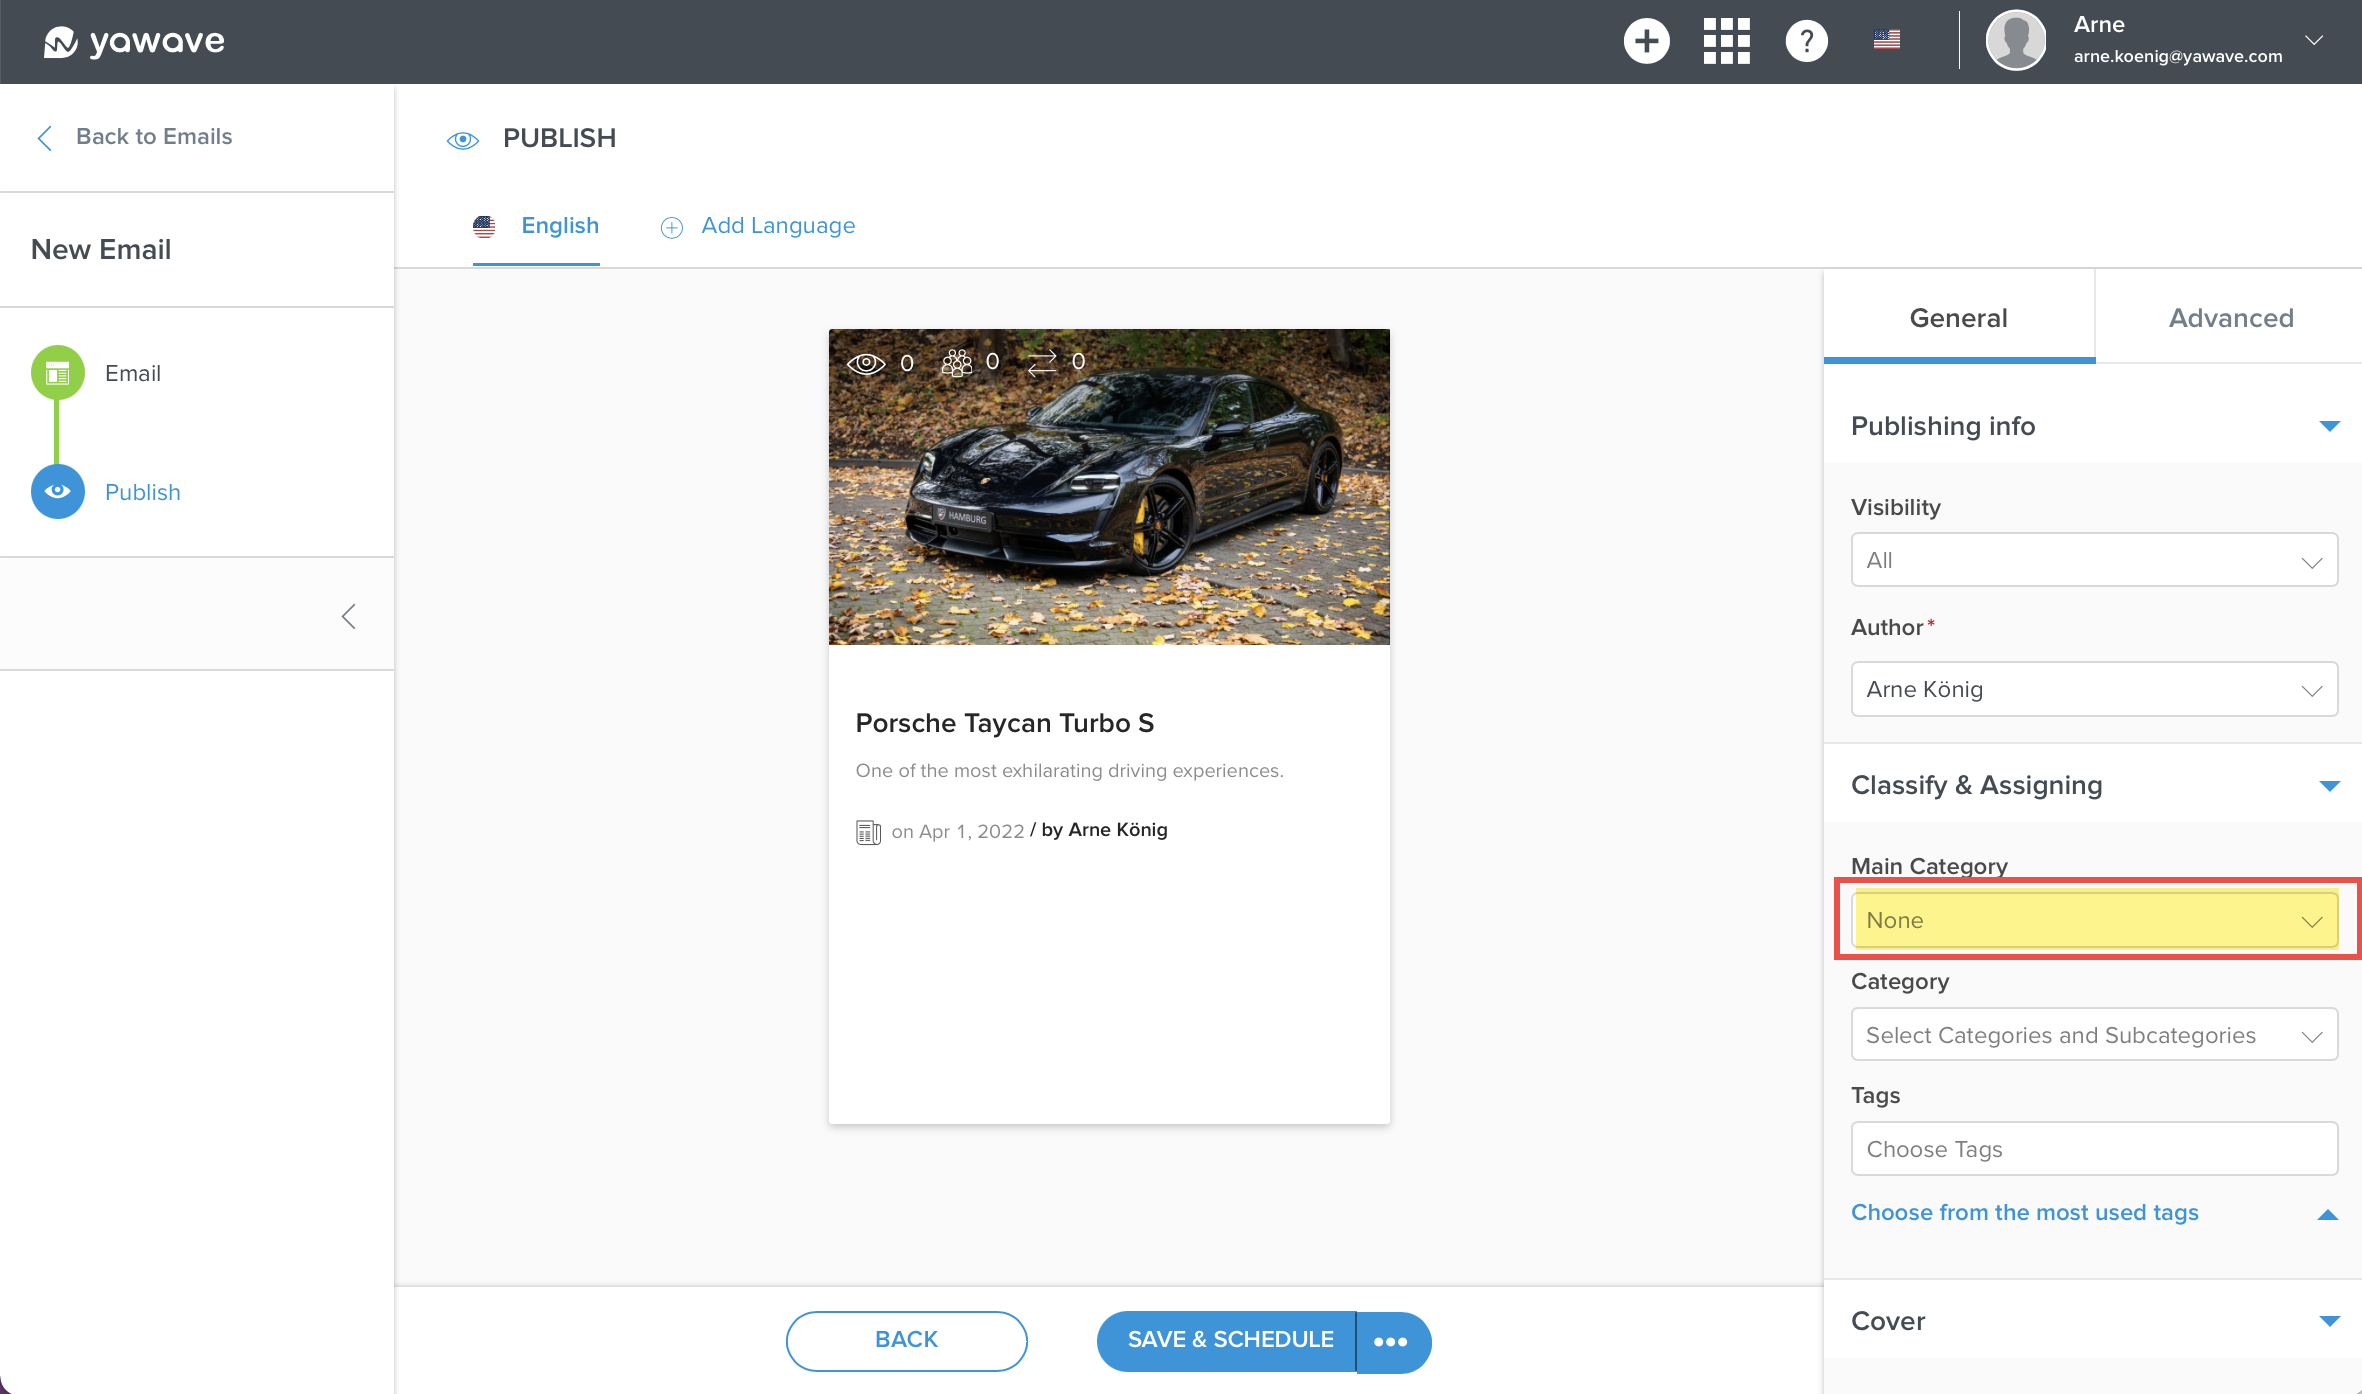
Select a Category from the Main Category drop-down menu. If you haven't already, Create a Category.
-
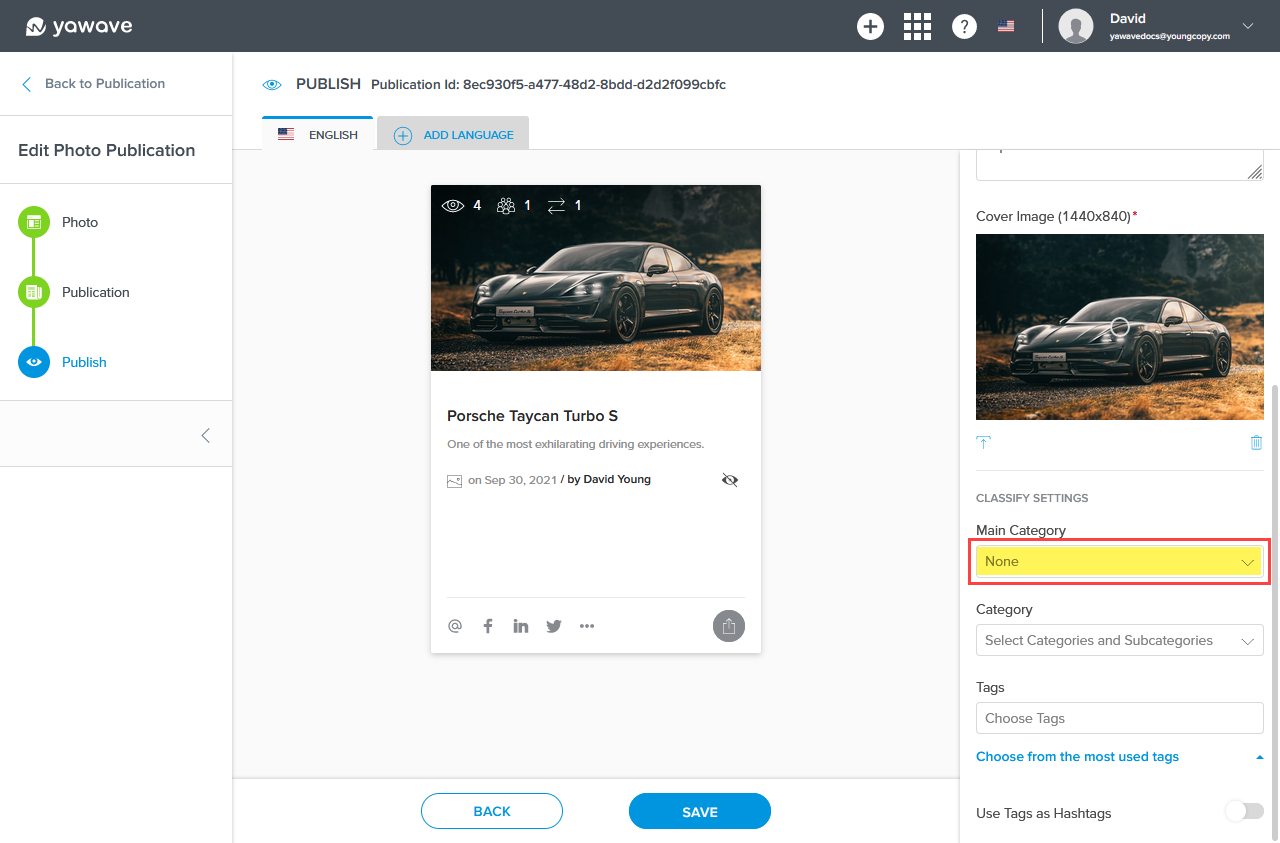
The Main Category appears on the Publication as shown below. In our example, the Main Category we're using is Porsche. Note the Main Category shows one time only. You can only select one Main Category.
- Select a Category from the Category drop-down menu. If you haven't already, Create a Category.
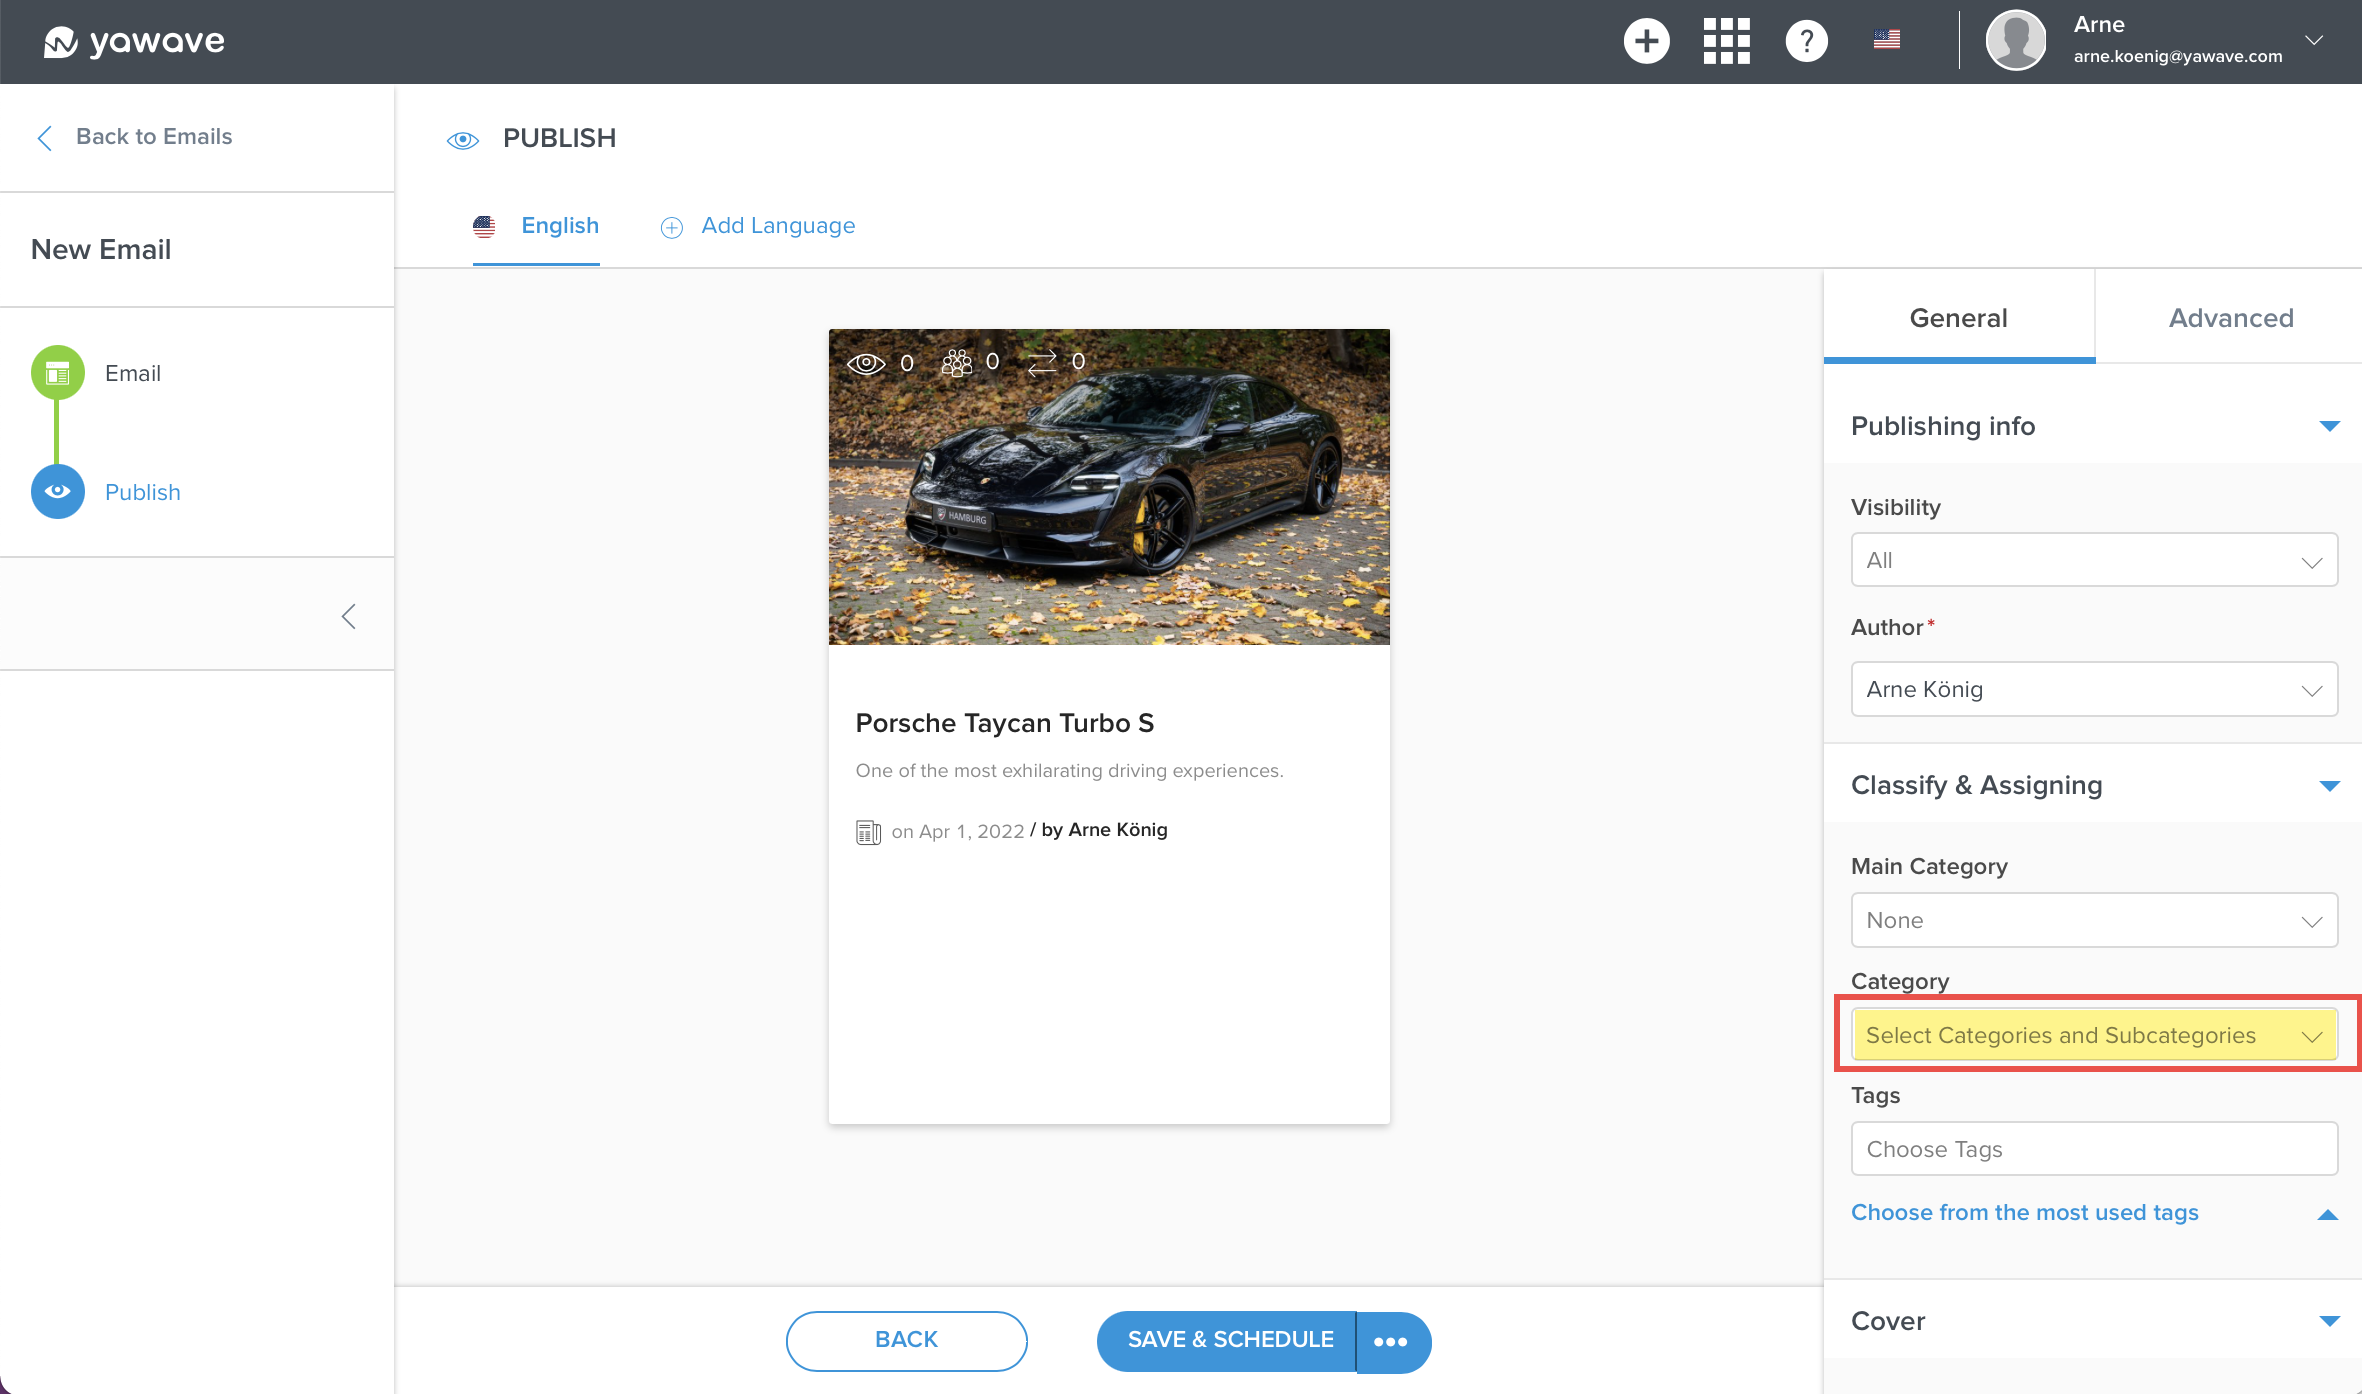
The Category appears on the cover as shown below and on the publication page header. You can select multiple categories and they will appear as a number. For example, if you select two categories for the Category setting, you'll see a box with the number two as shown in our example below.
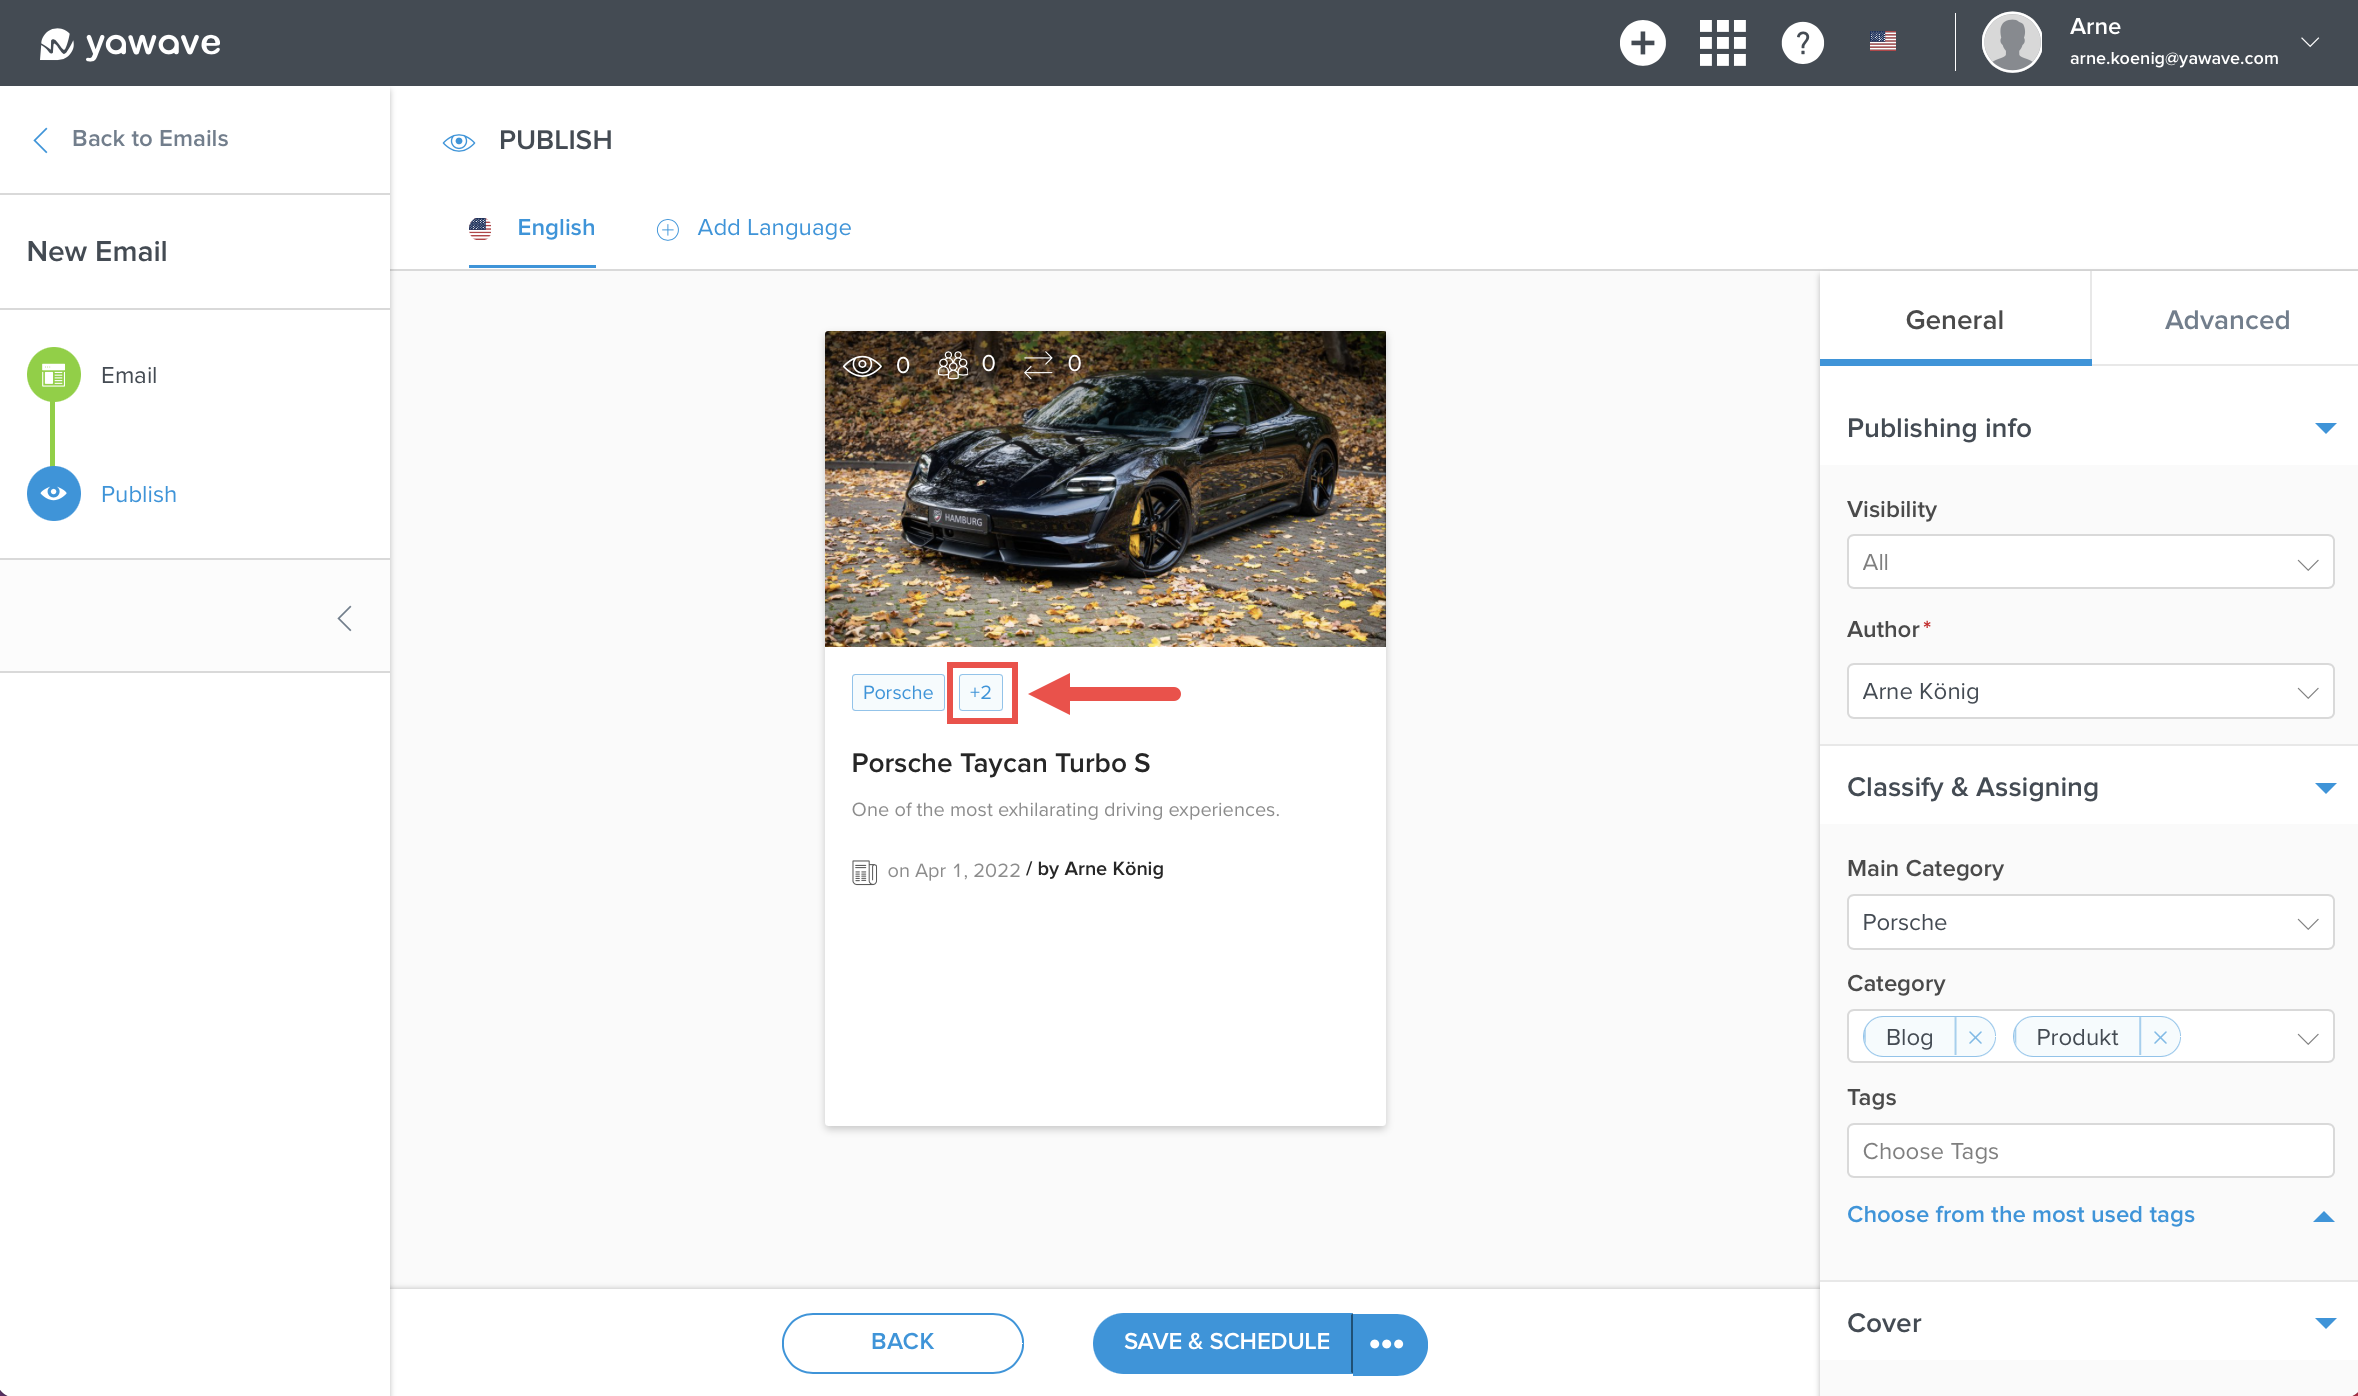
Users will need to click the box to expand the categories. In our example we added Blog and Produkt, as shown in the drop-down menu.

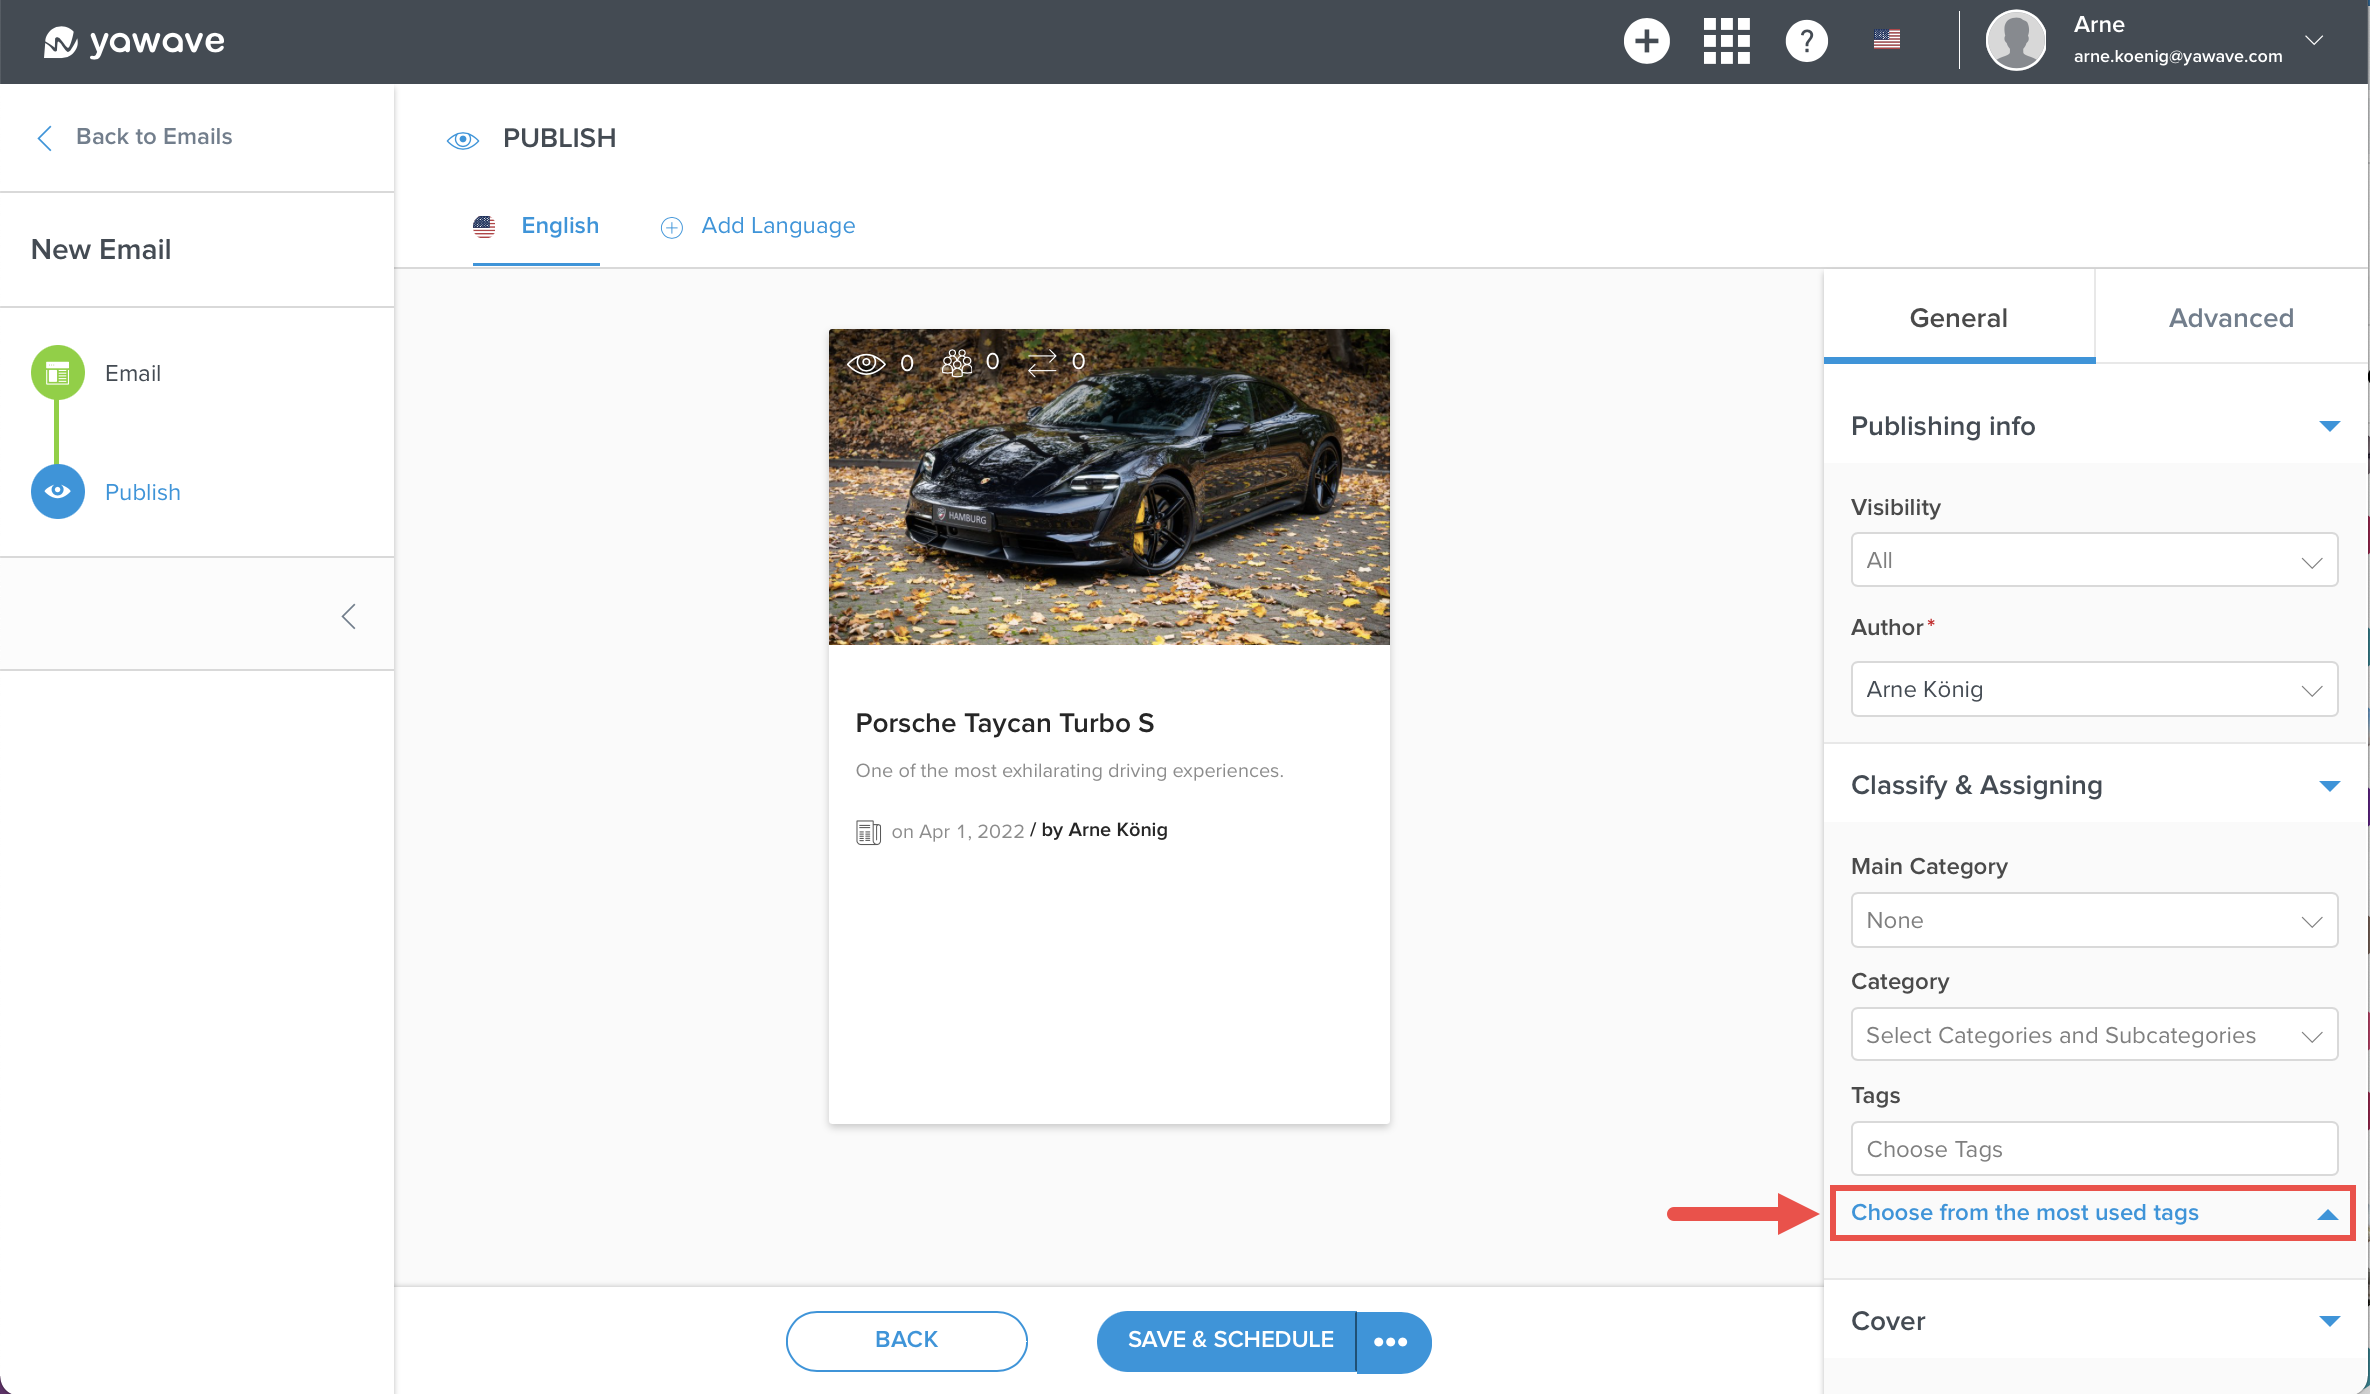
- Select one or more Tags from the Tags drop-down menu. If you haven't already, Create a Tag.
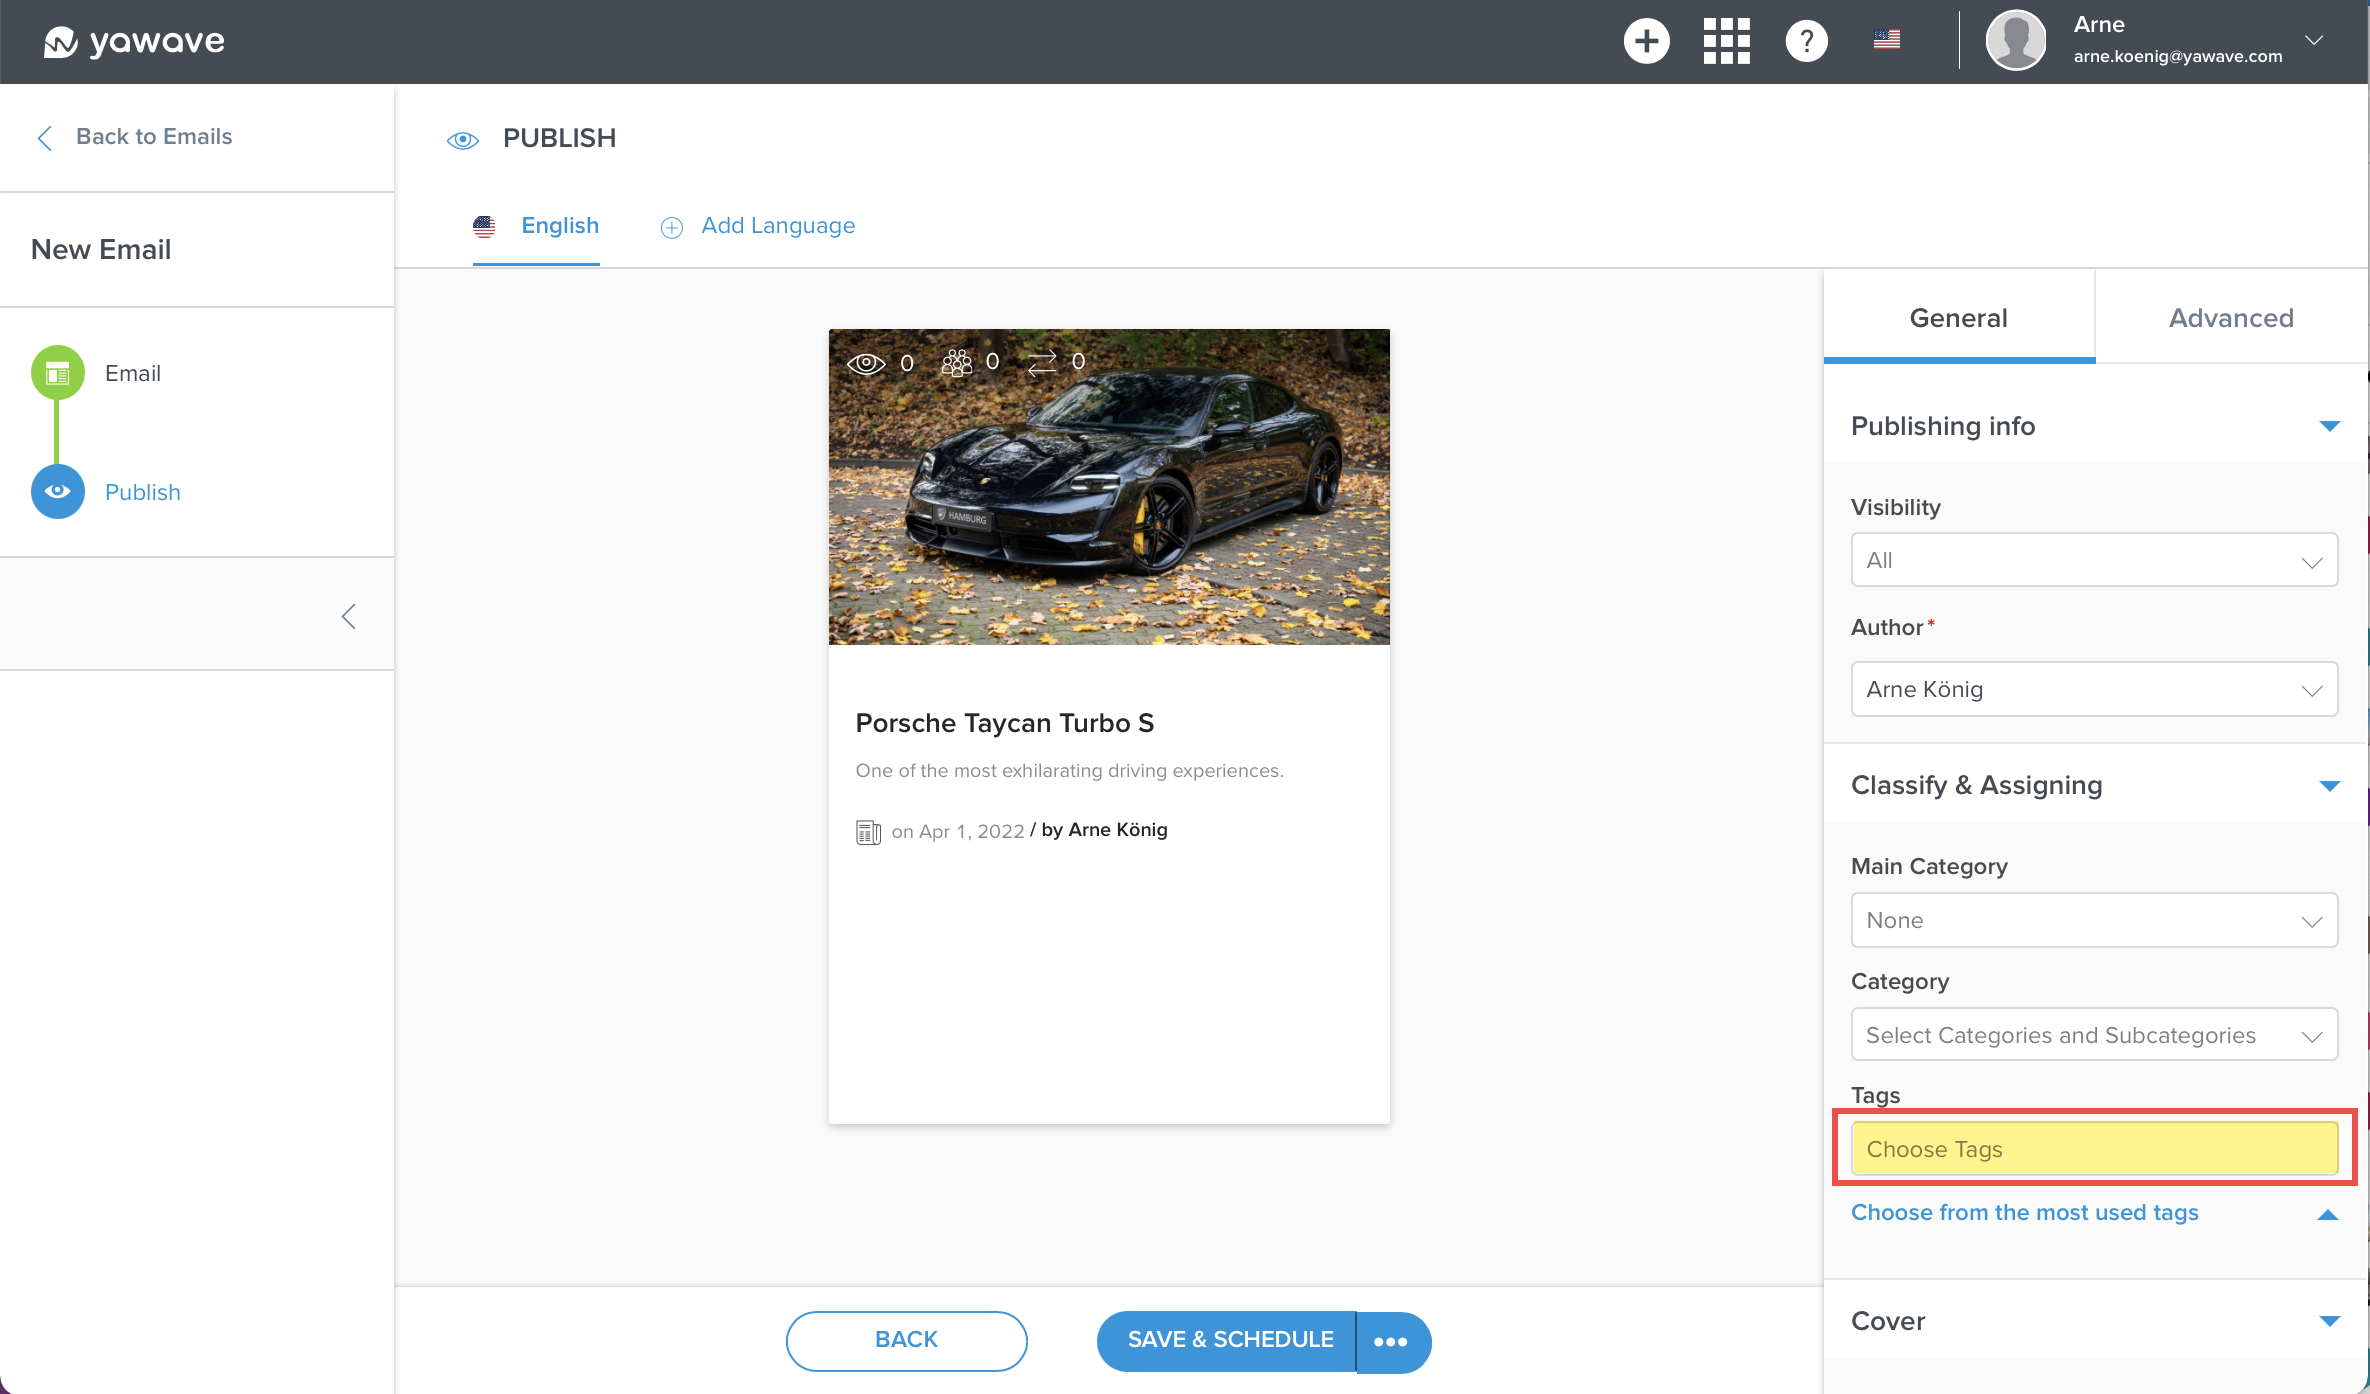
Alternatively, click the Choose from the most used tags to select from your most used tags.
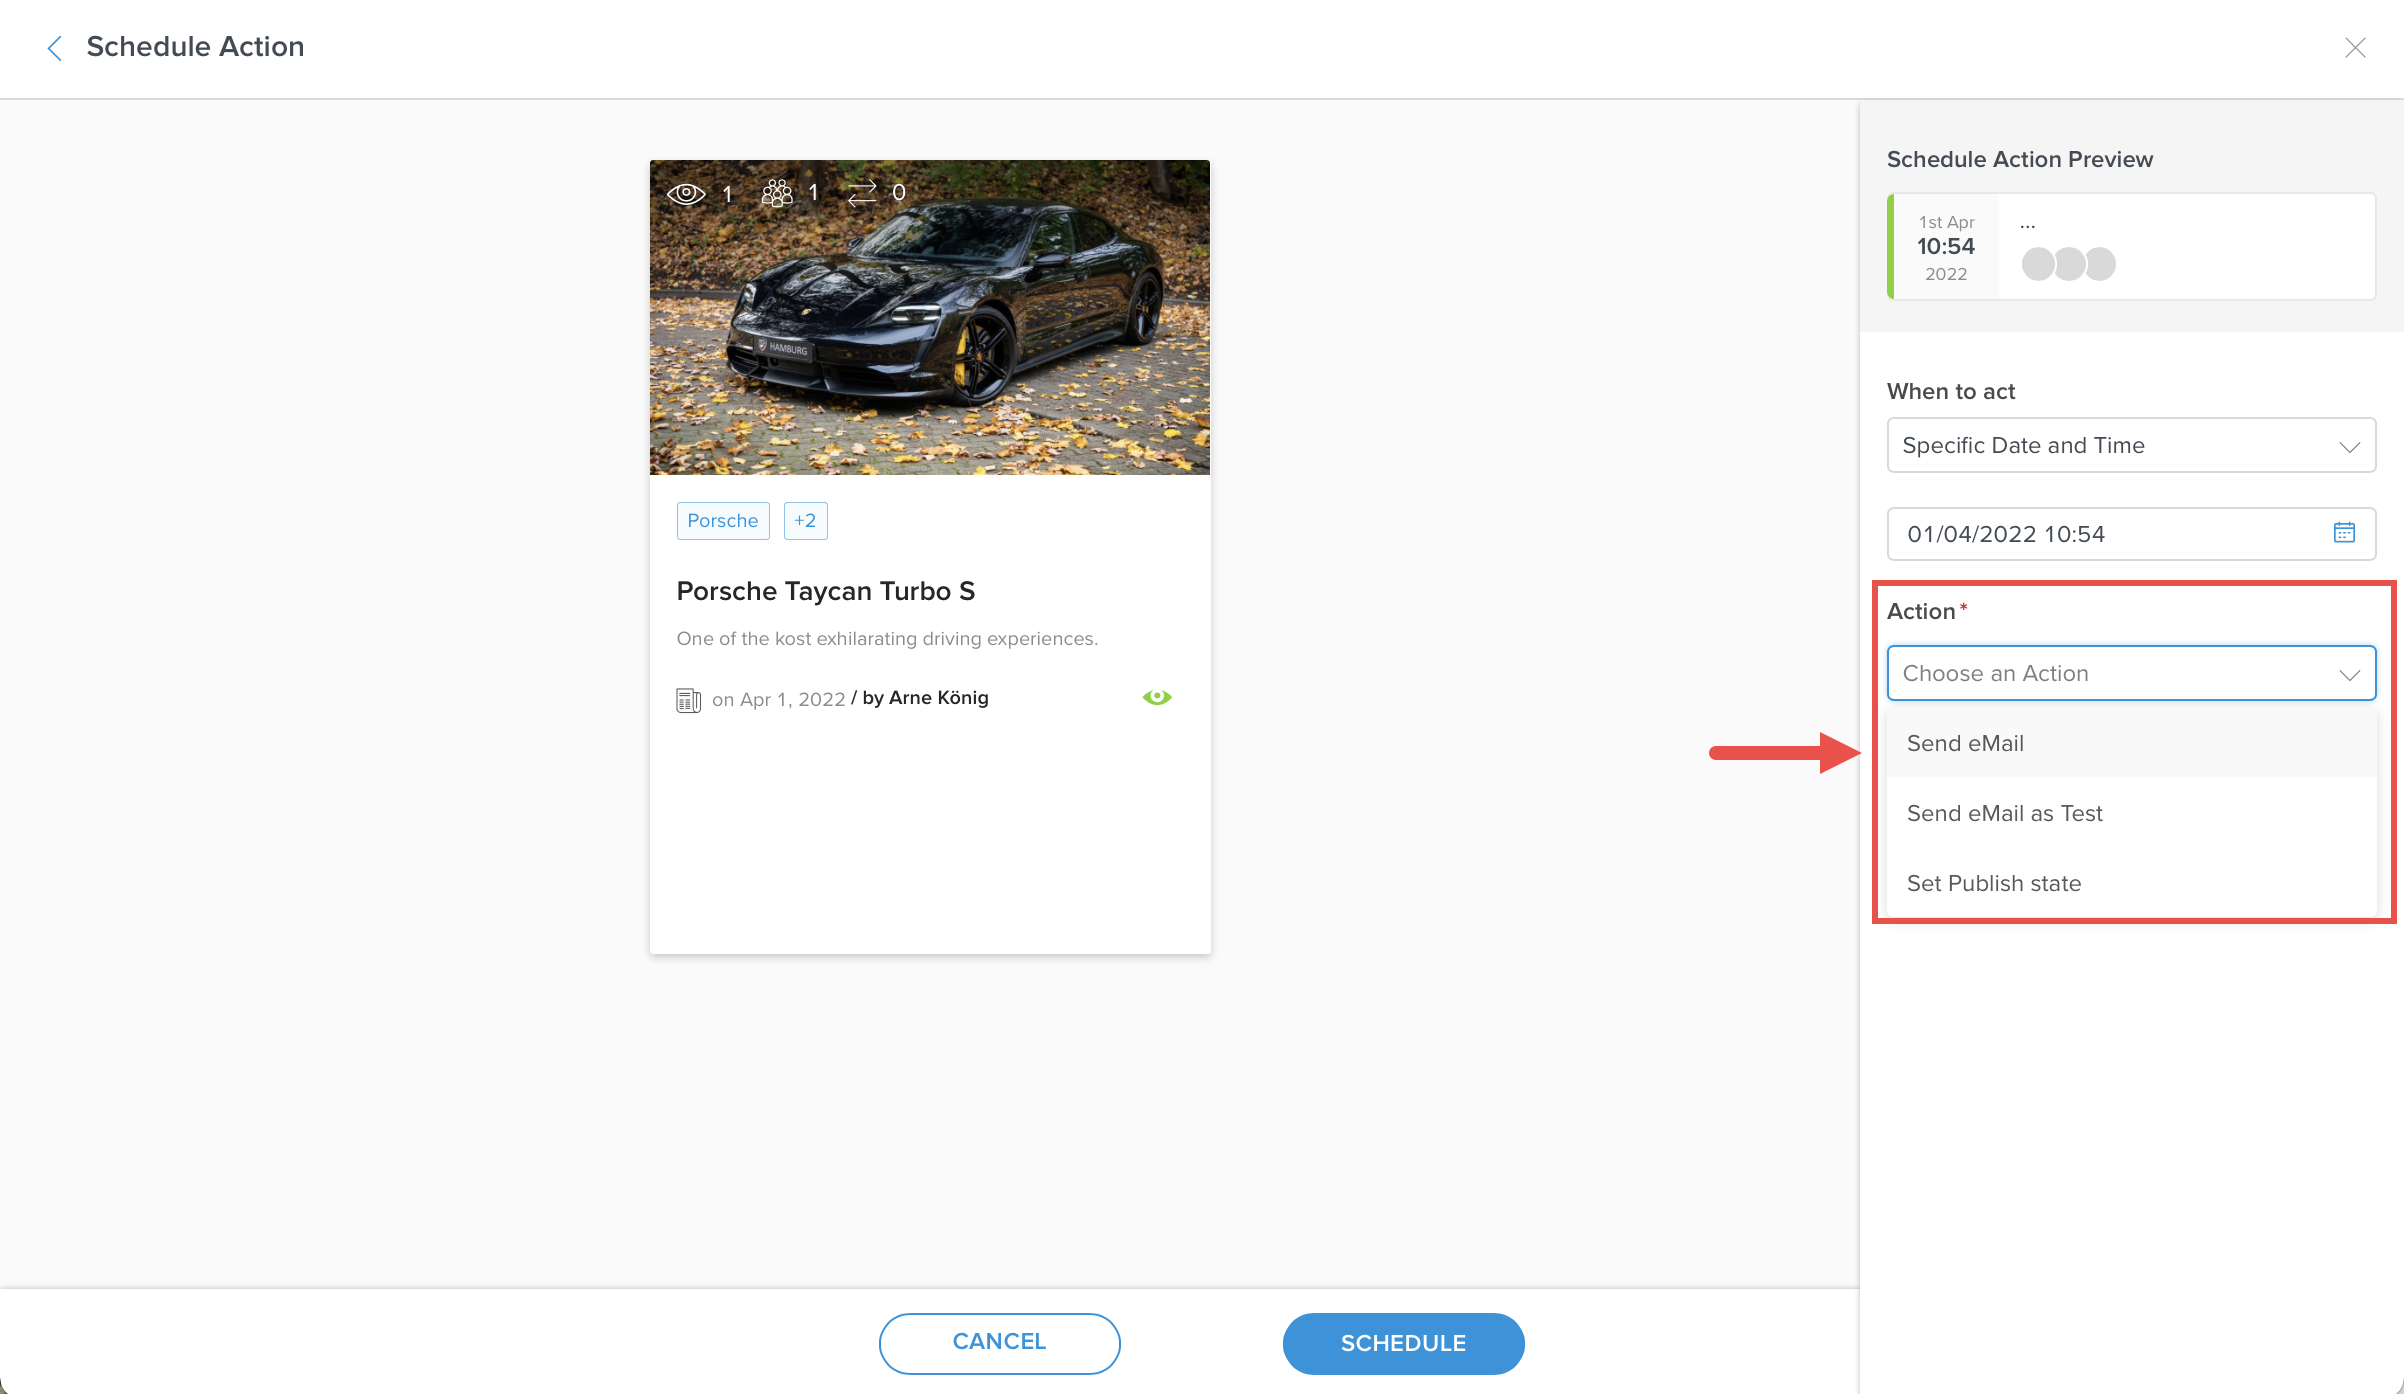
- Save & Schedule is the default option. This will lead you to another screen where you can either schedule a certain date or choose "immediately". You have three options of actions you can schedule, "Send eMail", "Send eMail as Test", and "Set Publish State".
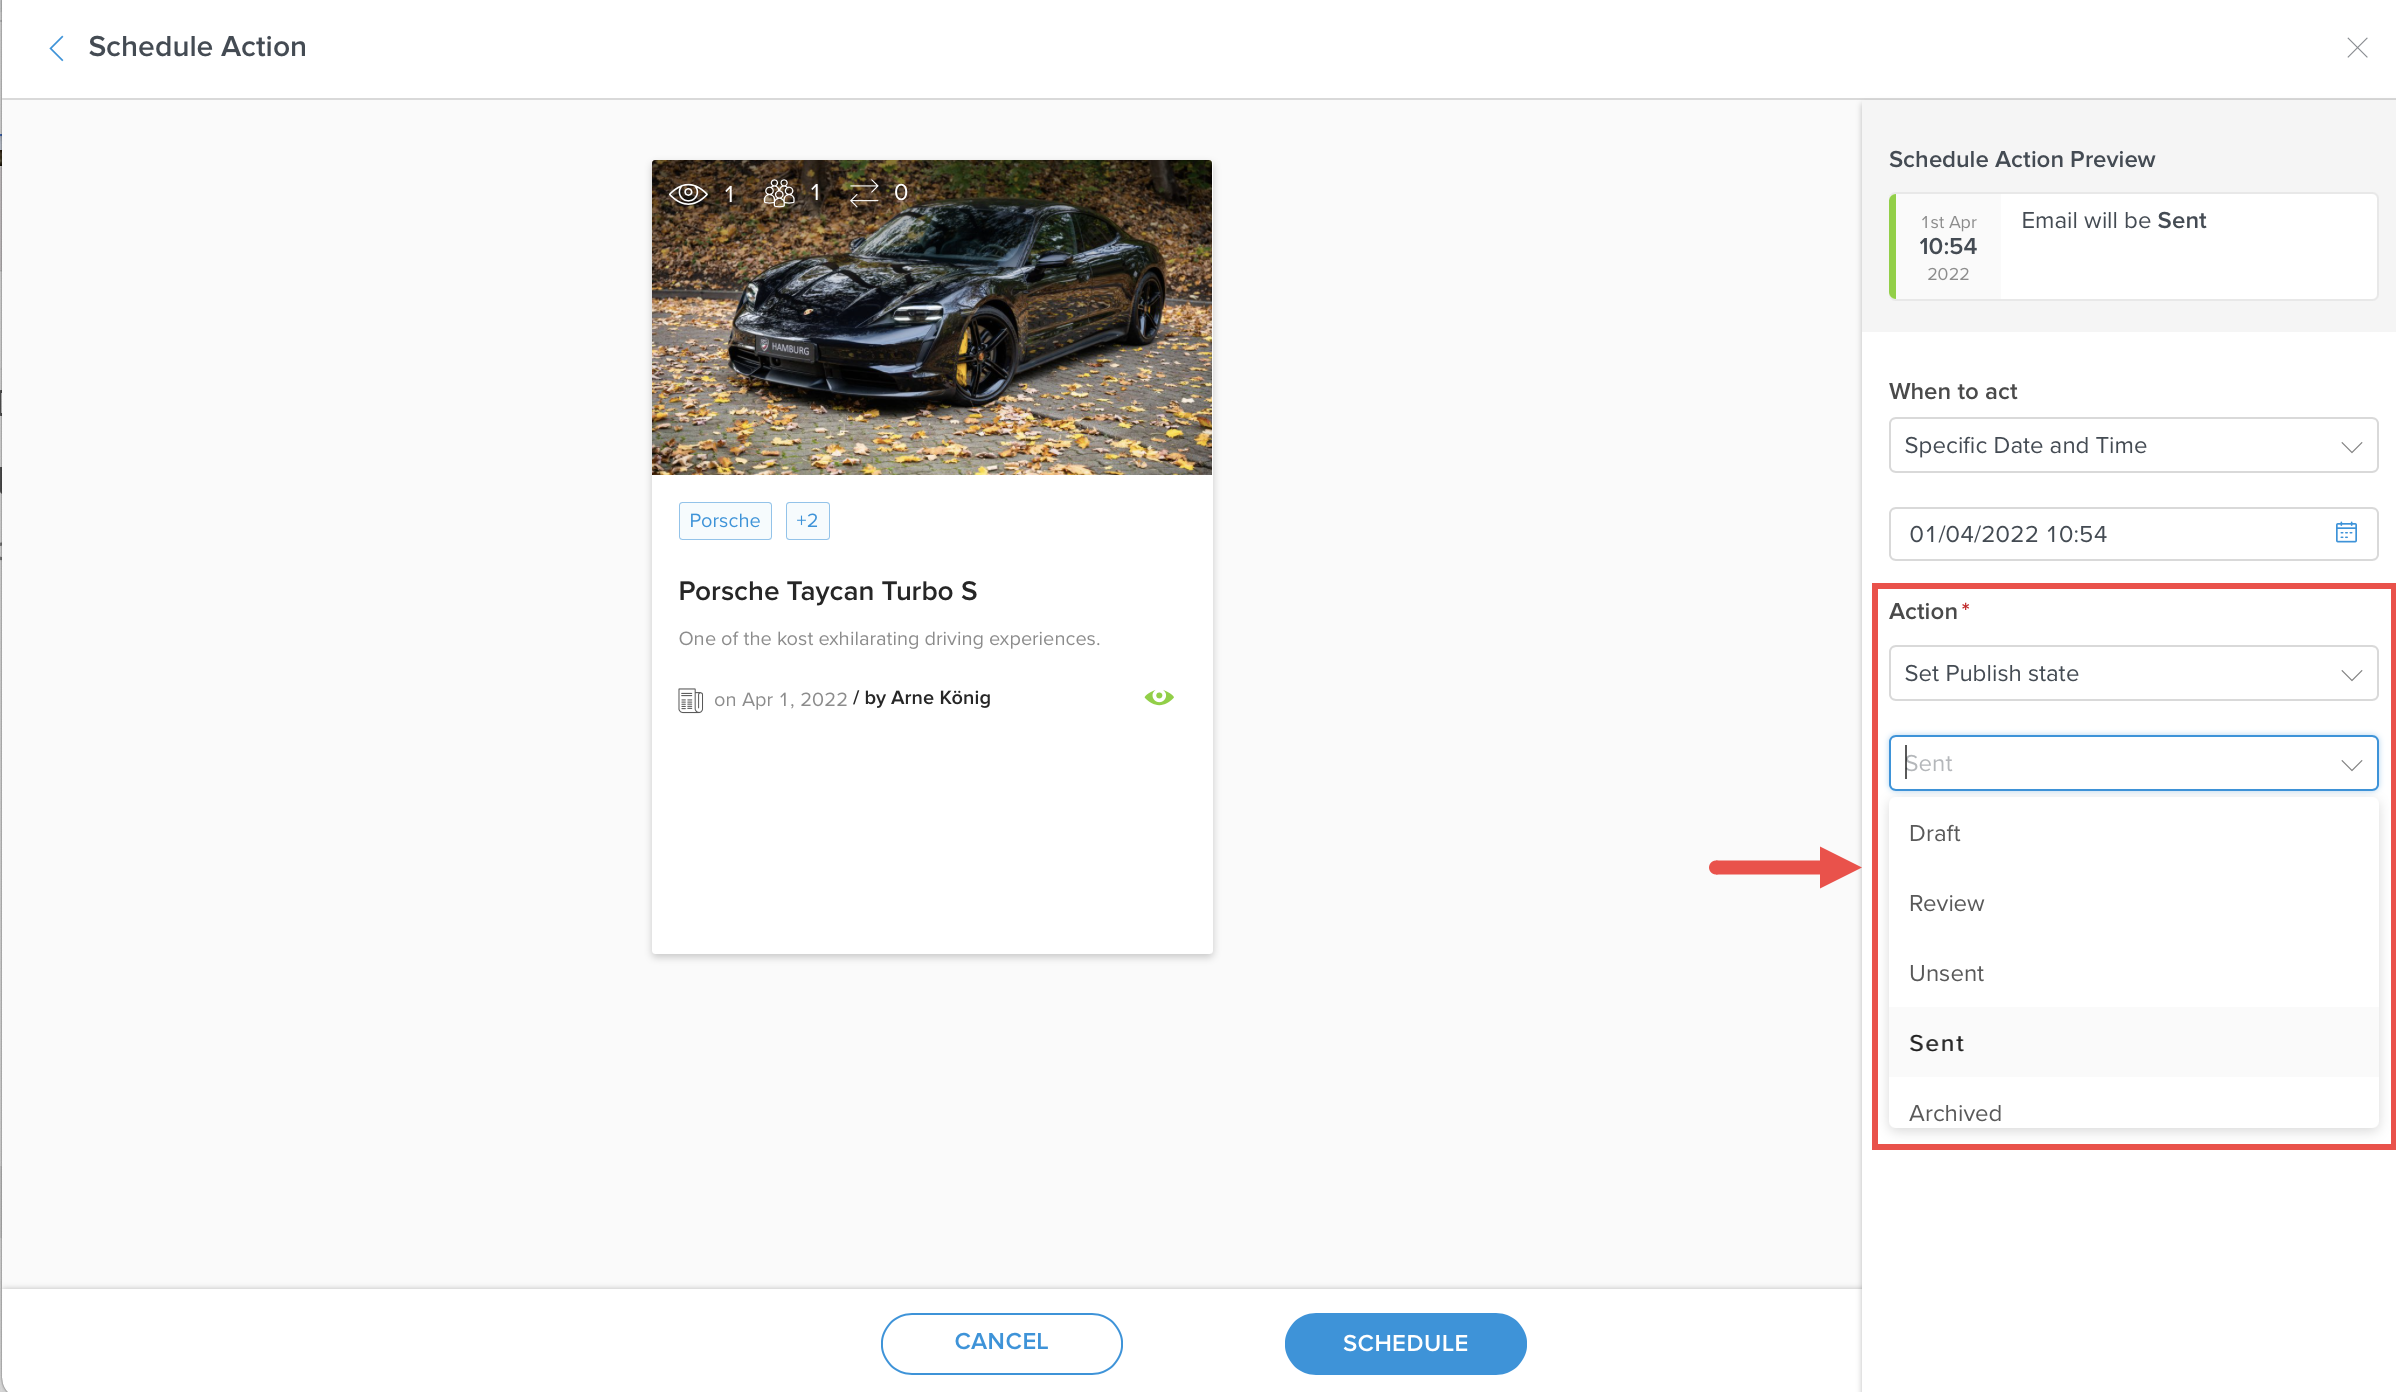
- Whilst the first two actions are self-explanatory, the third "Set Publish State" gives you five publish state options to chose from:
- Draft - Your email will not be published or sent.
- Review - Your email will not be published or sent, but open for review through others.
- Unsent - Your email will not be published or sent and saved as unsent.
- Sent - Your email will not be published or sent, but saved as if it was sent.
- Archived - Your email not be published or sent, but archived.
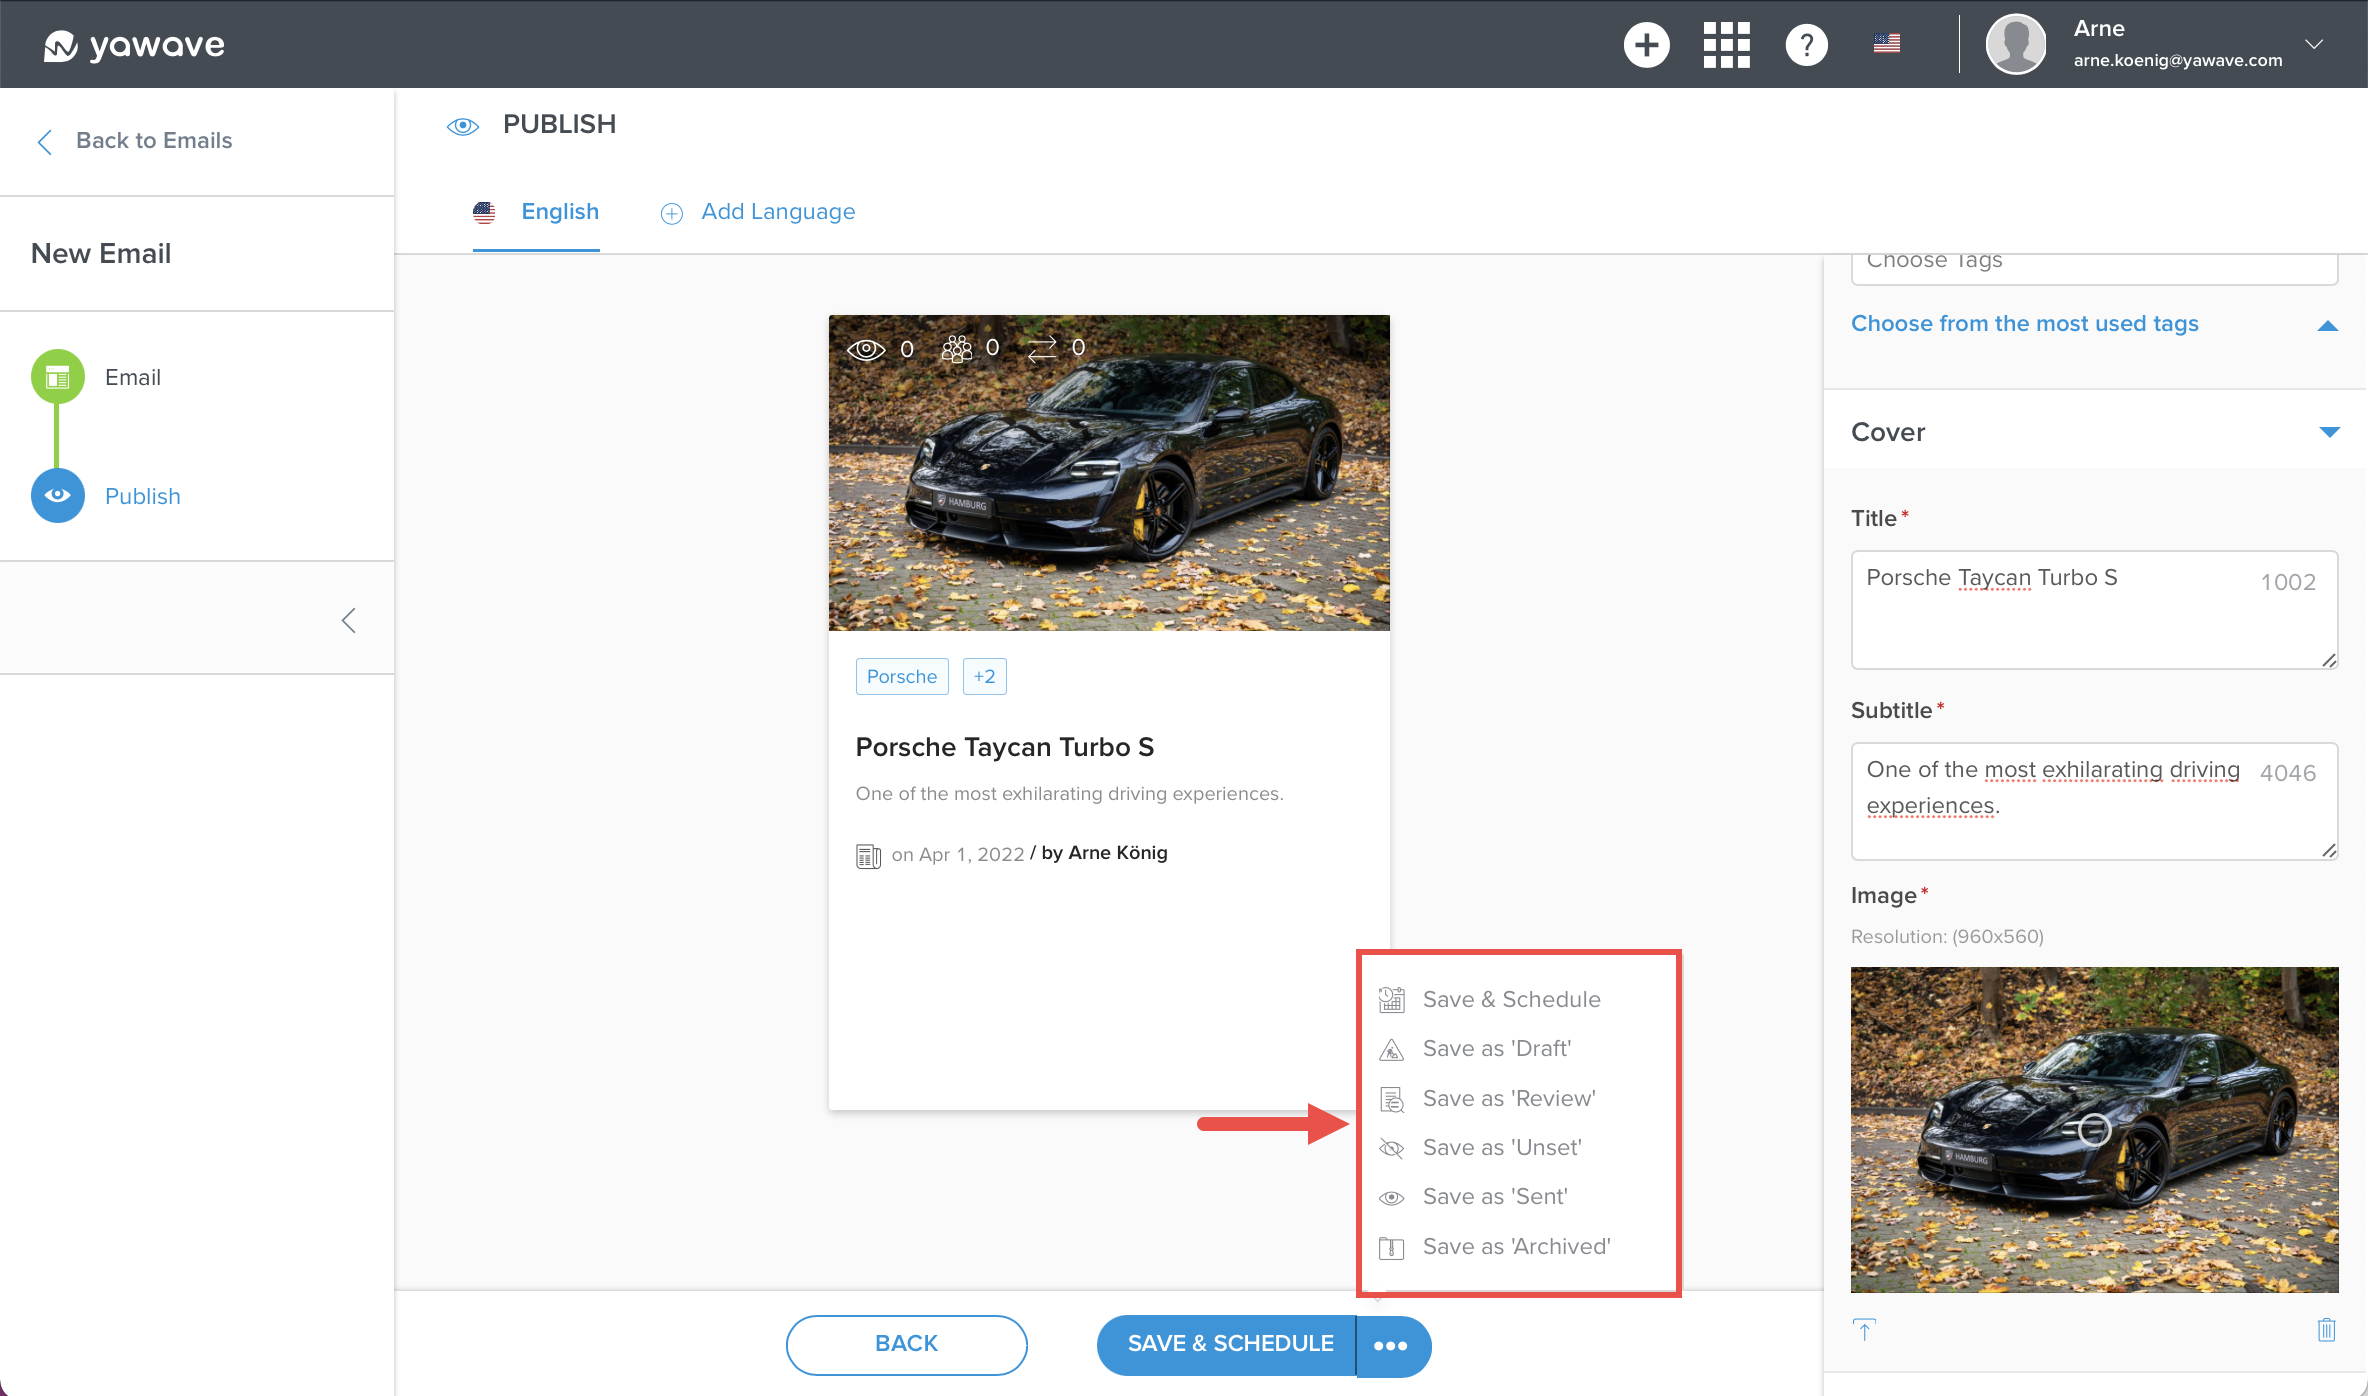
- If you do not want to chose the default option "Save & Schedule", click the three dot menu to select one of the following options:
- Save & Schedule - Your email will be saved and the schedule dialog will be opened.
- Save as Draft - Your email will be saved as "Draft" status and not be published or sent.
- Save as Review - Your email will be saved as "Review" status and will not be published or sent, but open for review through others.
- Save as Unsent - Your email will be saved as "Unsent" status and not be published or sent.
- Save as Sent - Your email will not be published or sent, but saved as if it was sent.
- Save as Archived - Your email not be published or sent, but saves as archived.
- When the page loads you should see your new Email. Next, learn how to Send an Email/Newsletter.