Here you will learn how to send the created emails immediately or at a predetermined time.
1. Open the yawave application.
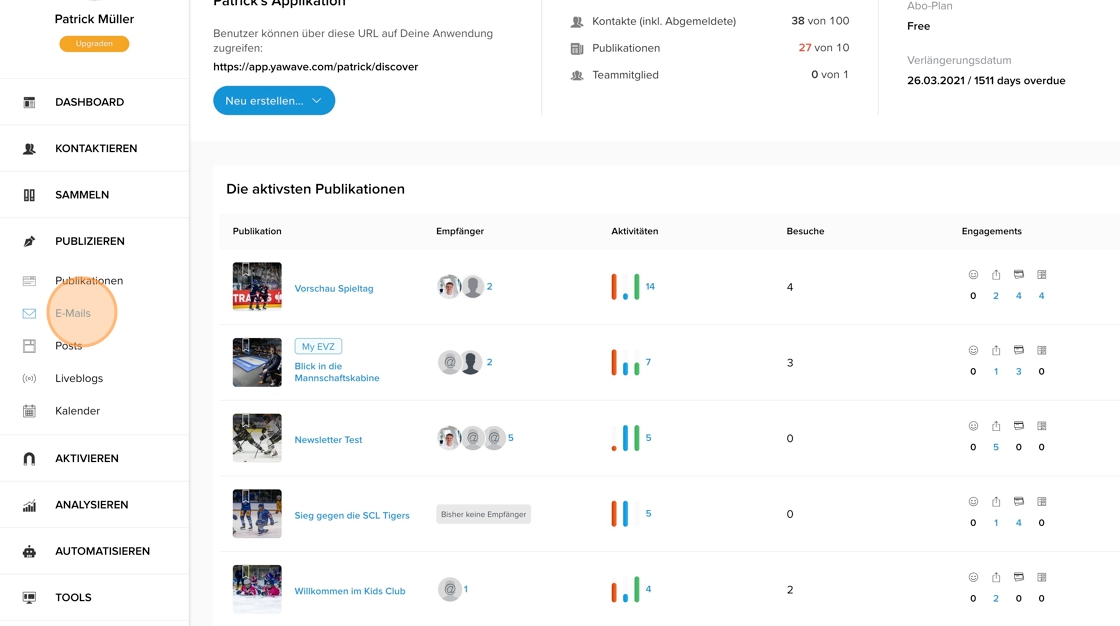
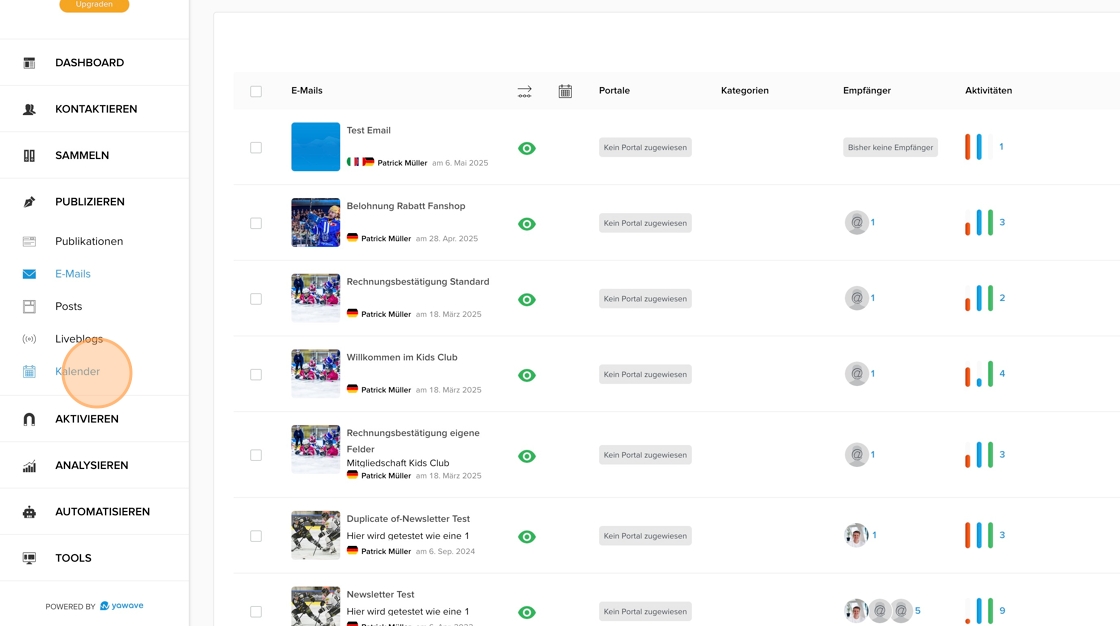
2. Open the Mailing Suite by clicking on “PUBLISH” - "E-Mails".
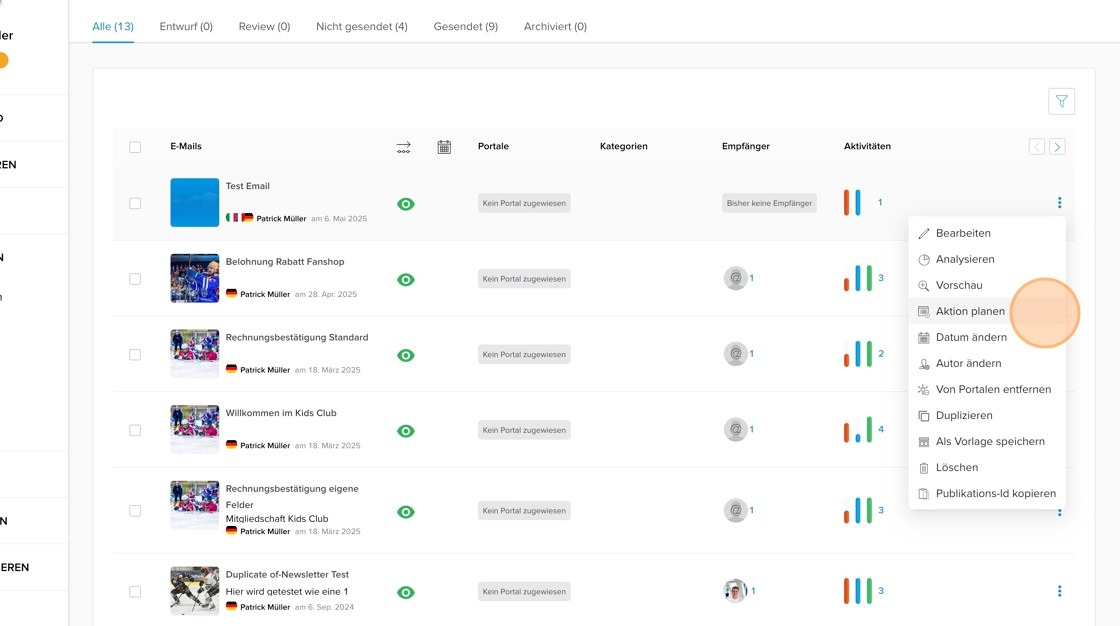
3. Click on the three-dot menu for the relevant email and select “Schedule action”. This will take you to the content playout (the procedure is the same for all other channels such as publications, notifications, social, etc.).
💡 Tip: When using e-mail templates, the dispatch dialog for the next steps appears automatically (“Save & Plan”).
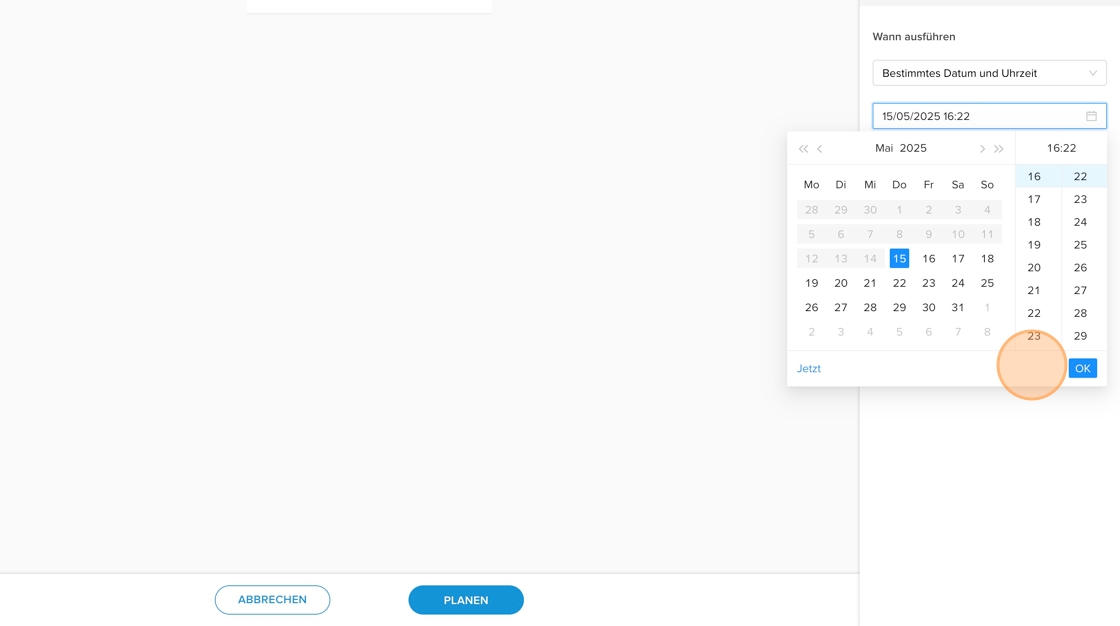
4. Choose between the two publish options “Specific date and time” or “Immediately”.
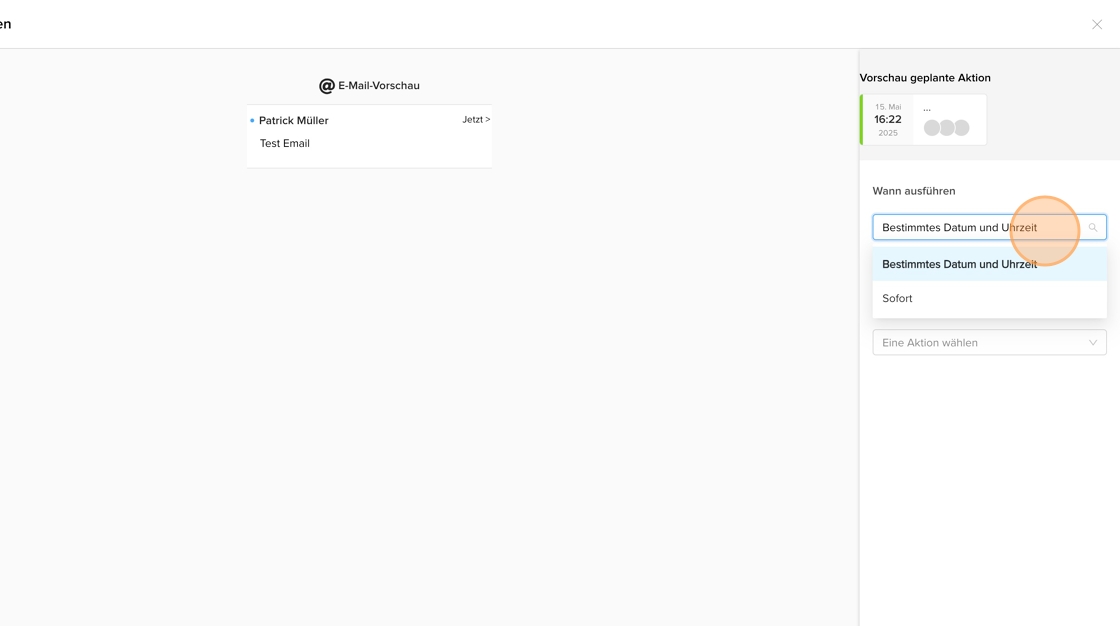
5. If you select “Specific date and time”: Define your desired date and select the appropriate time under “Select time”. Confirm the time by clicking the green “OK” button.
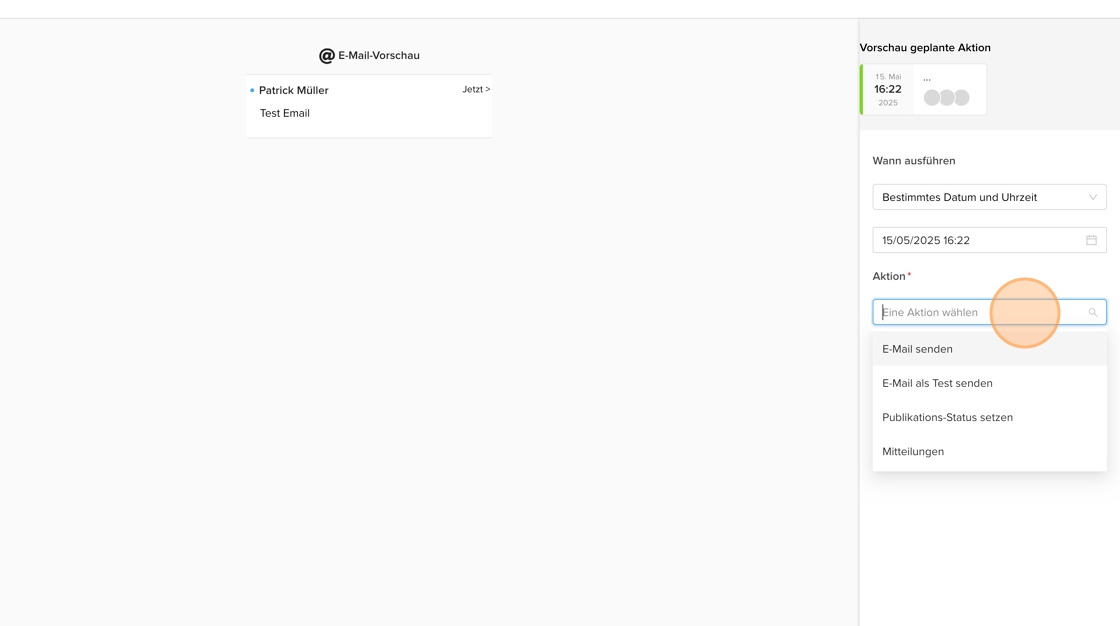
6. Select the desired action or the appropriate channel. In the case of emails and newsletters, “Send email”.
7. If the email was entered in multiple languages, the respective languages are displayed in the “Language” field. Select the appropriate language that you would like to use for the actual dispatch.
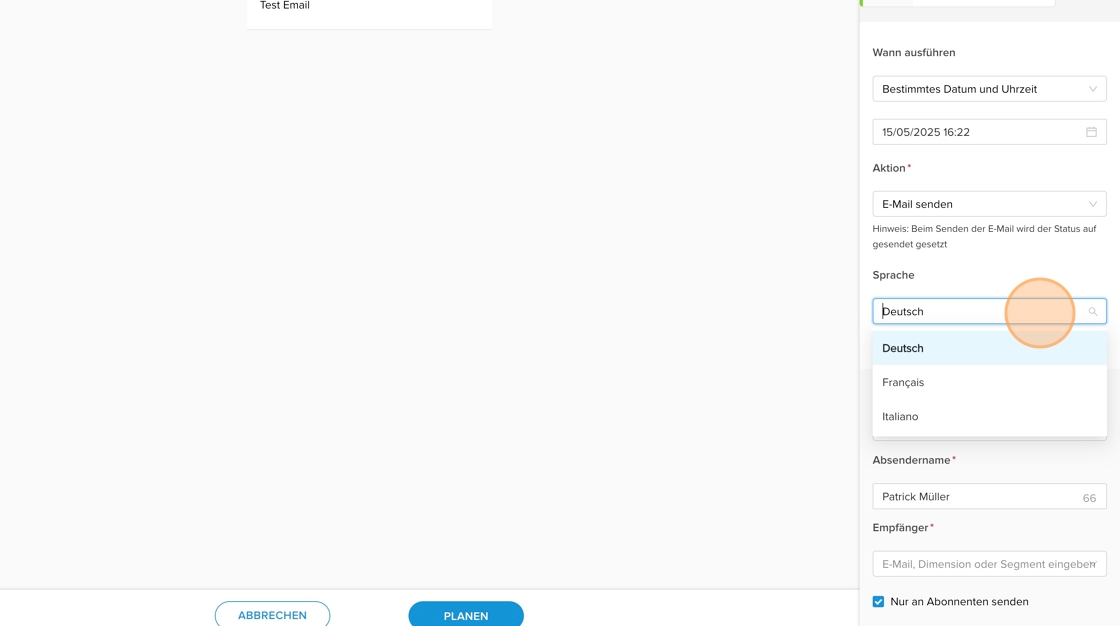
💡 Tip: If you want to send your e-mail in several languages, you must carry out the sending process separately so that you can store the respective segment (note user language) when sending.
8. The sender email is automatically the one stored in the application. It is also possible to select different e-mail senders (e.g. different organizational areas).
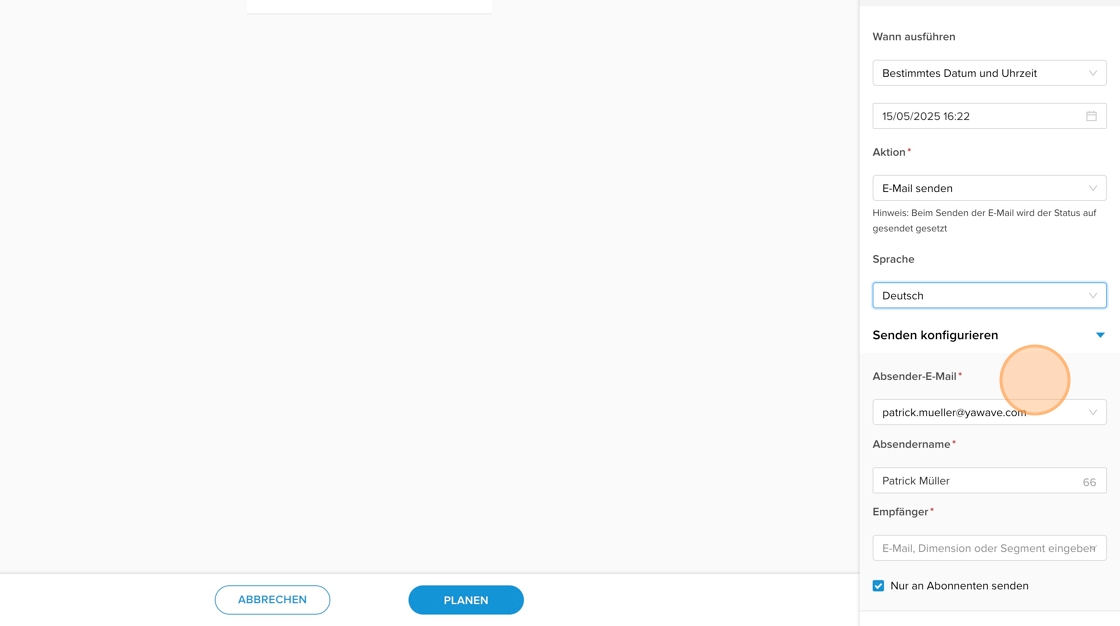
💡 Tip: The sender e-mail can be configured under “ADMINISTRATE” - “Branding” - “Brand”.
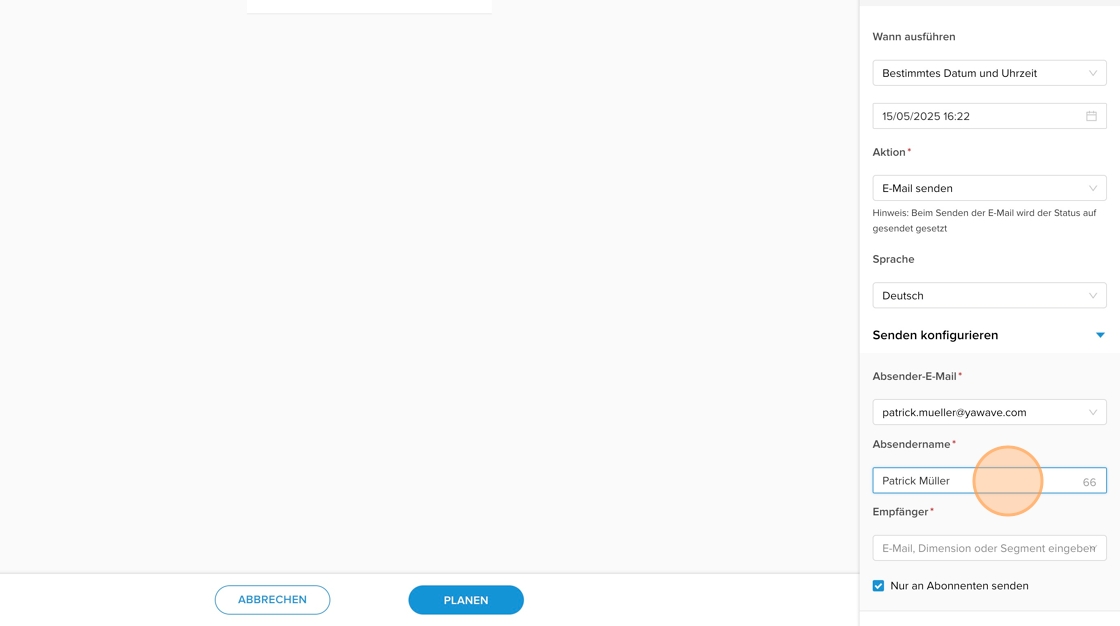
9. The sender name can be changed manually. This allows you to send emails in the name of the organization, individual departments or individuals.
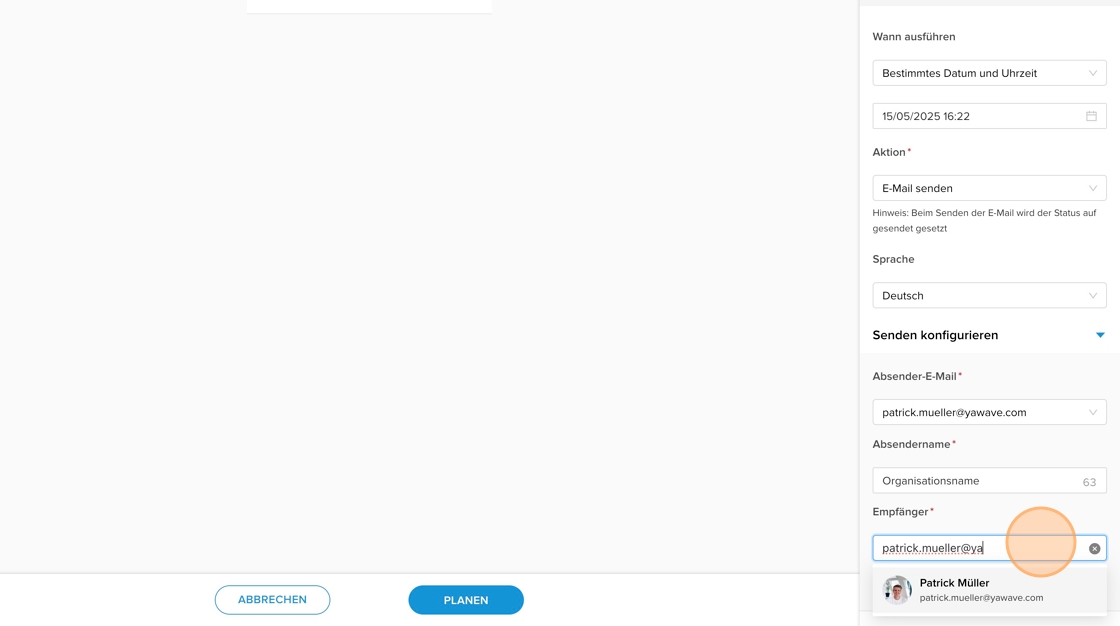
10. For the recipient, you can determine which contacts the mail should be sent to. The following contact elements can be selected:
- Individual contacts
- Dimensions
- segments
- Subscriptions (currently under development)
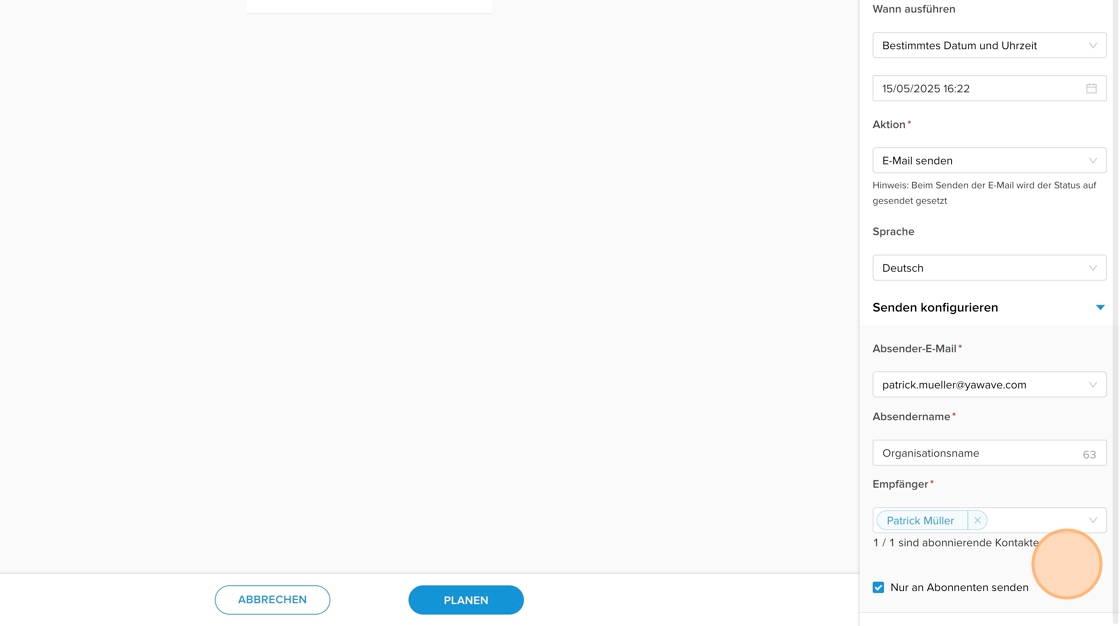
11. Check the box “Send only to subscribers” if the e-mail should only be sent to people with a valid subscription.
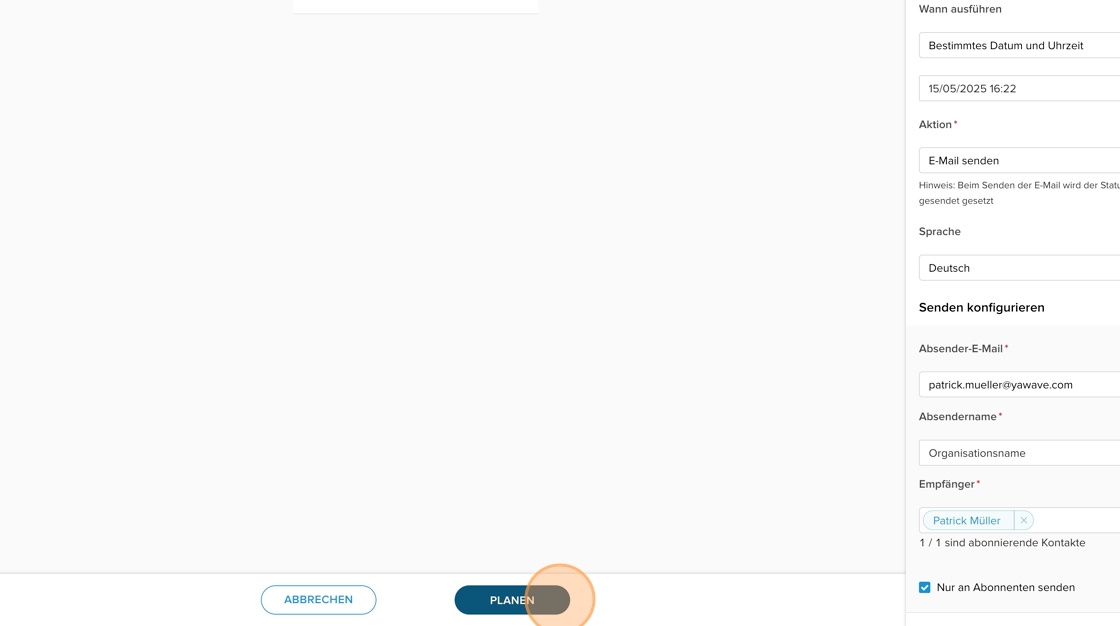
12. Click on “SCHEDULE” to send the e-mail at the selected time.
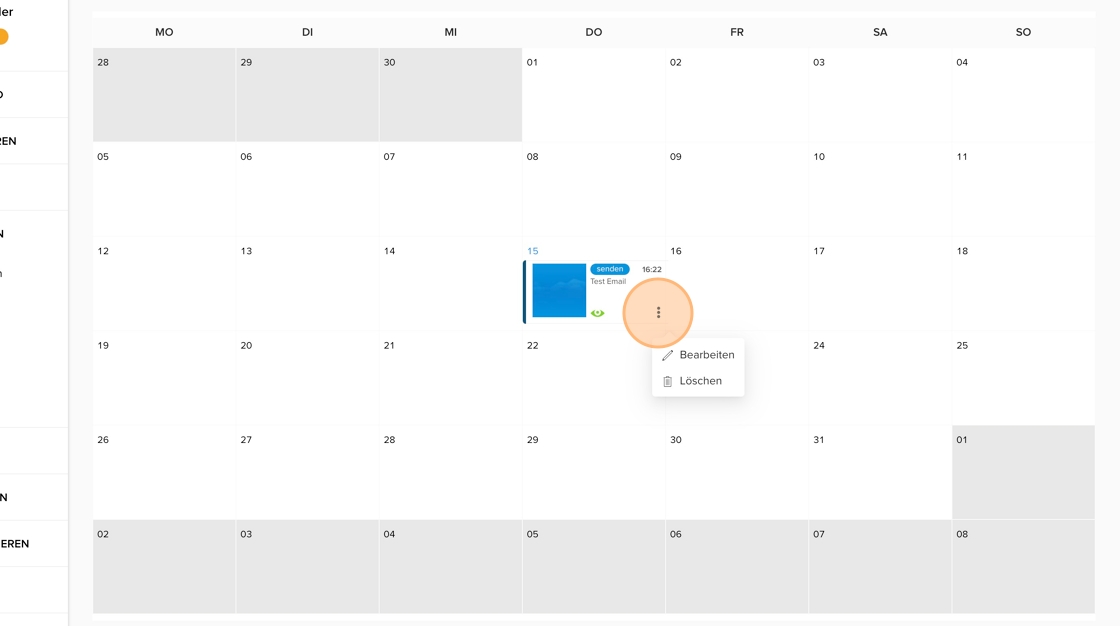
13. You can monitor all scheduled content activities in the content calendar under “PUBLISH” - “Calendar”.
14. As long as an action has not yet been carried out (e.g. scheduling at a specific time in the future), you can delete or edit it. To do this, click on the three-dot menu next to the relevant action.